Characters & Anatomy
Grim Tranquility - Human Shopkeeper
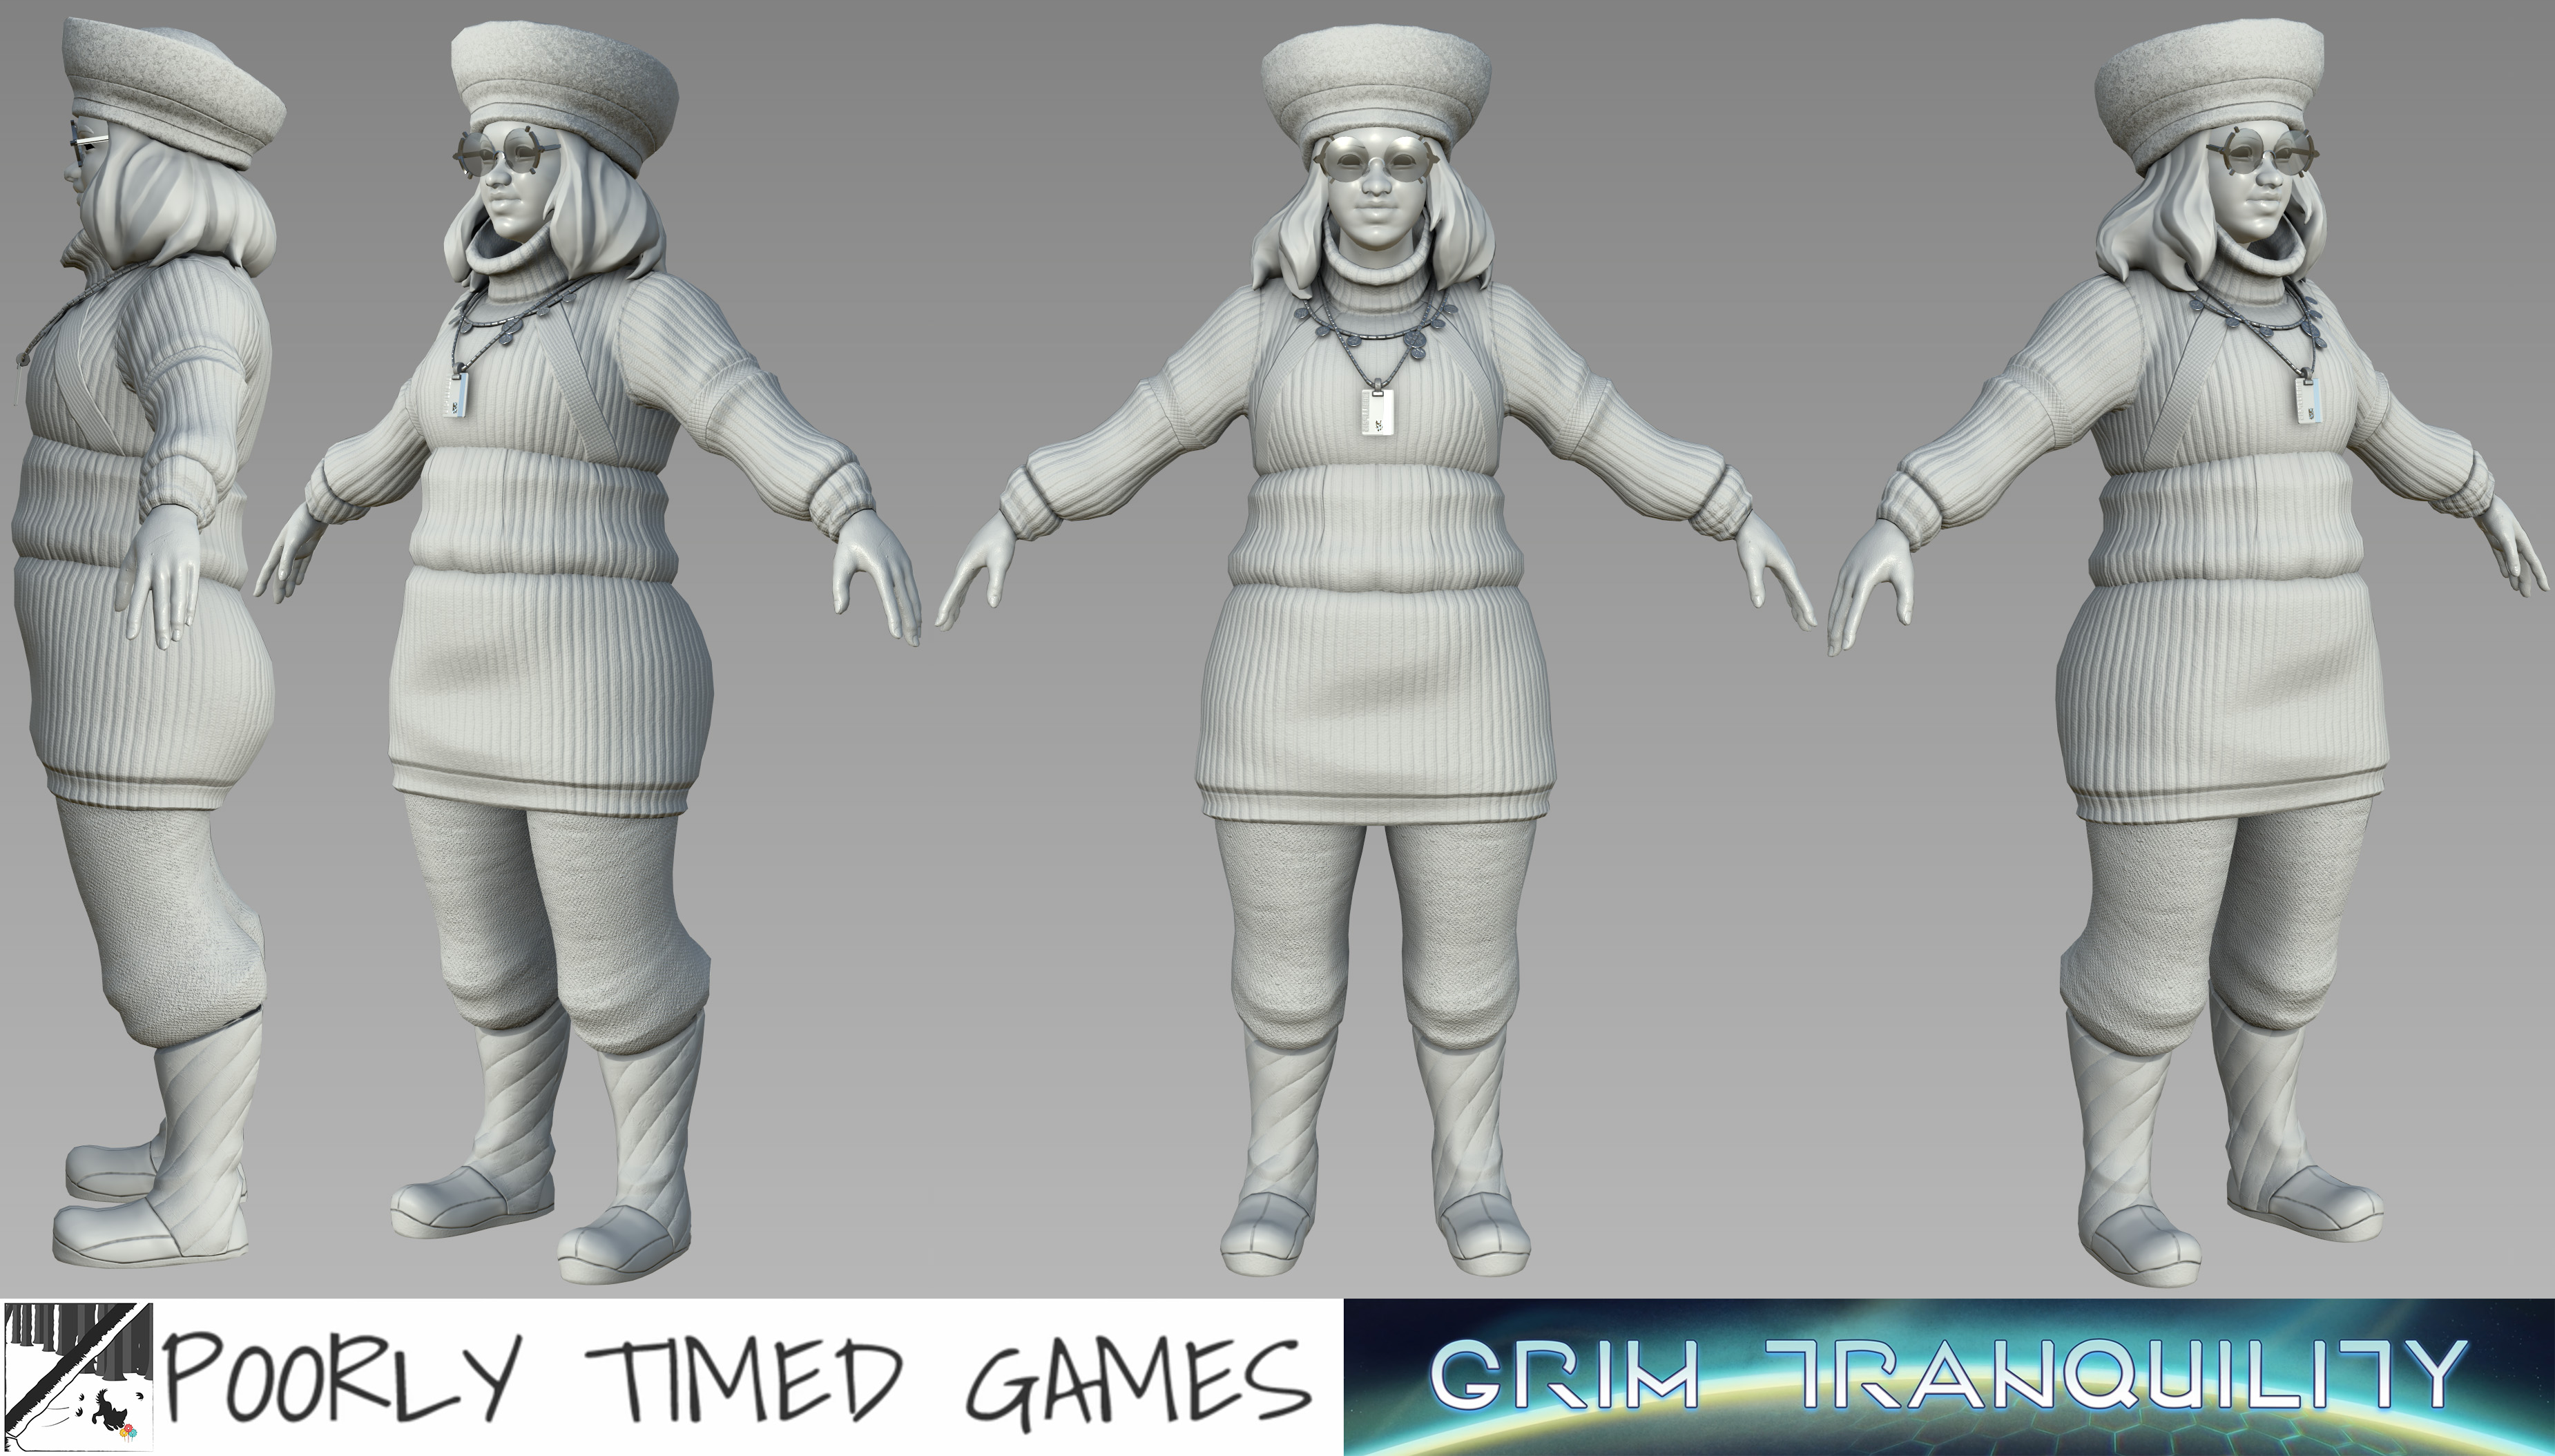
The debut title from Poorly Timed Games is Grim Tranquility, a roguelite science-fiction tactical RPG. I sculpted characters in ZBrush, retopo'd in Topogun, did UVs and misc modeling bits in Maya, and textured in Substance Painter. These are real-time renders from Substance Painter - the in-game art style ended up more toony but I don't have the in-engine shader settings. Concept art by Rowan Sherwin and art direction by Helmut Stark. For the Human Shopkeeper, I started most of the clothes in ZModeler and then sculpted in wrinkles and asymmetry. For the clothing materials I layered various patterns and wear'n'tear in Substance Painter.
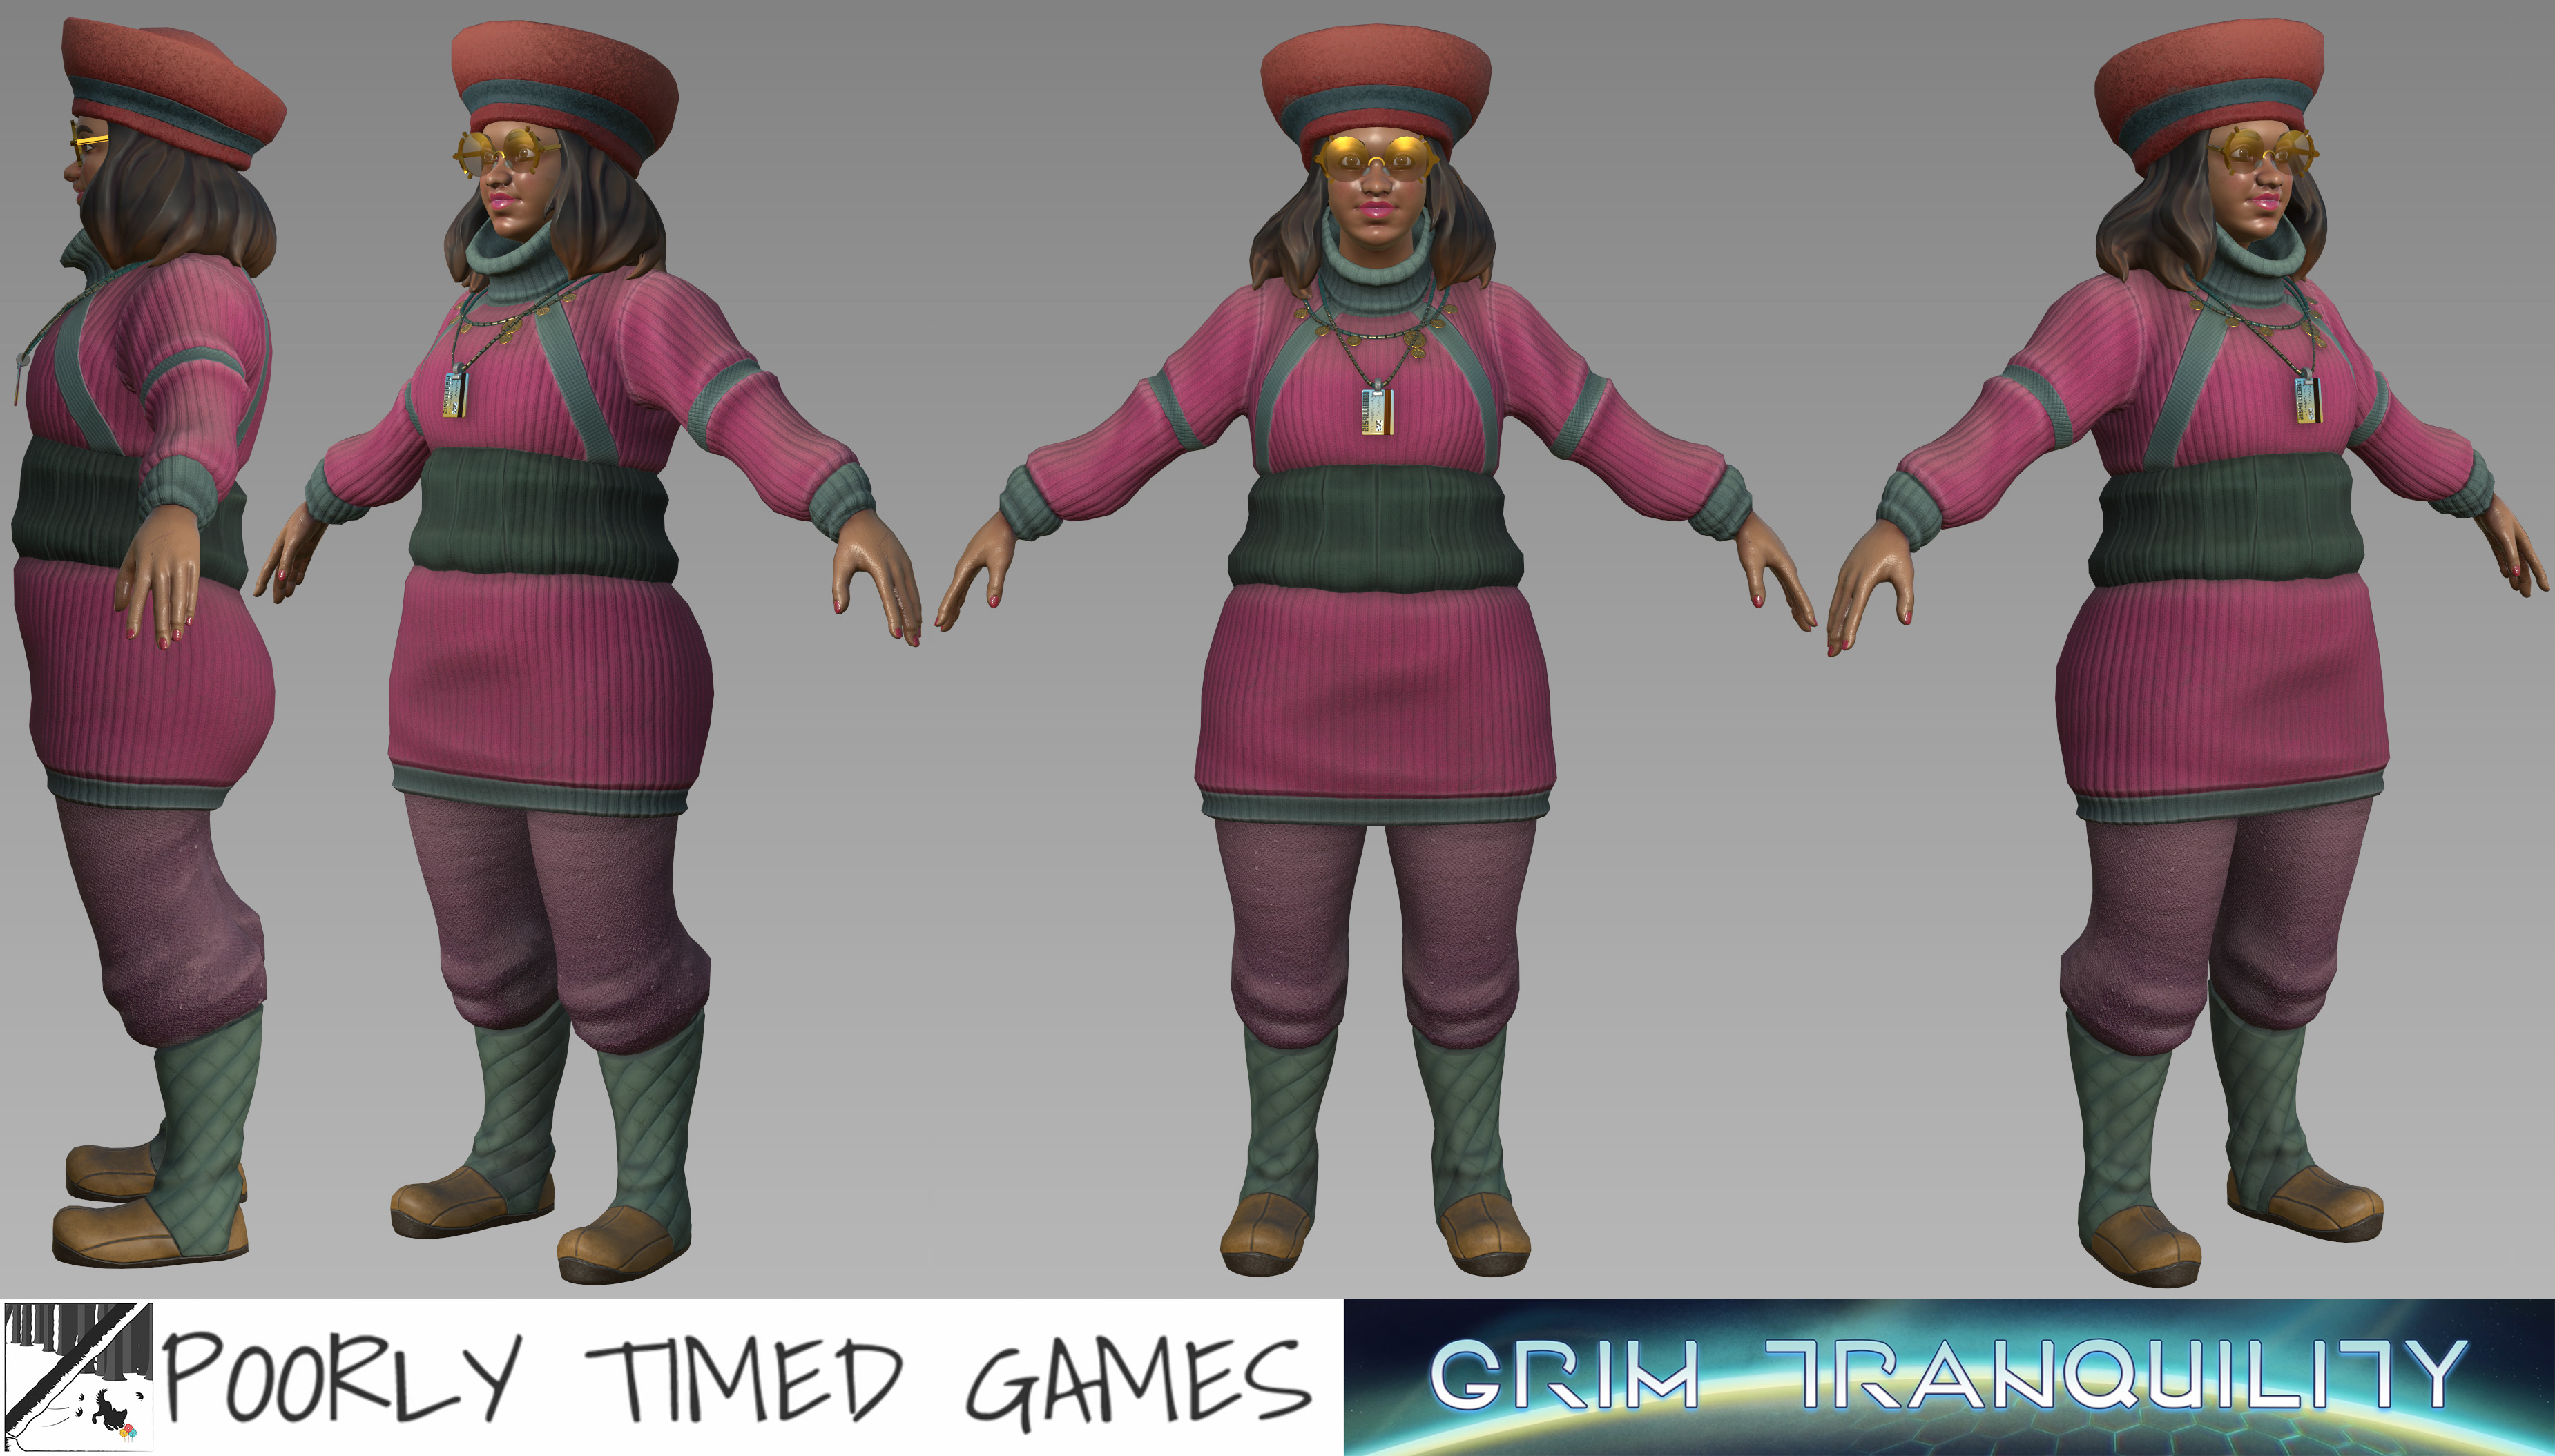

The topology of the head and hands is taken from the base human female for the game by 3D Character Artist Marian Huber. In ZBrush I sculpted the base head topo into totally different features based on the concept art, and in Topogun I re-fit the topology to my head sculpt. The skin material is modified from a human skin material also made by Marian Huber.

High-res sculpt in ZBrush.
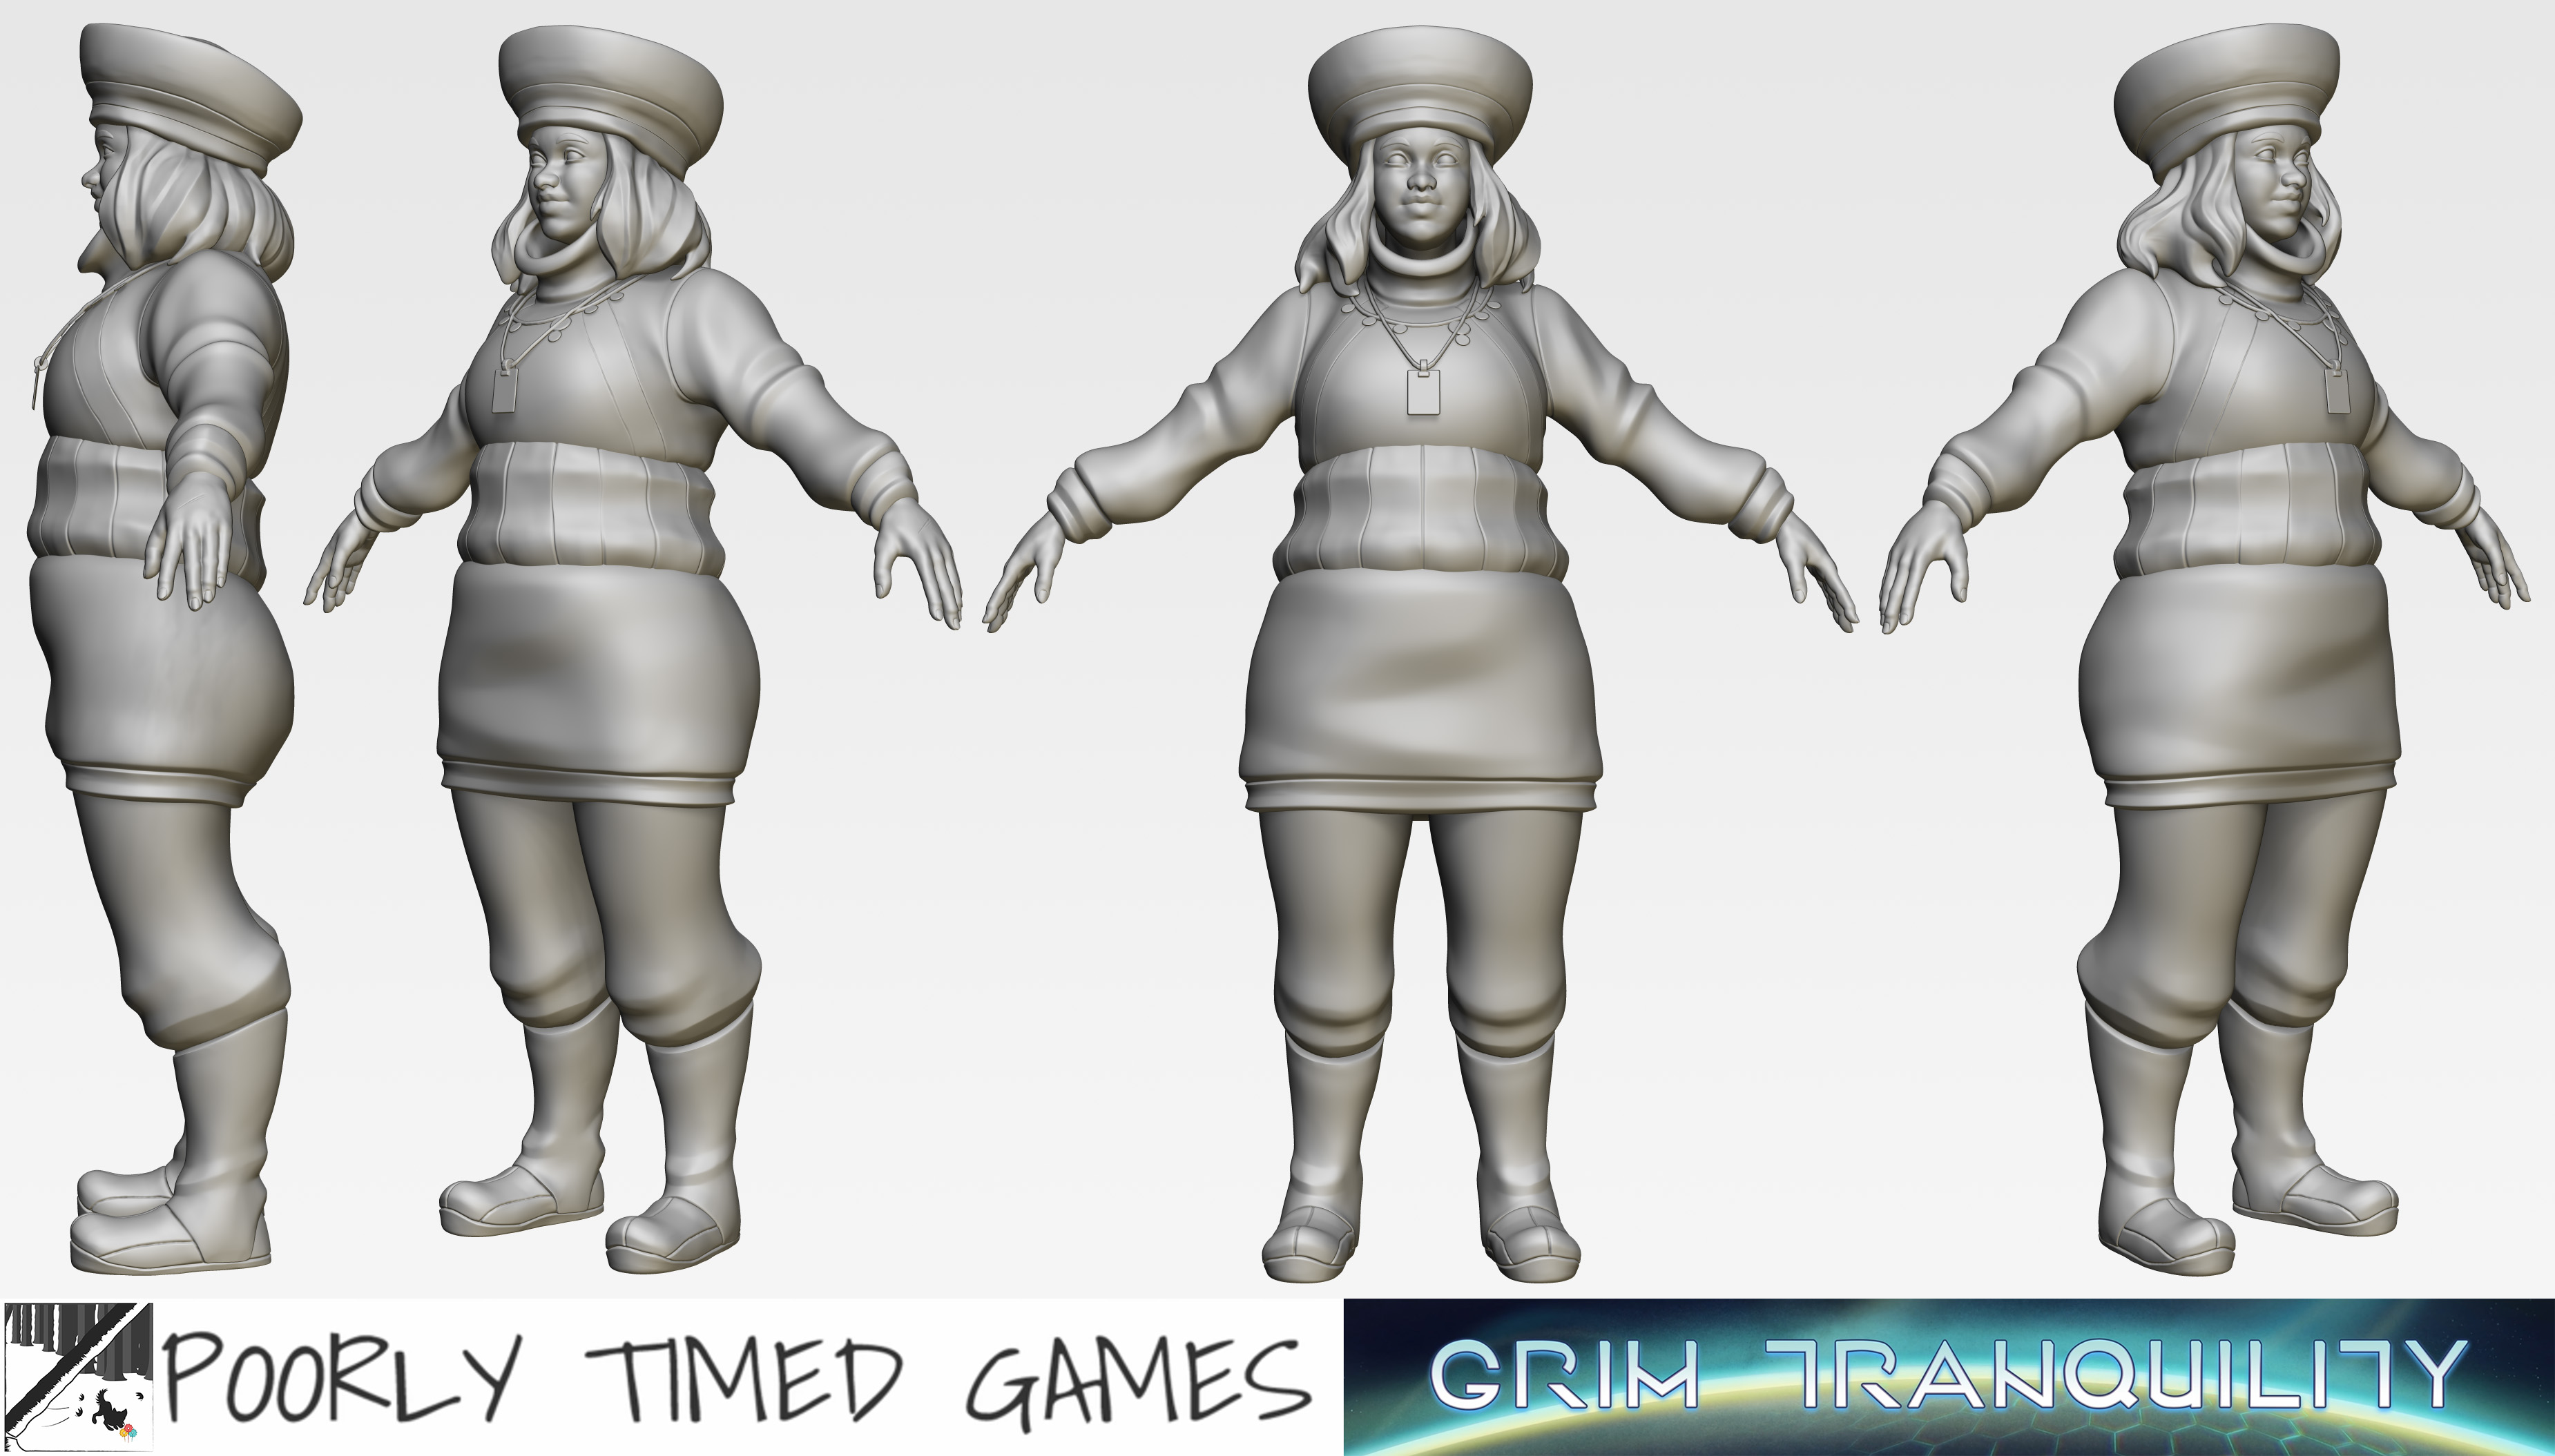

Baked normals and AO and painted normal detail in Substance Painter.

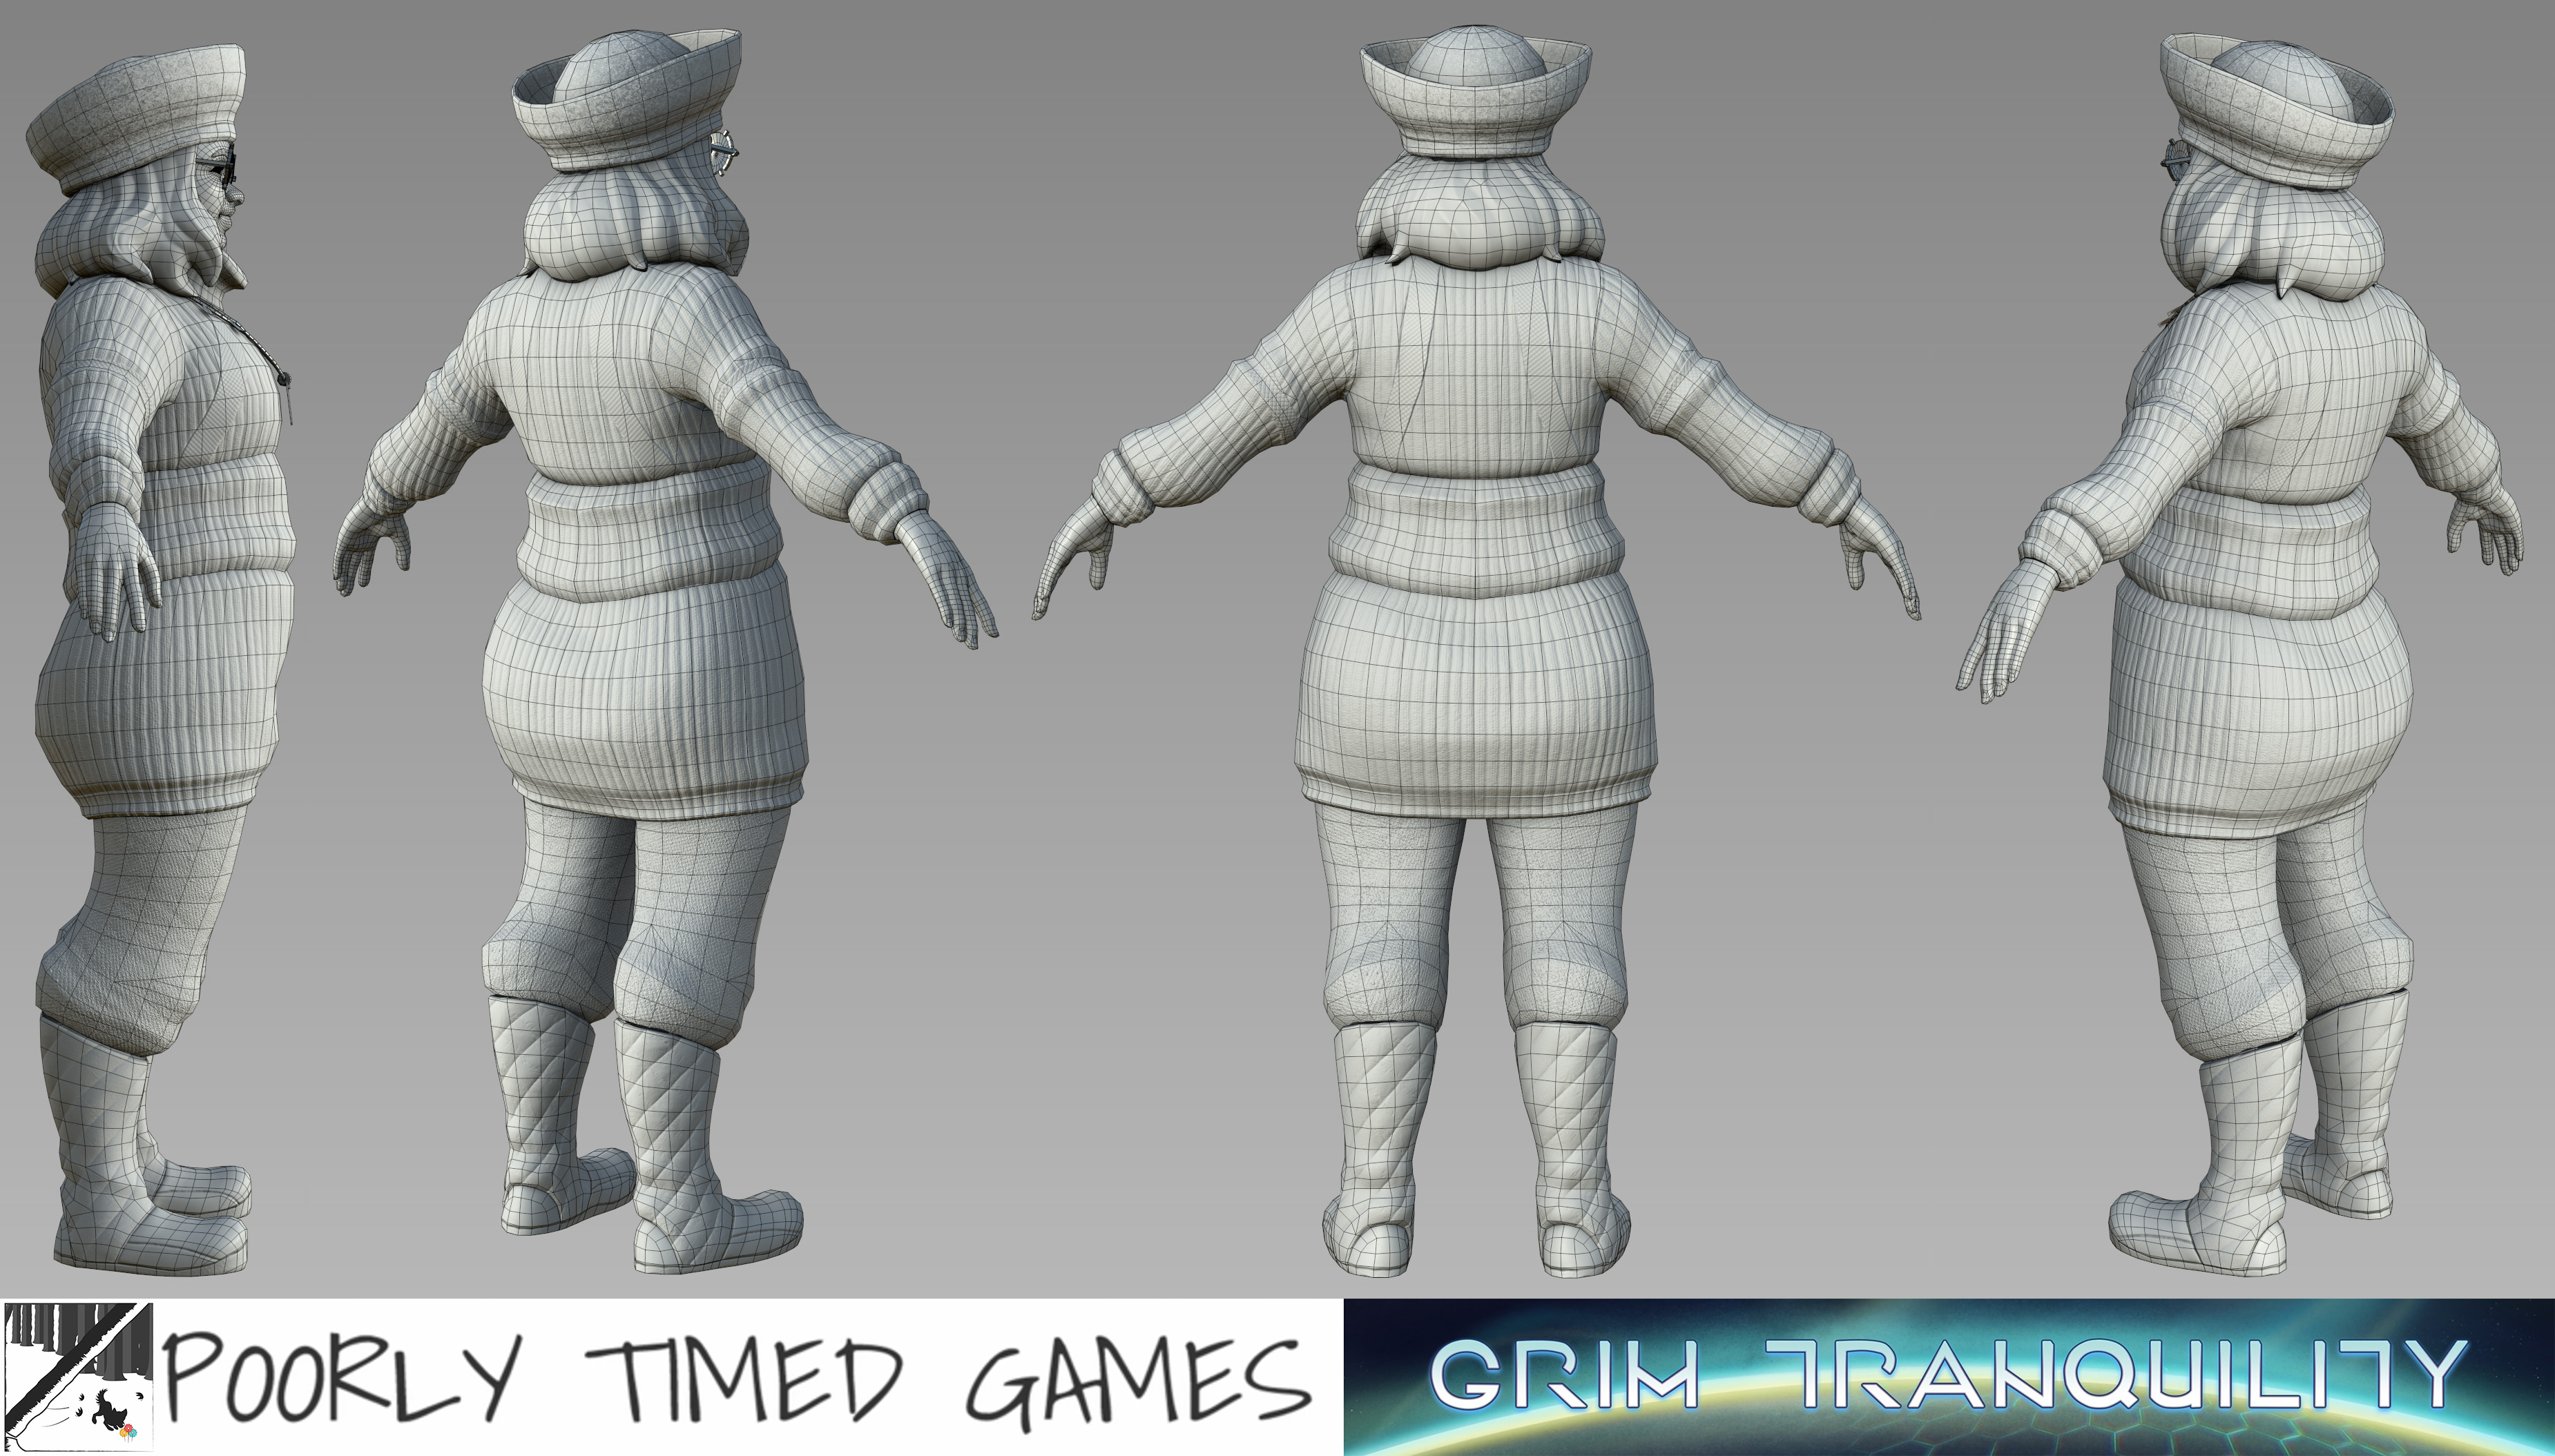
Mesh. 22.5K tris.

Concept art by Rowan Sherwin.

Grim Tranquility - Armaterradon
The Armaterradon was the first character I created for this game, and it was somewhat early in the game's overall development, so figuring out the process included some great back-and-forth with the Concept Artist Rowan Sherwin and Lead 3D Artist Helmut Stark. The final model ended up looking a bit different than the original concept but that was an intentional result of collaboration and refinement. We discussed animals to use as reference, including brachiosaurus for the anatomy and anemones and jellyfish for the skin.


High-res ZBrush sculpt.

Baked normals and AO and painted normals from Substance Painter.

Wireframe. 12.4K tris.

In-game screenshot showing a few Armaterradons, with the final toony shaders applied.

A collection of concept, turnarounds, and reference from Concept Artist Rowan Sherwin. Check out her art at https://gryphonshifter.artstation.com

Egyptian Raks Sharqi Dancer
For this personal project, I wanted to make a bright, colorful character that was different from common game archetypes - someone for an environment other than fighting. So I decided to make a dancer. I designed the costume with a lot of help from my spouse, who introduced me to Raks sharqi. I'm neither Egyptian nor a sharqi dancer, but I've seen firsthand the effort that goes into handmaking the costumes and doing the makeup and I really like the aesthetic. These are realtime renders in Substance Painter. Four texture sets - body, costume, head, and hair. These images are using 4K textures & the sketchfab model uses 2K. I left enough UV padding so they could mip down to 512px without bleeding.
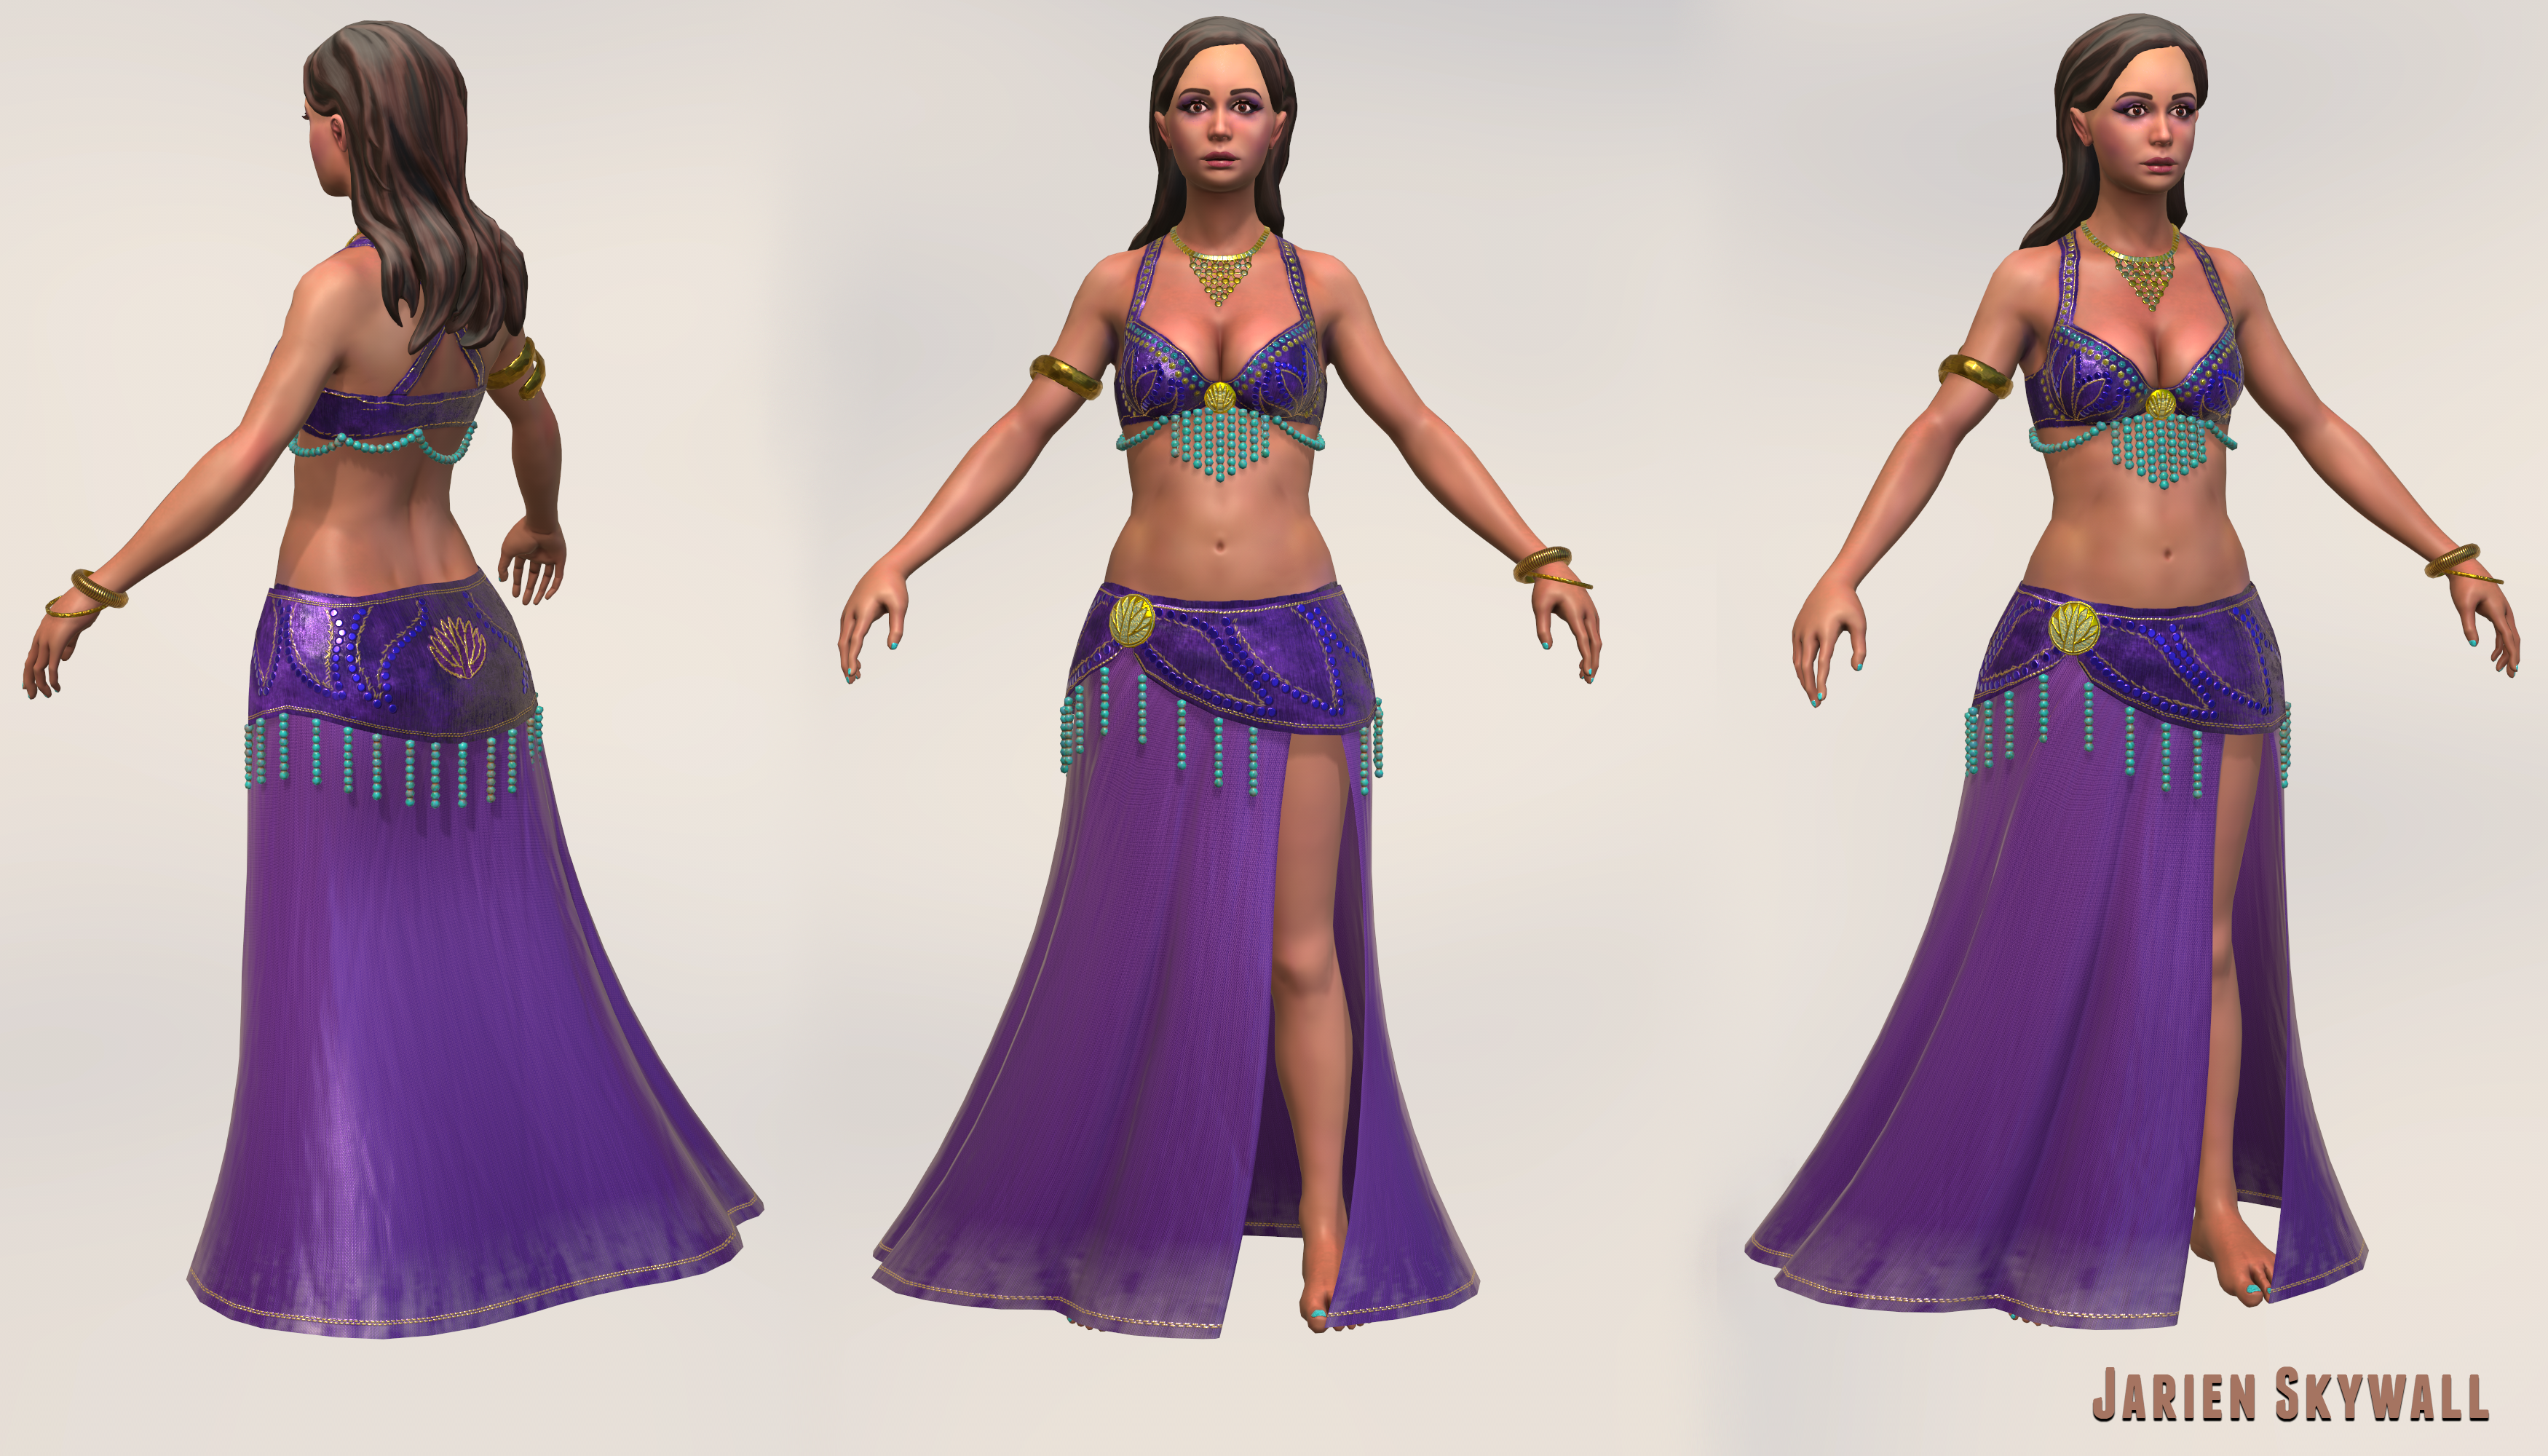
I watched an Arabic makeup tutorial and consulted with my spouse to try to understand the artistry of the face makeup for this dance. It was fun painting the face and it made me realize how much work goes into this in real life!

Interactive realtime Sketchfab viewer. Alt + click-drag to rotate the lights & see the velvet shine! No custom shader - typical PBR albedo, metallic, roughness, normals. Masked in patches of "illegal" colors in normal map to emulate velvet fibers brushed different directions. Click the "View in Sketchfab" cube icon at the lower left to see it full size in a new tab.
These dance costumes are usually custom designed and hand-sewn, so I went with asymmetrical embroidery with stitching imperfections
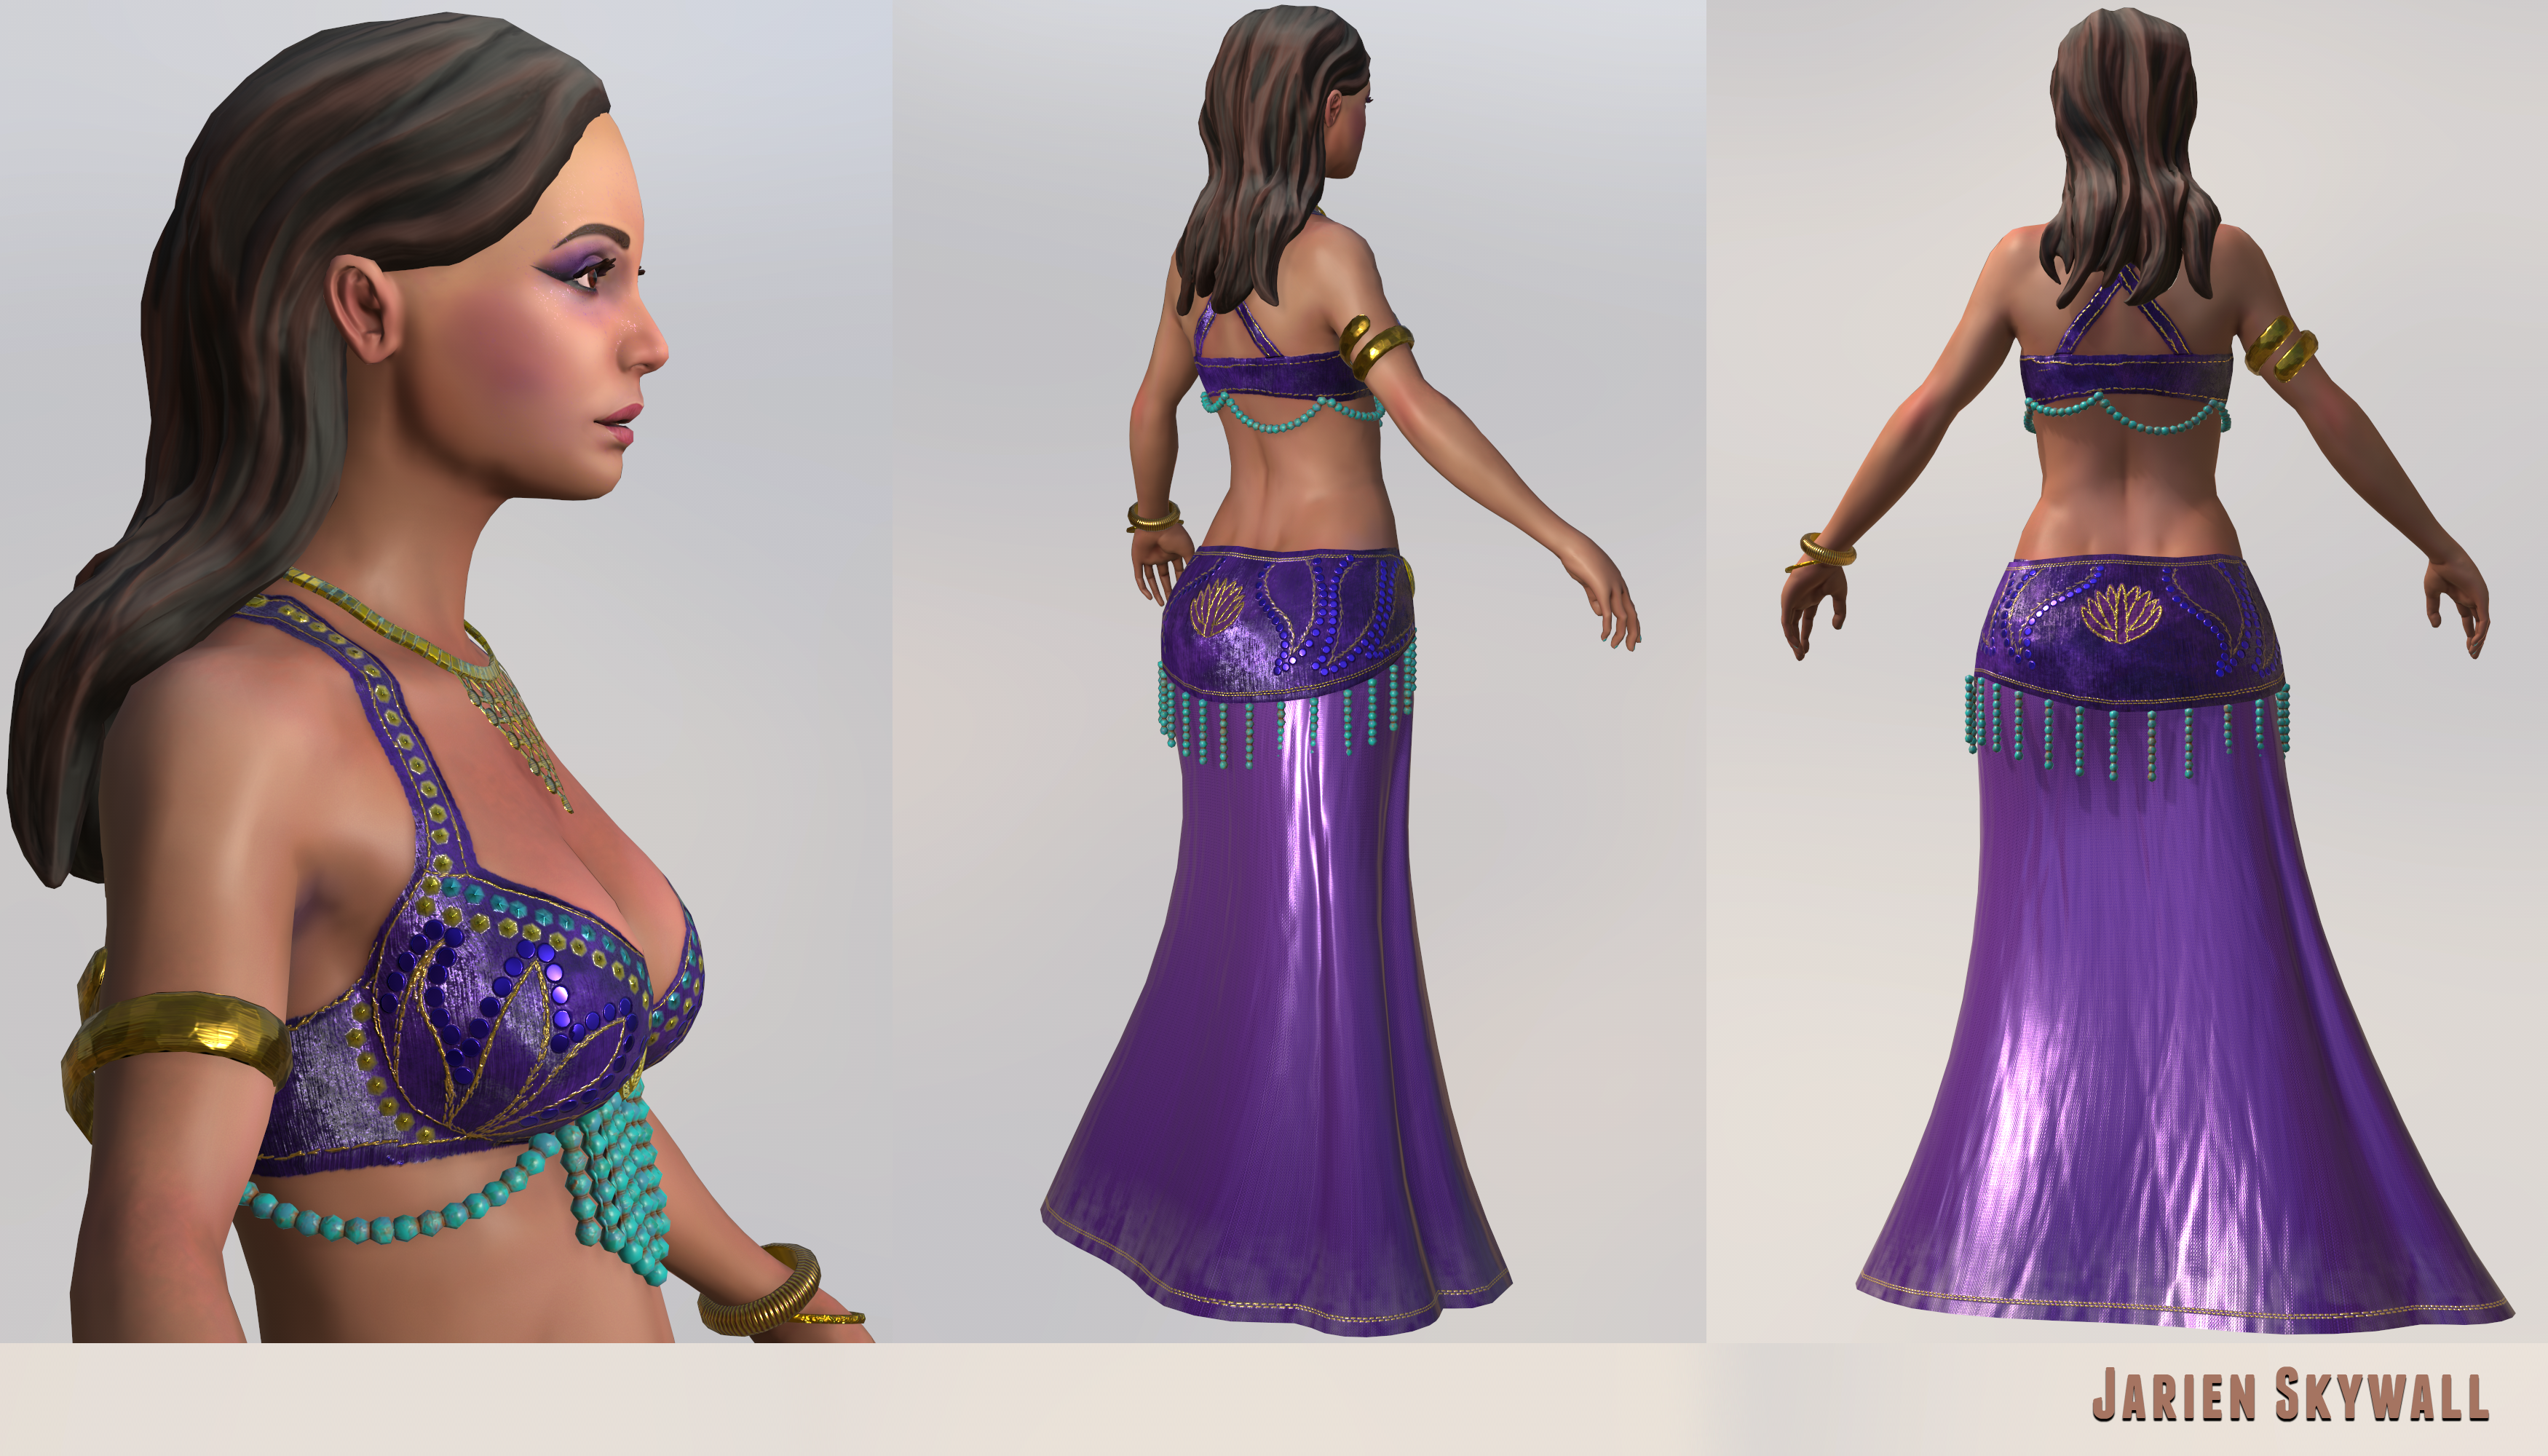
30K tris total. Head - 6K tris. Hair - 3.3K tris. Beaded fringe - 7.5K tris. Everything else - 13.3K tris. I modeled the beads even though it's a lot of polys because the way the fringe moves is important for this dance, and geo animates better than alpha cards.

High-res sculpt in ZBrush. Good chance to practice anatomy. Shown with basic polypaint, not final materials. I made the belt and skirt high poly meshes in Maya. They're simple and similar to the realtime mesh
May's Journey
This is May, the main character of the educational coding game for kids, May's Journey. The game was created by Chaima Jemmali and the character design and concept were created by Ali Swei. 14K tris, unlit/self-illuminated handpainted diffuse textures. I modeled the character in Maya, sculpted the head in ZBrush, baked maps and did first pass head textures in Substance Painter, and textured most of the character in Photoshop and 3DCoat.
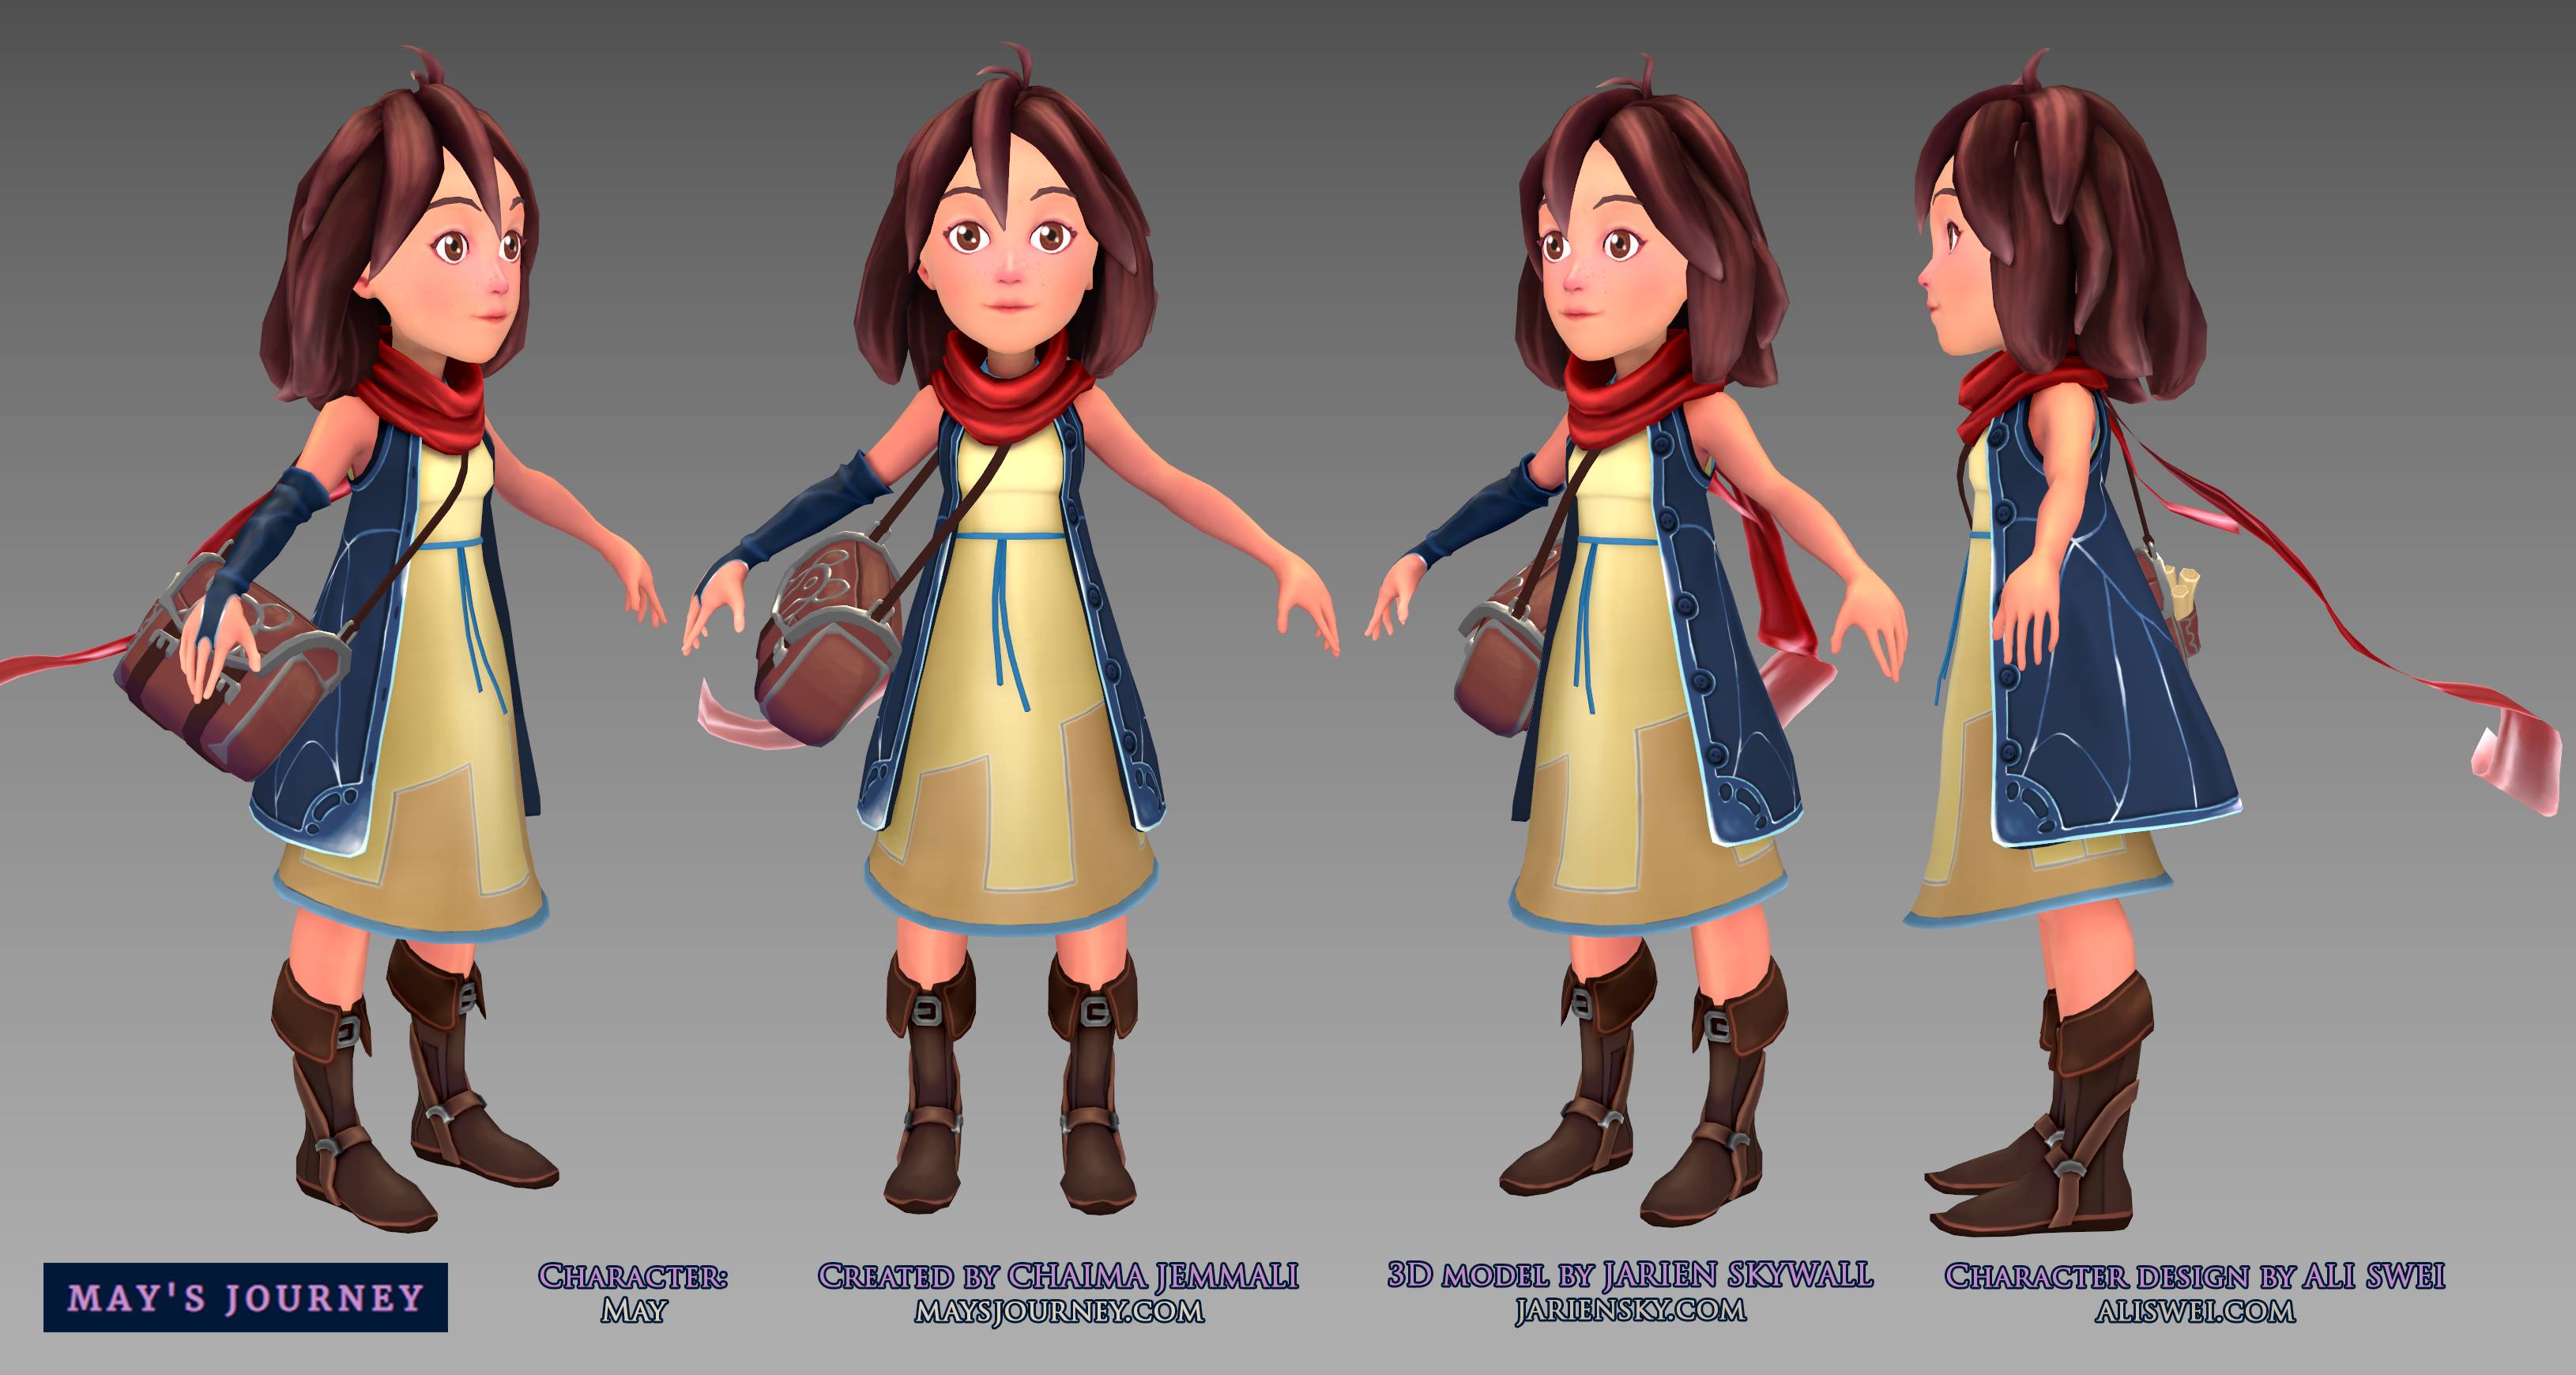
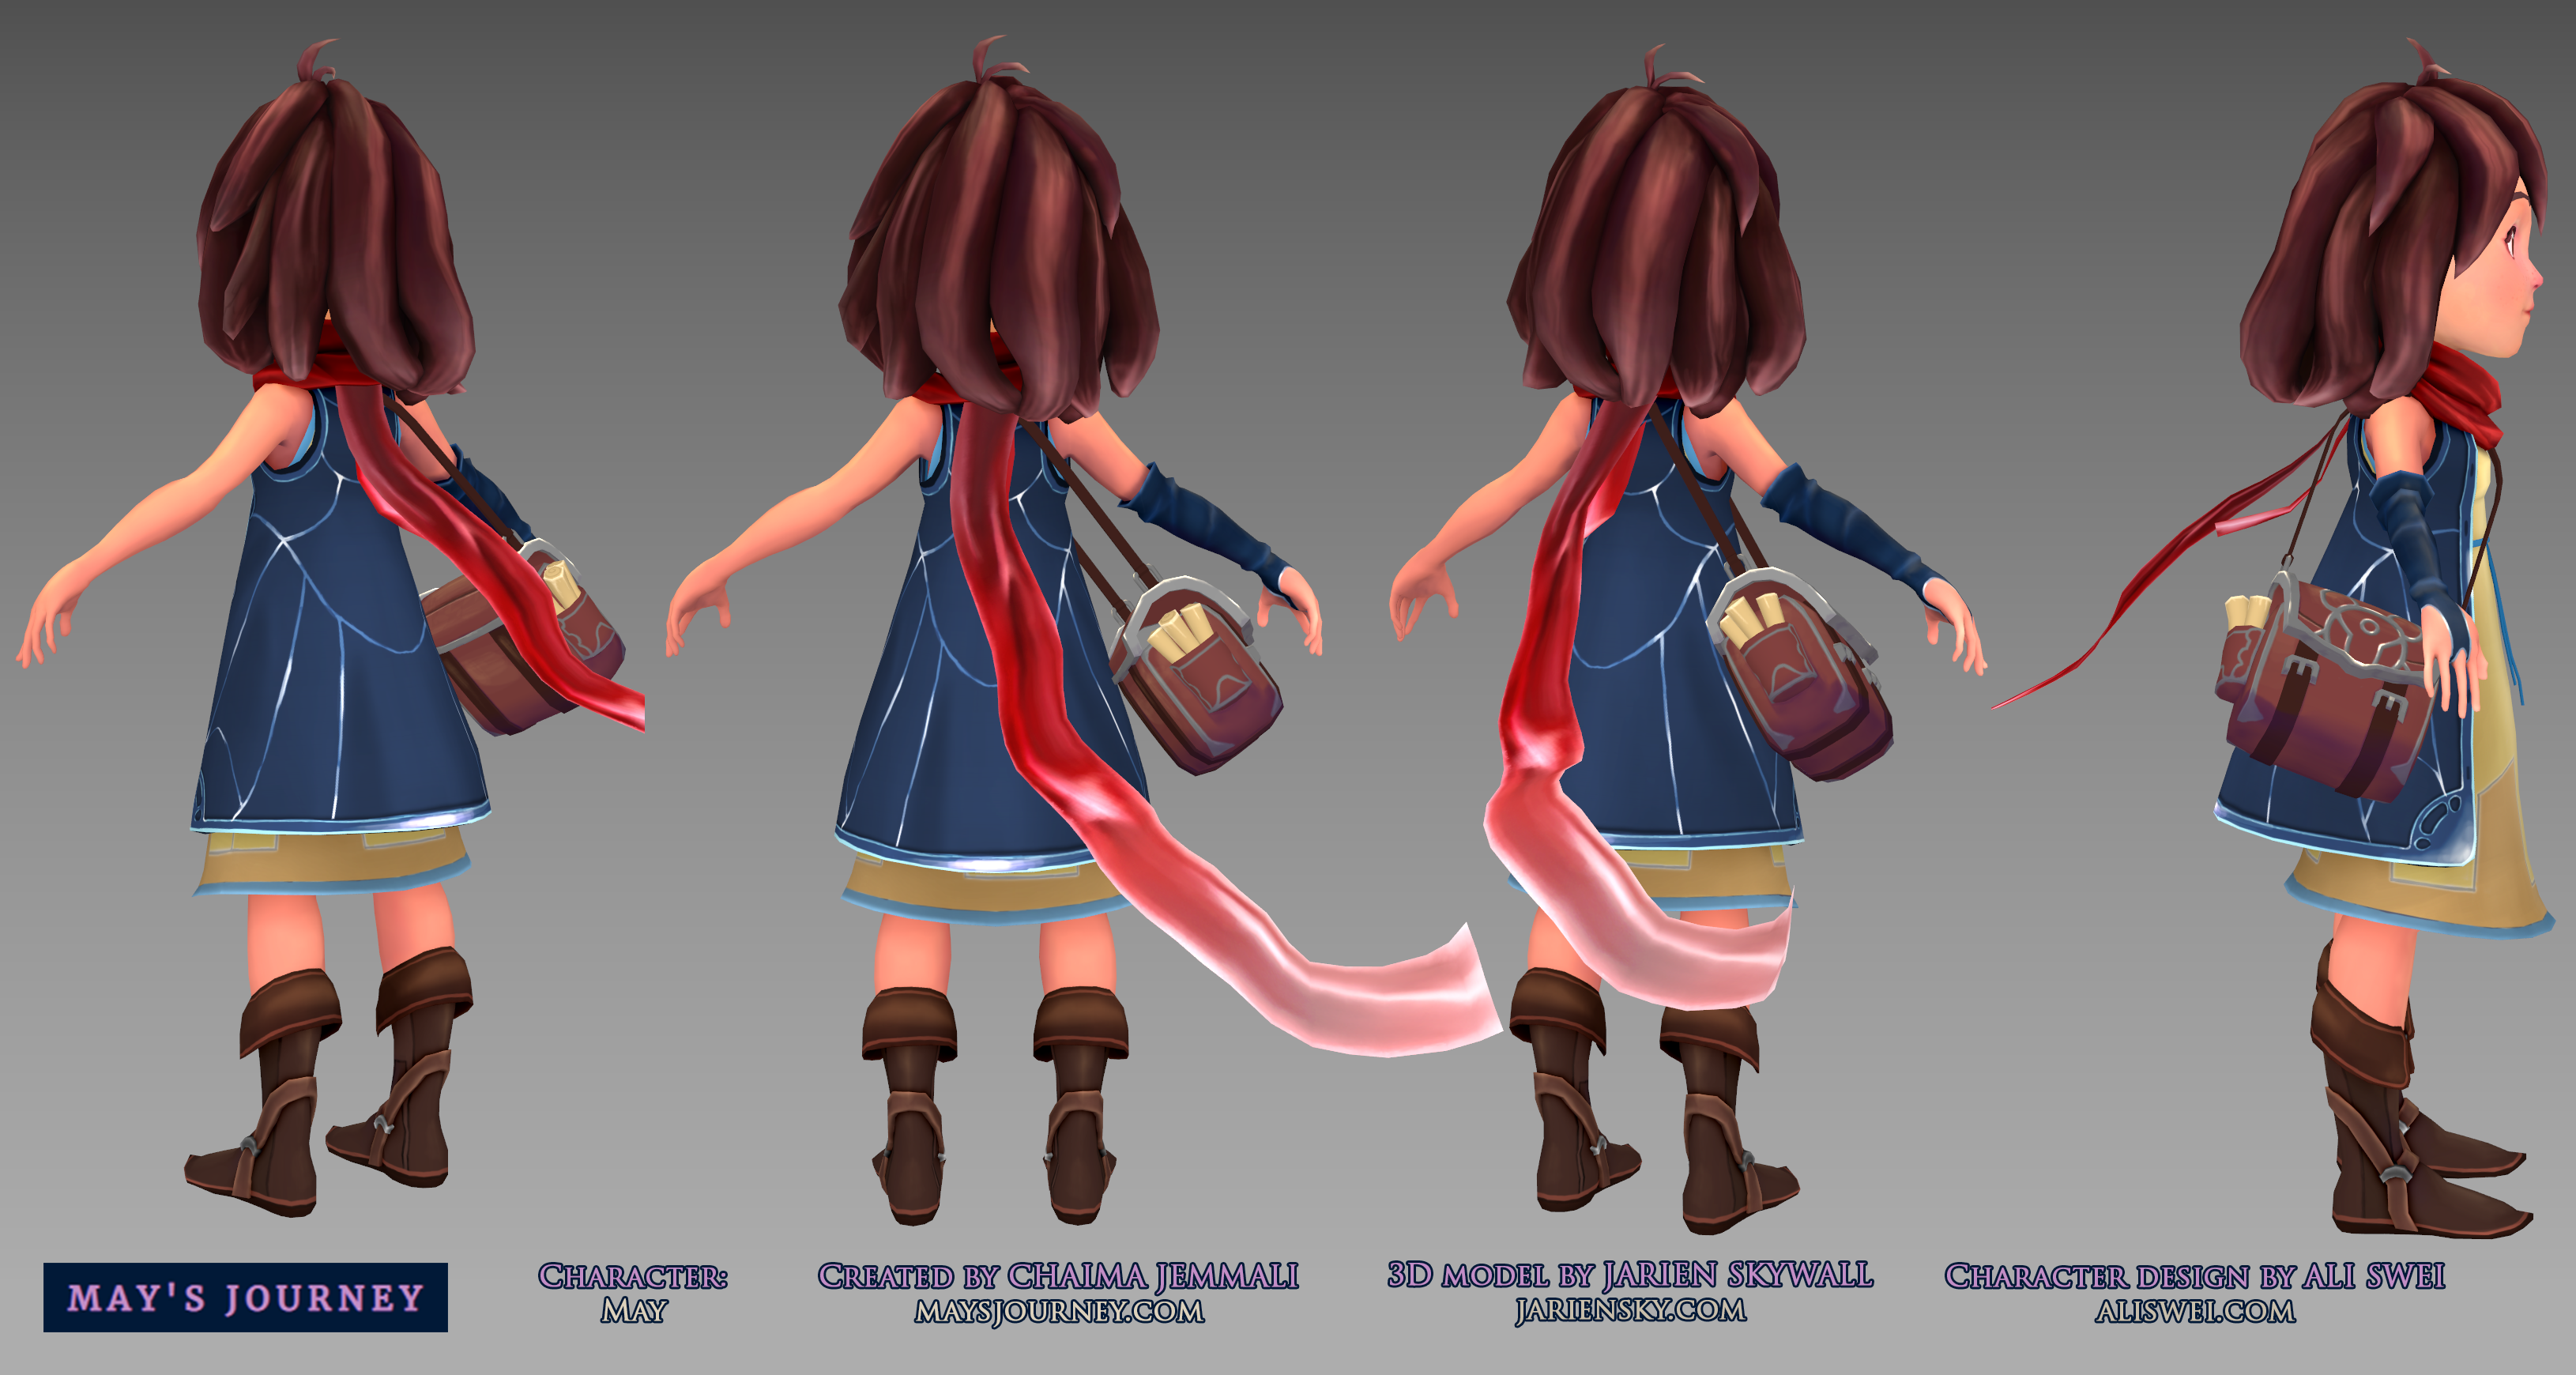
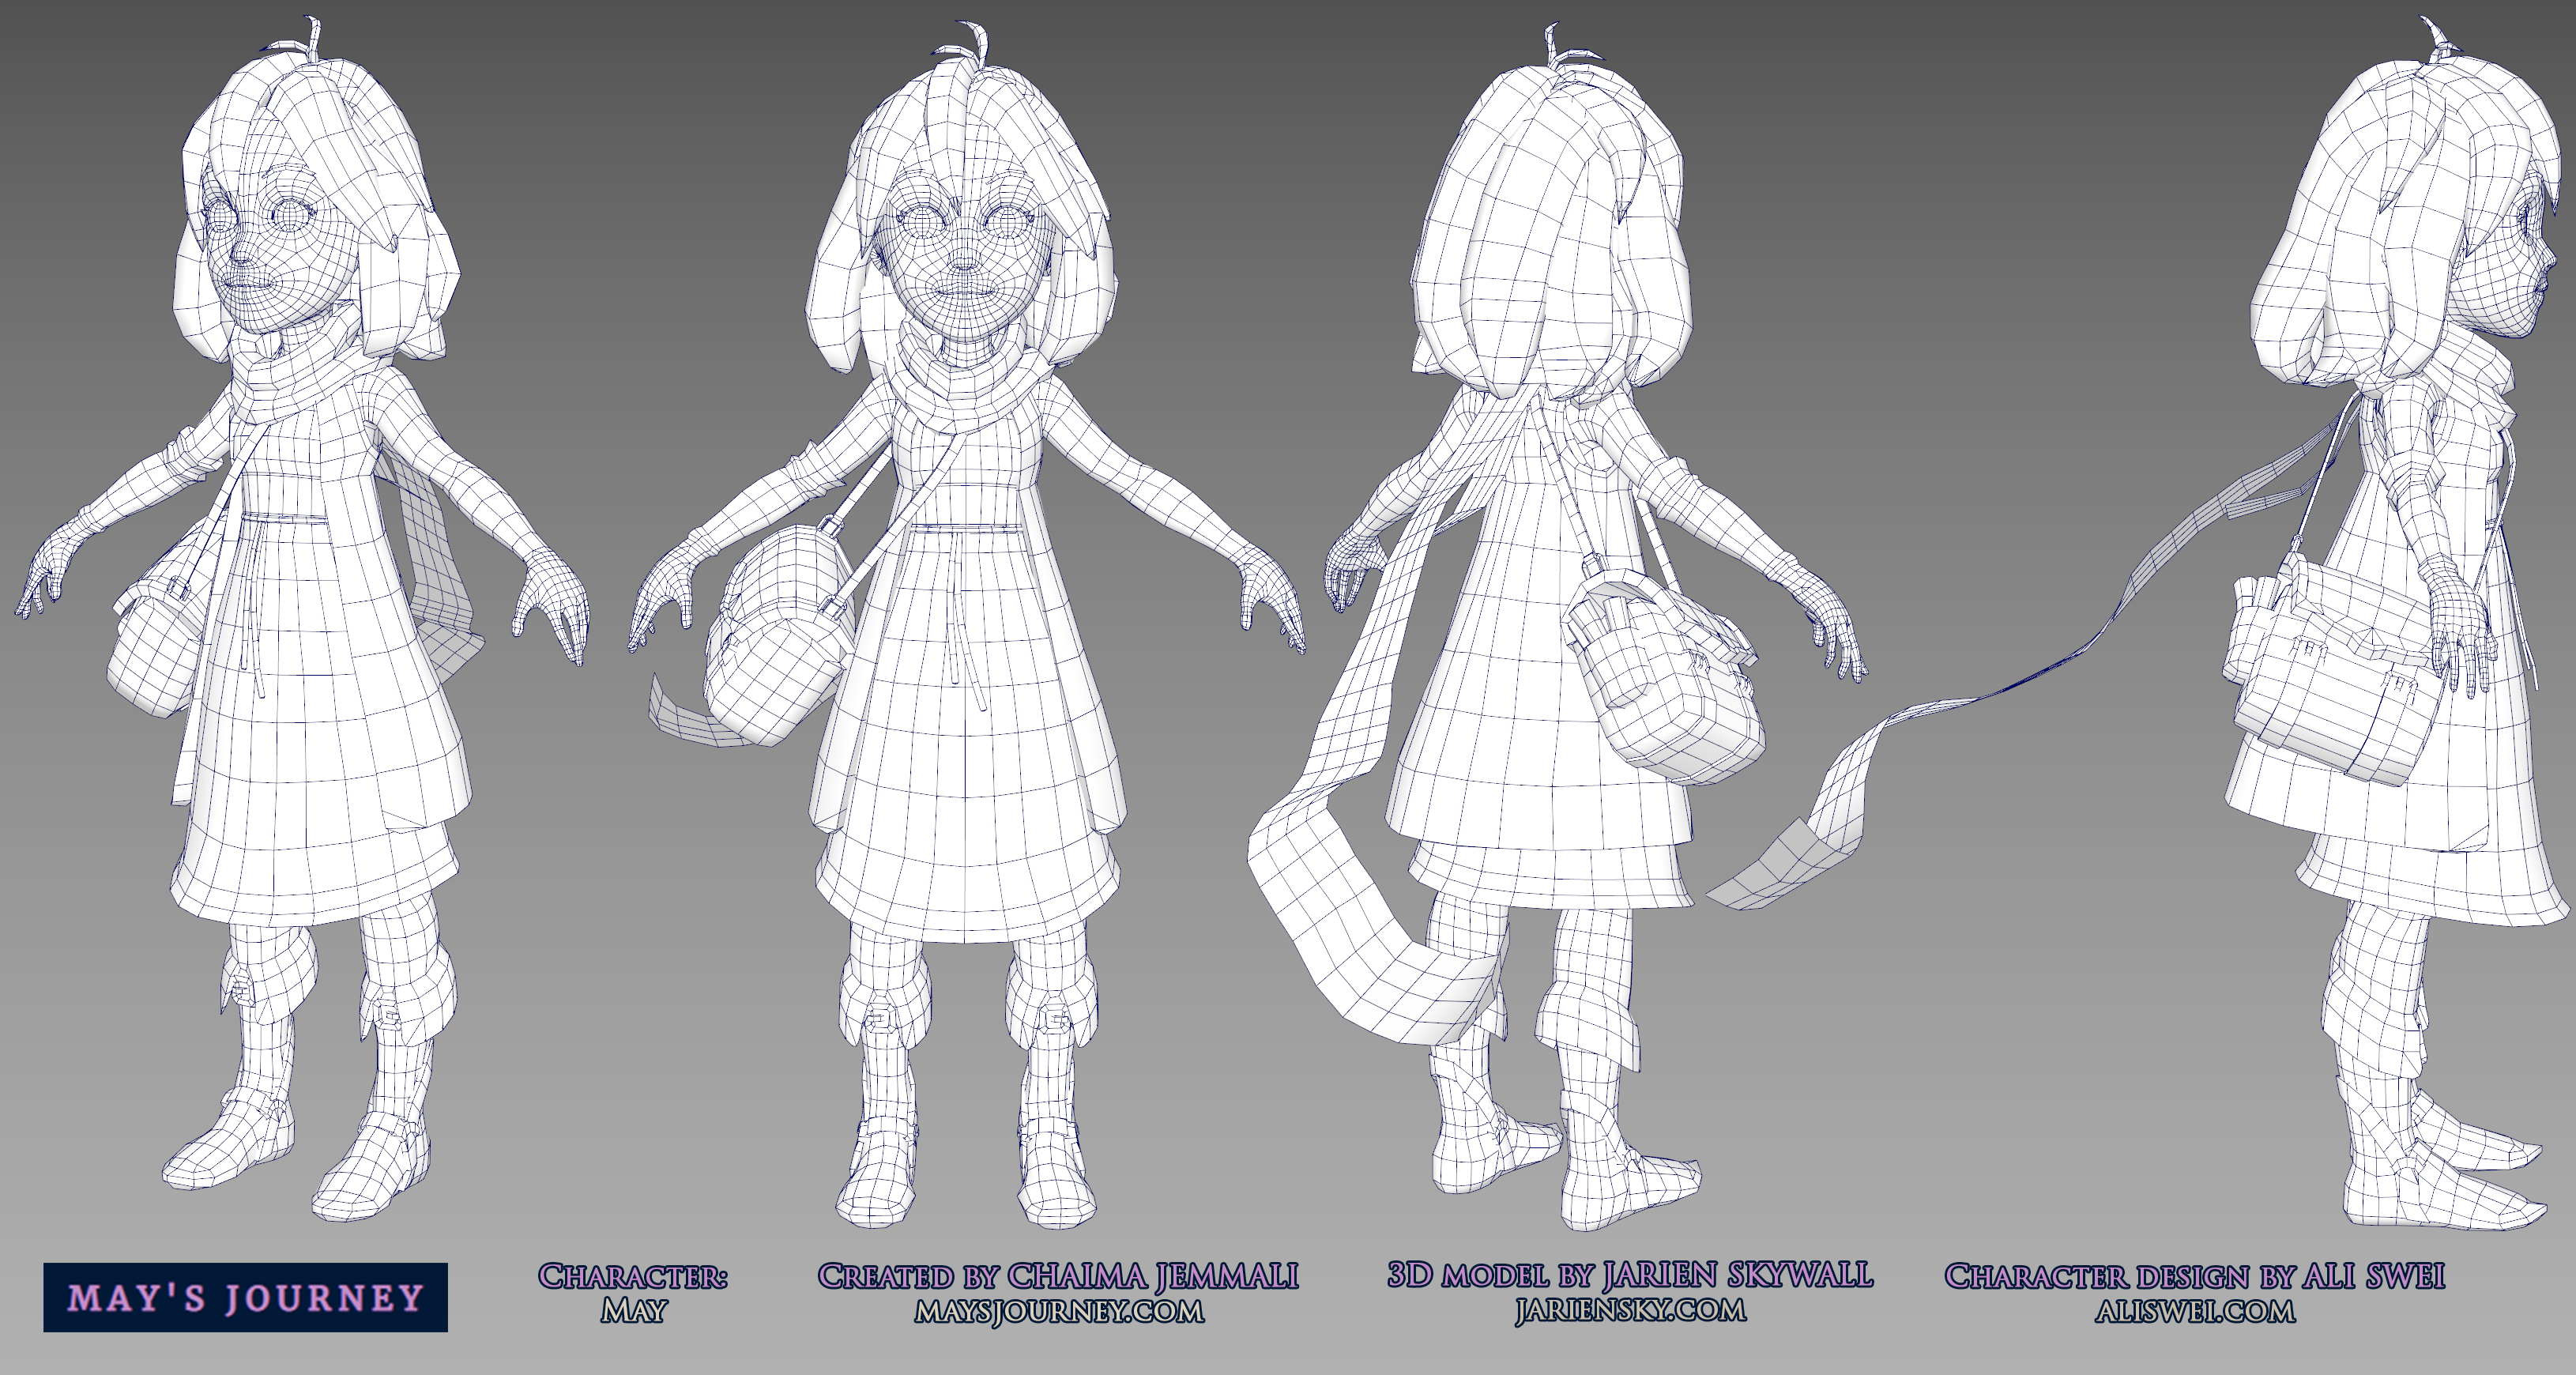
Total - 14K tris. Bag - 1.5K tris. Collar & scarf - 650 tris. Body, clothes, head, hair - 12K tris.
Interactive realtime Sketchfab viewer. Click the "View in Sketchfab" cube icon at the lower left to see it full size in a new tab.
This is Myr, another character for May's Journey, concept also by Ali Swei. 9K tris, unlit/self-illuminated handpainted diffuse textures. I modeled the character in Maya, sculpted the head in ZBrush, baked maps and did first pass head textures in Substance Painter, and textured most of the character in Photoshop and 3DCoat.
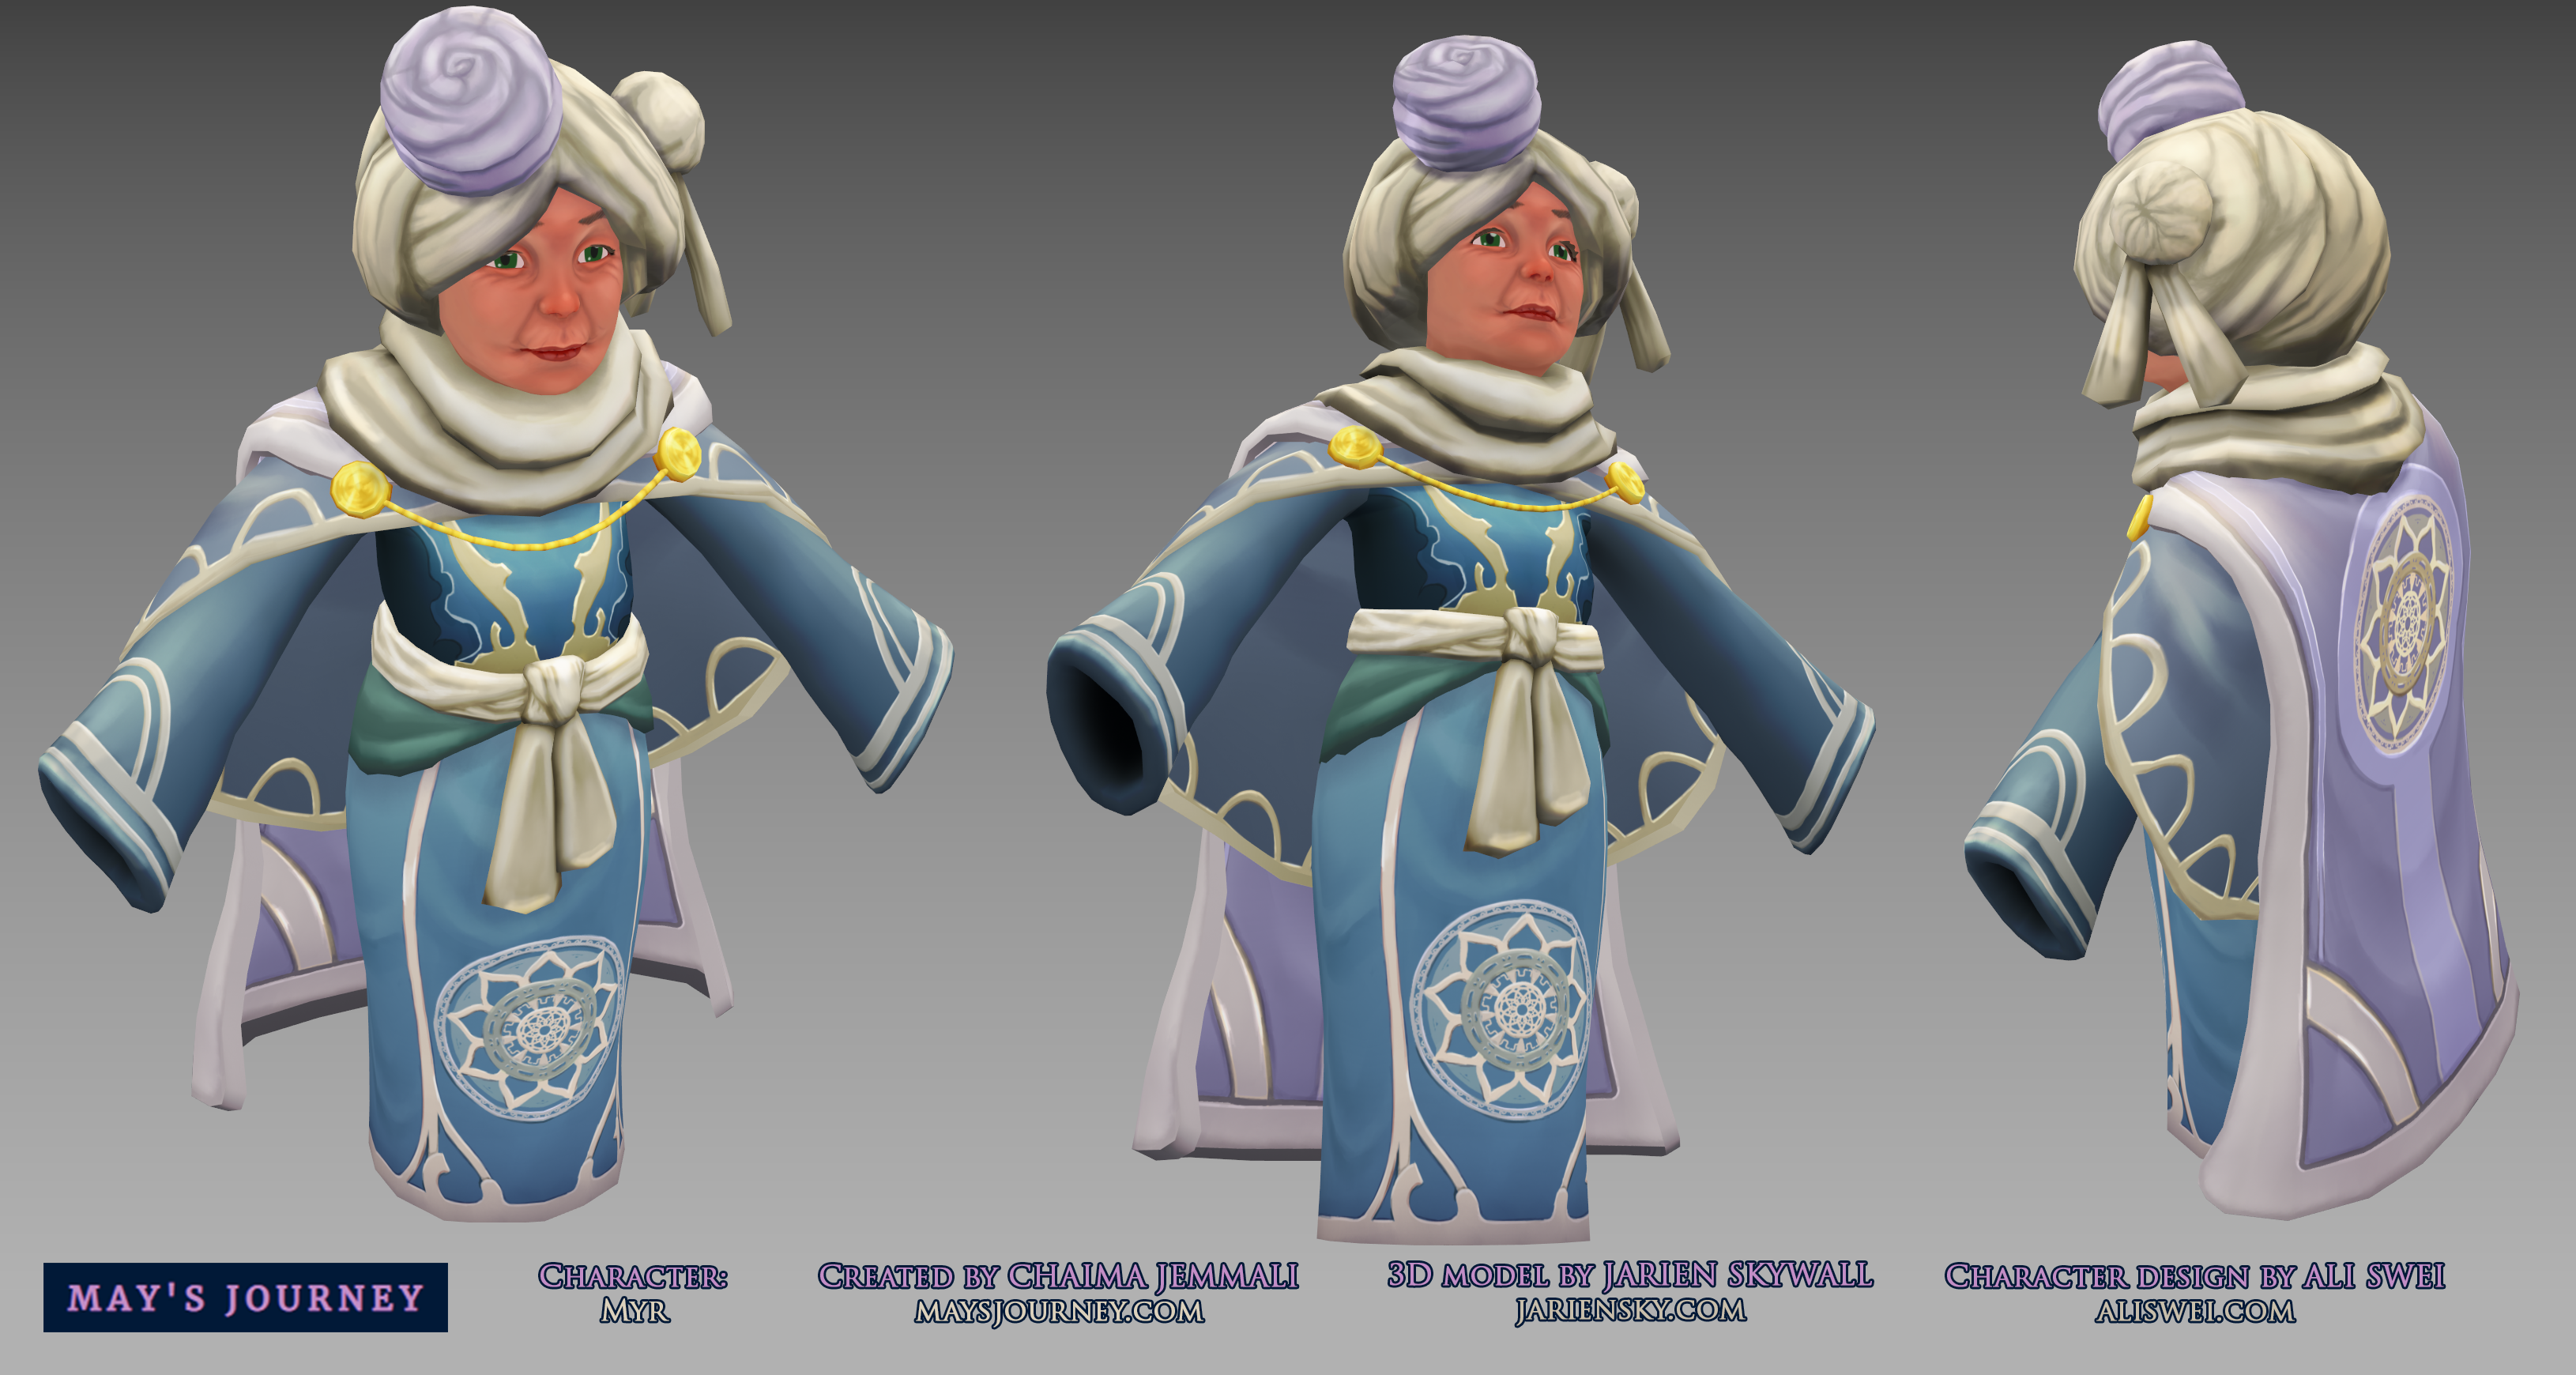
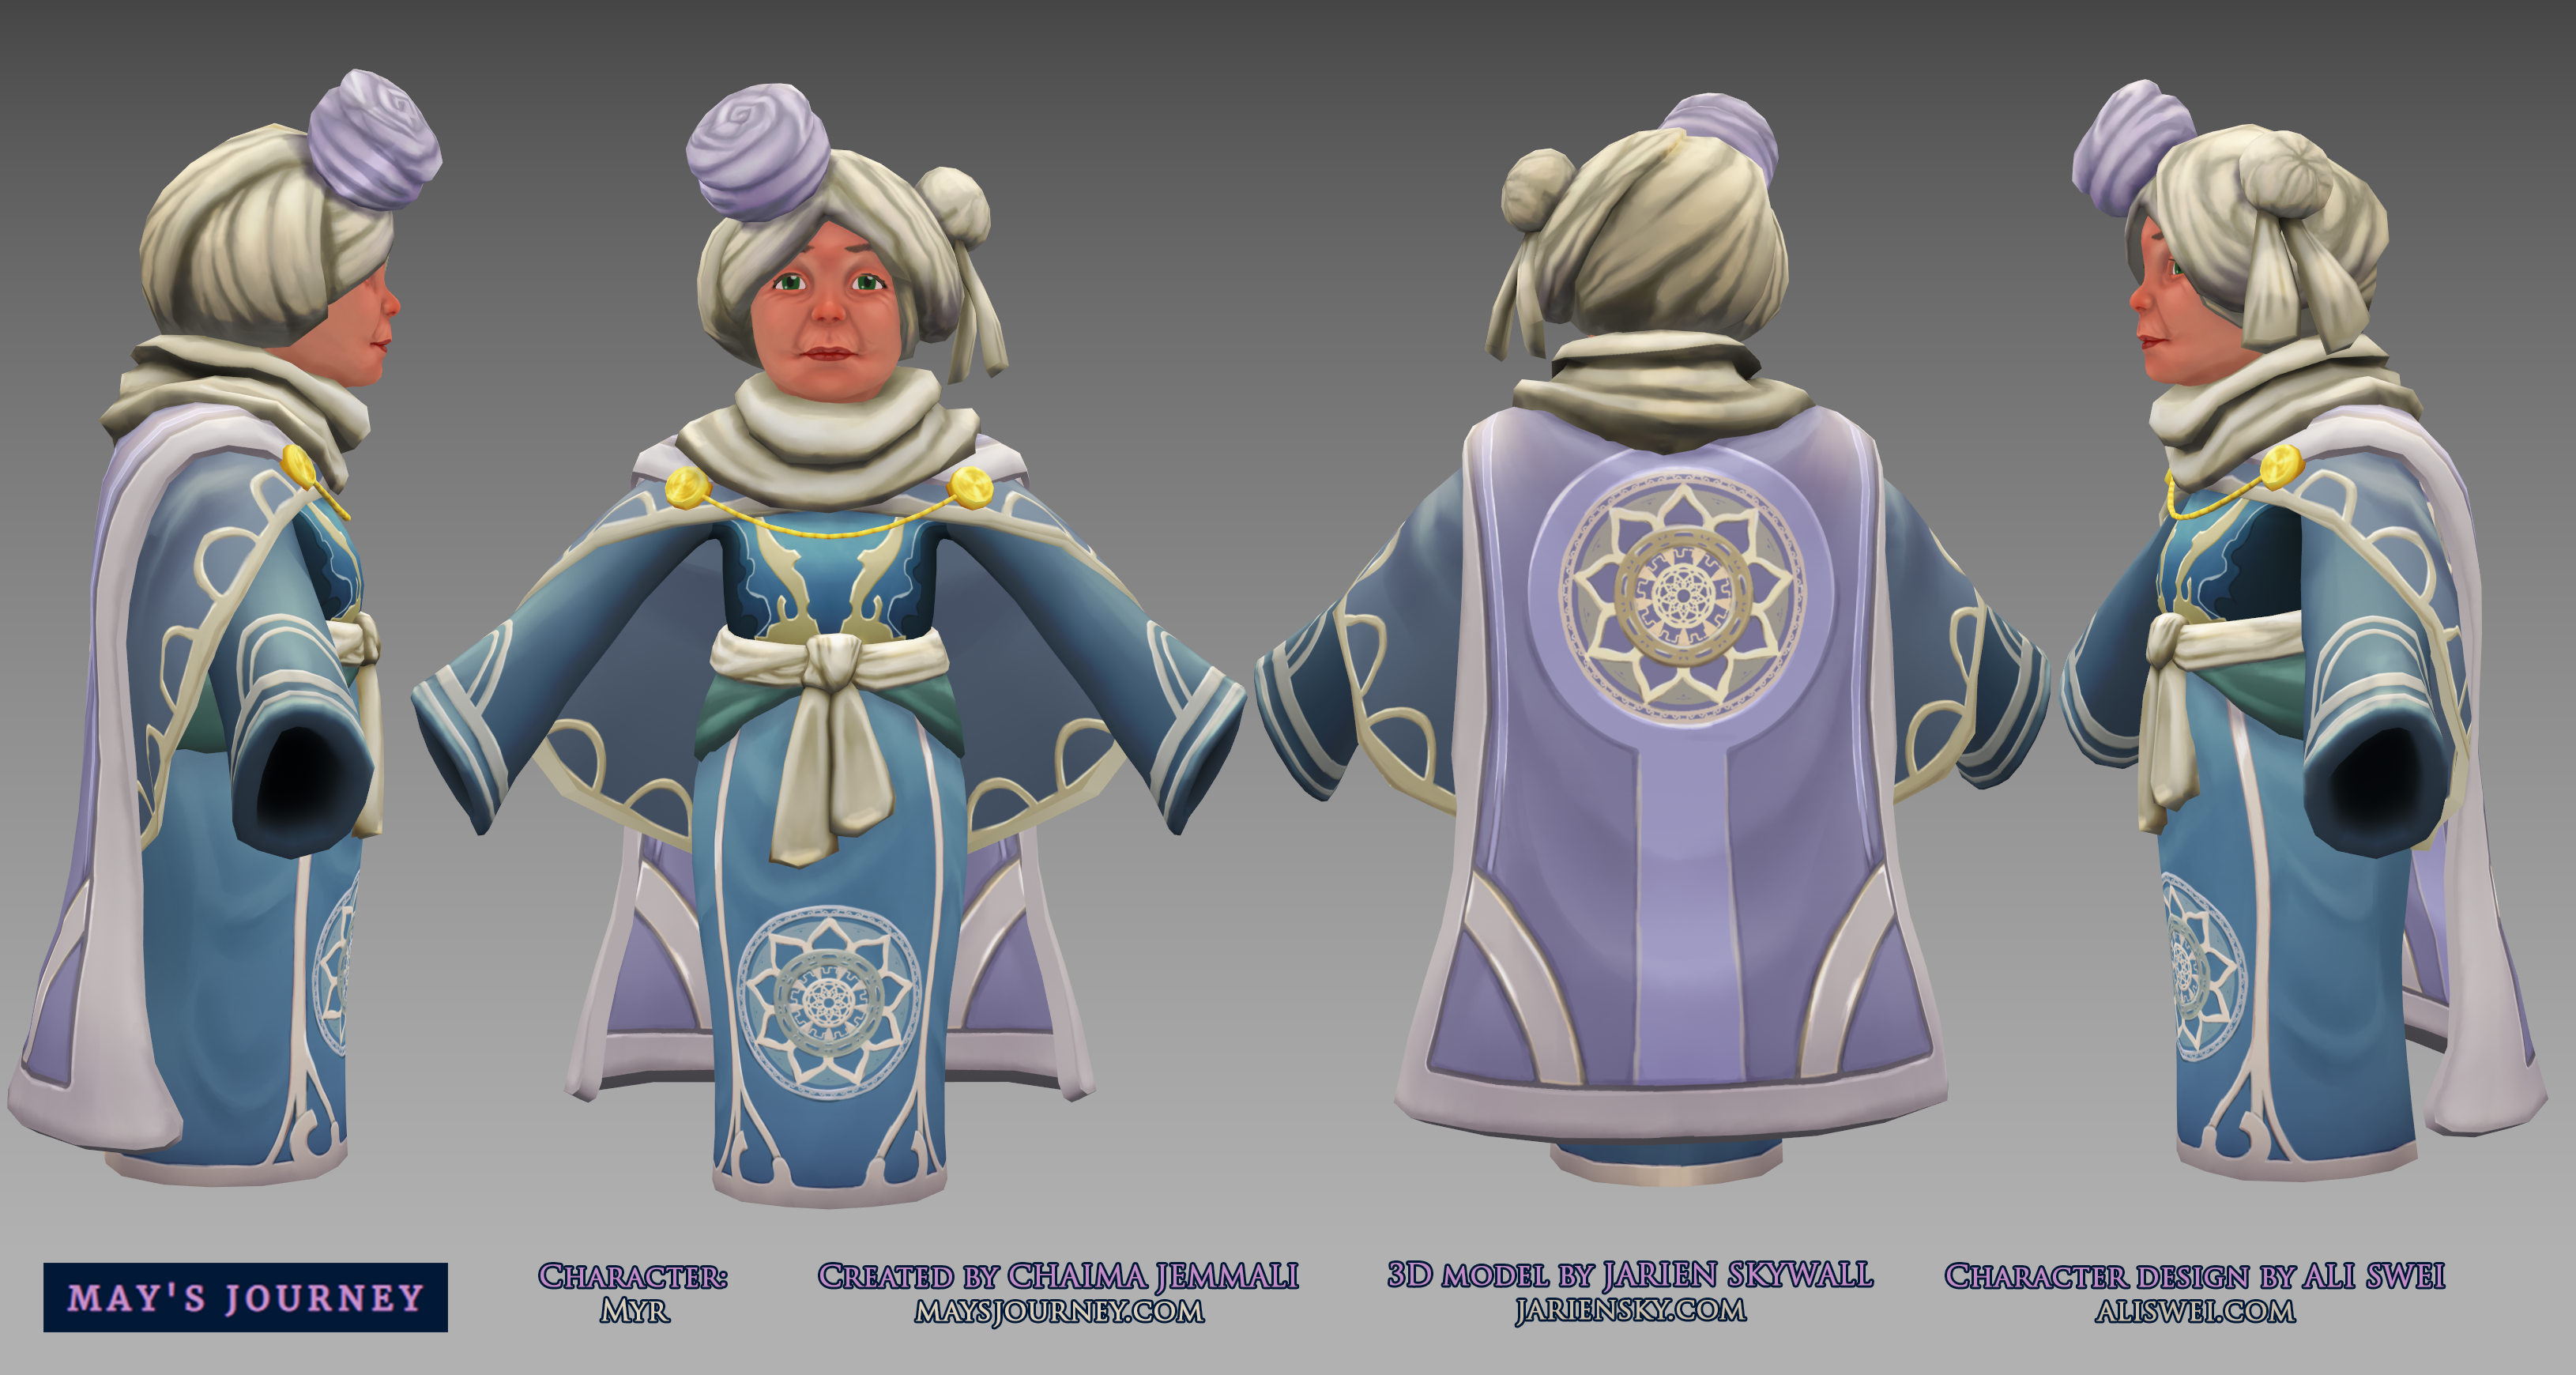
9400 tris.
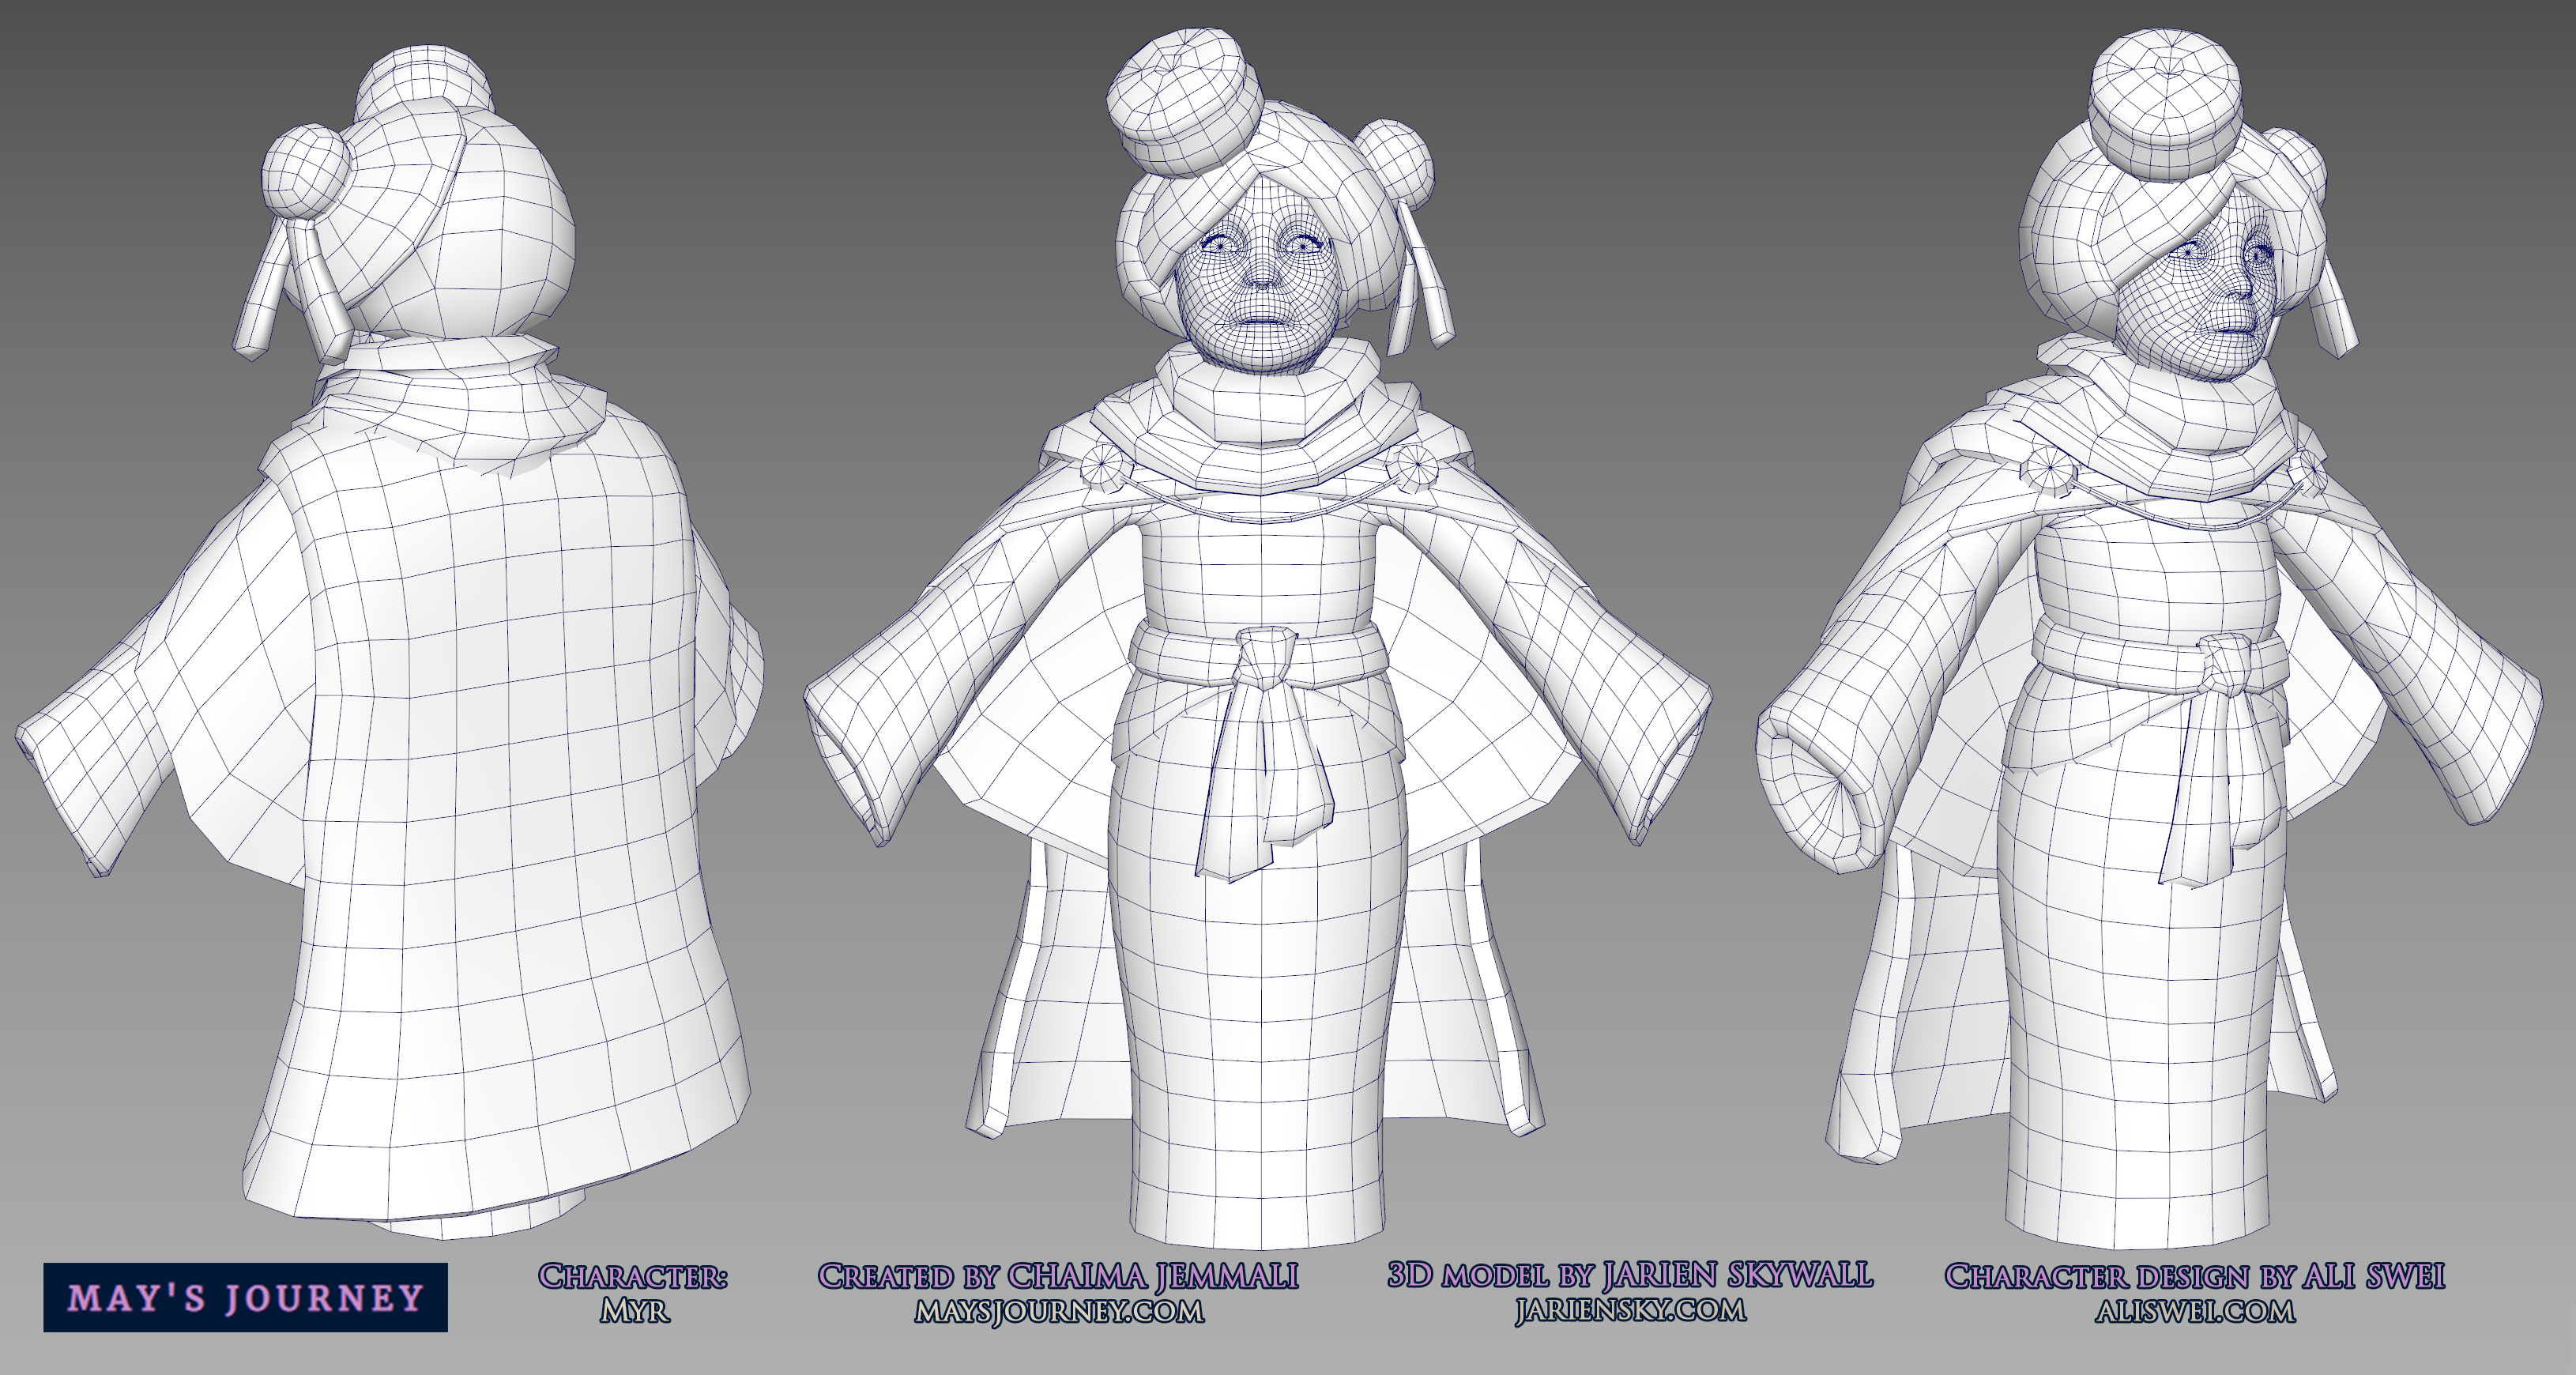
Interactive realtime Sketchfab viewer. Click the "View in Sketchfab" cube icon at the lower left to see it full size in a new tab.
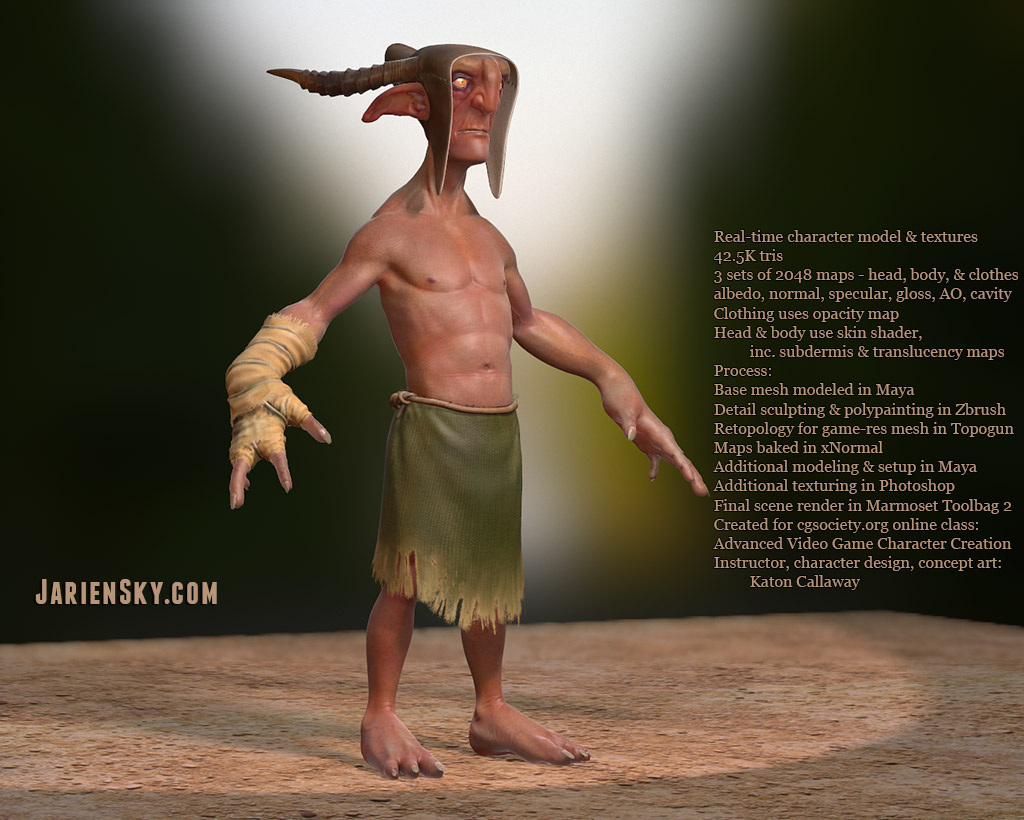
Willabee
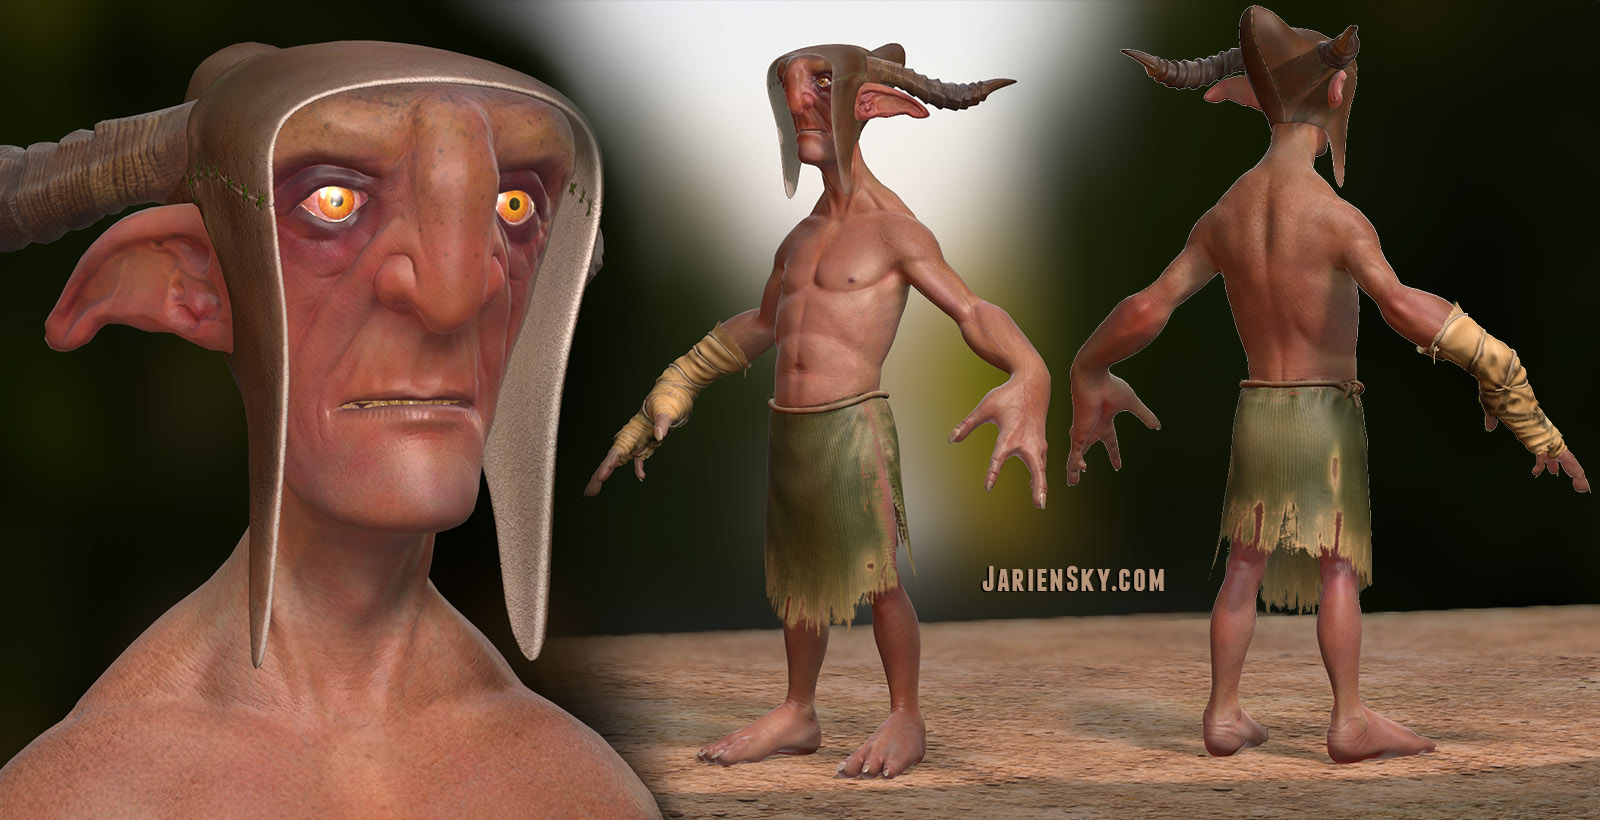
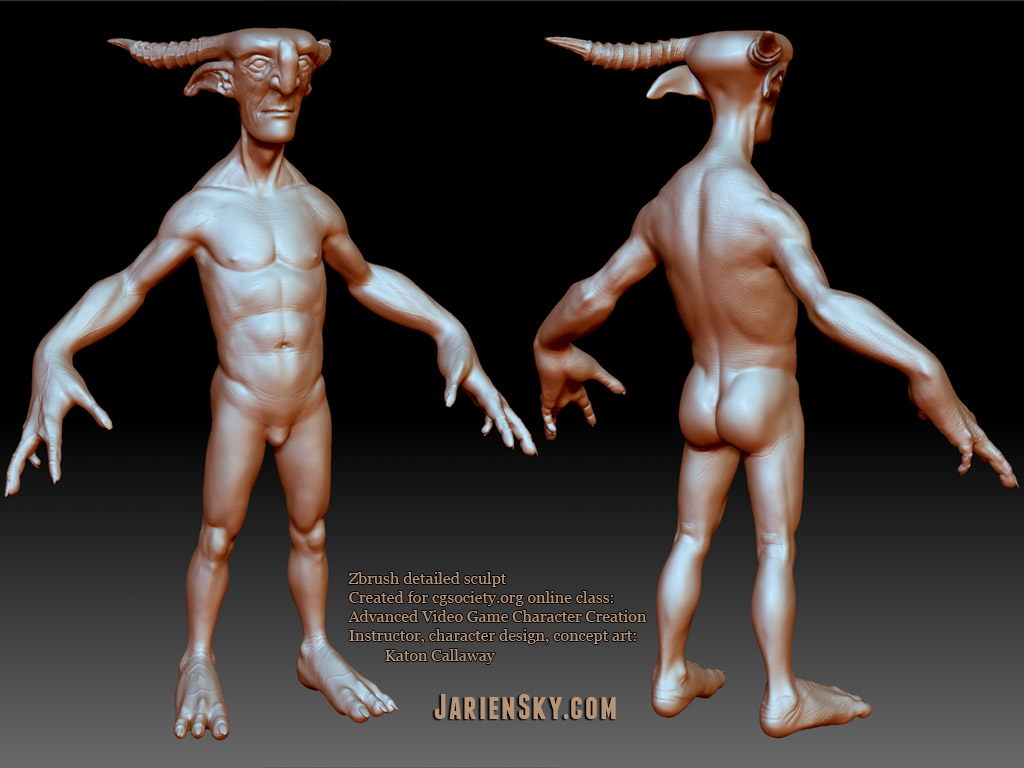
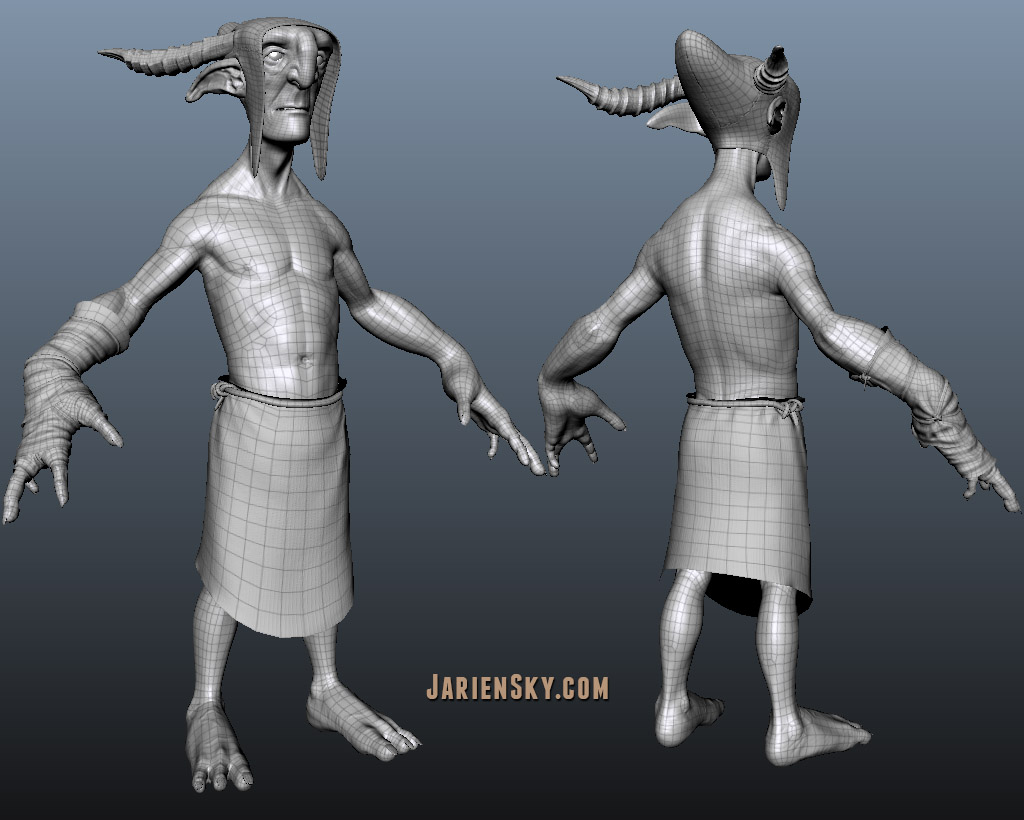
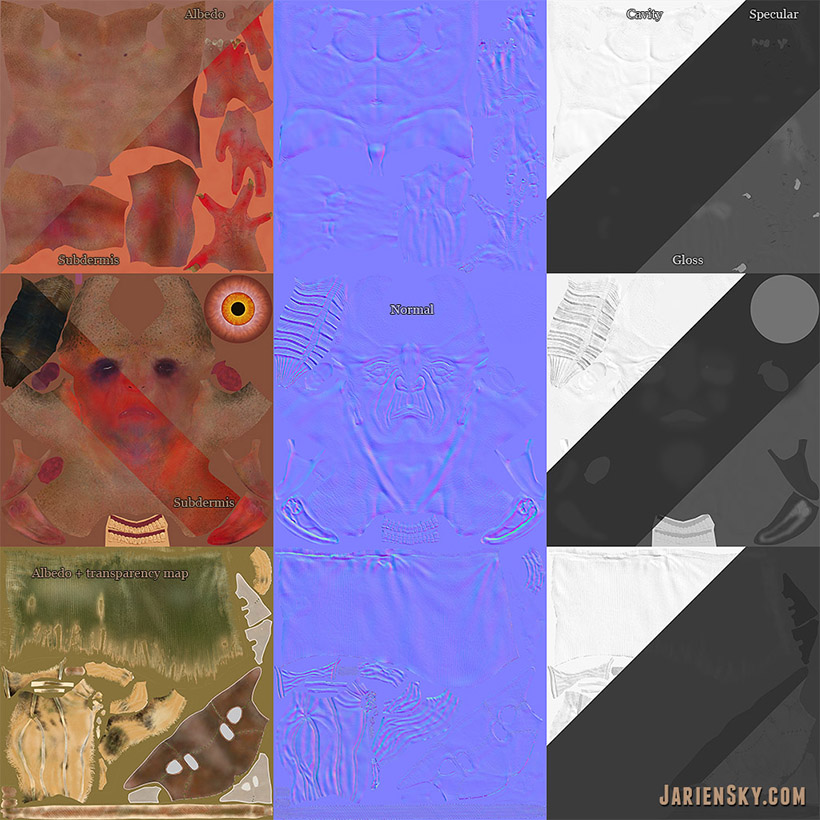
I modeled and textured this character for a CGsociety.org Advanced Video Game Character Creation class. Katon Callaway taught the class and designed the character. I used Maya, ZBrush, Photoshop, and Marmoset Toolbag.
Dad by the Sword
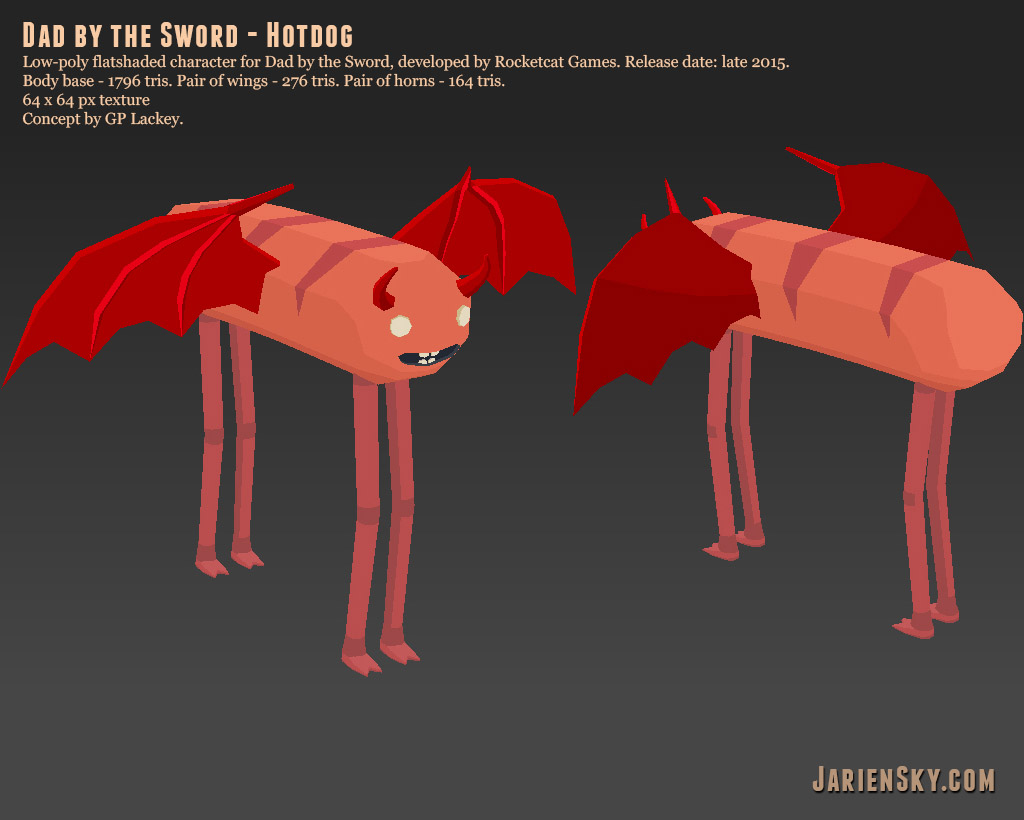
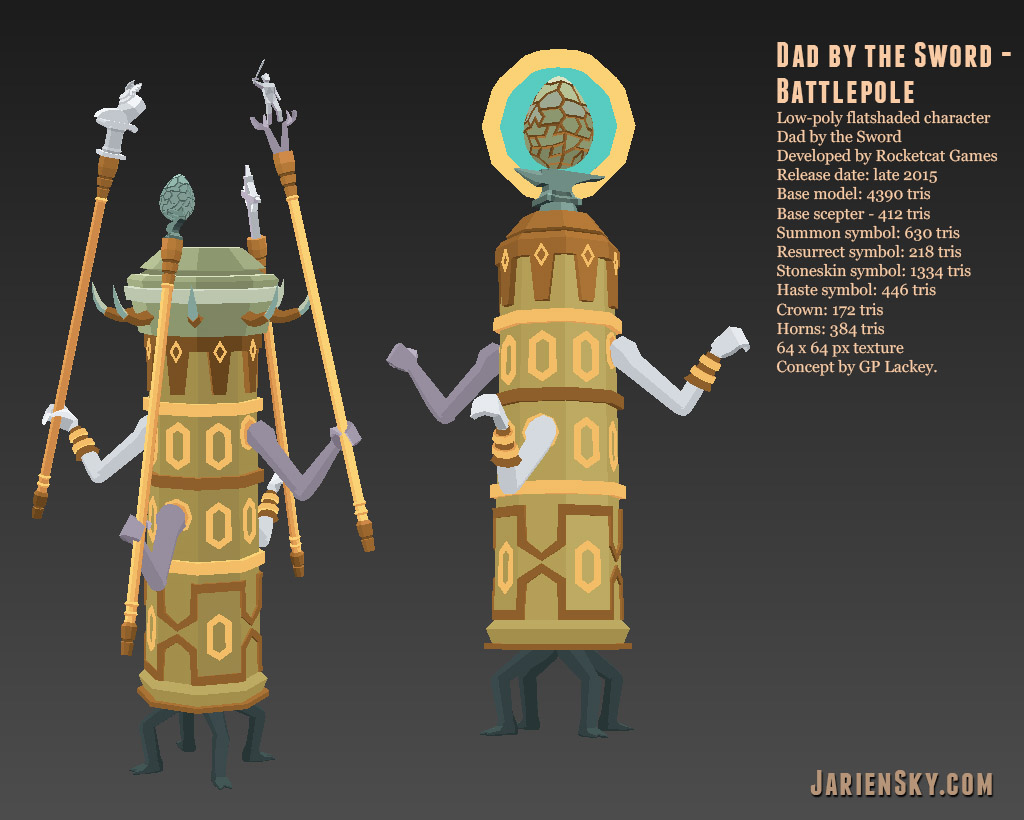
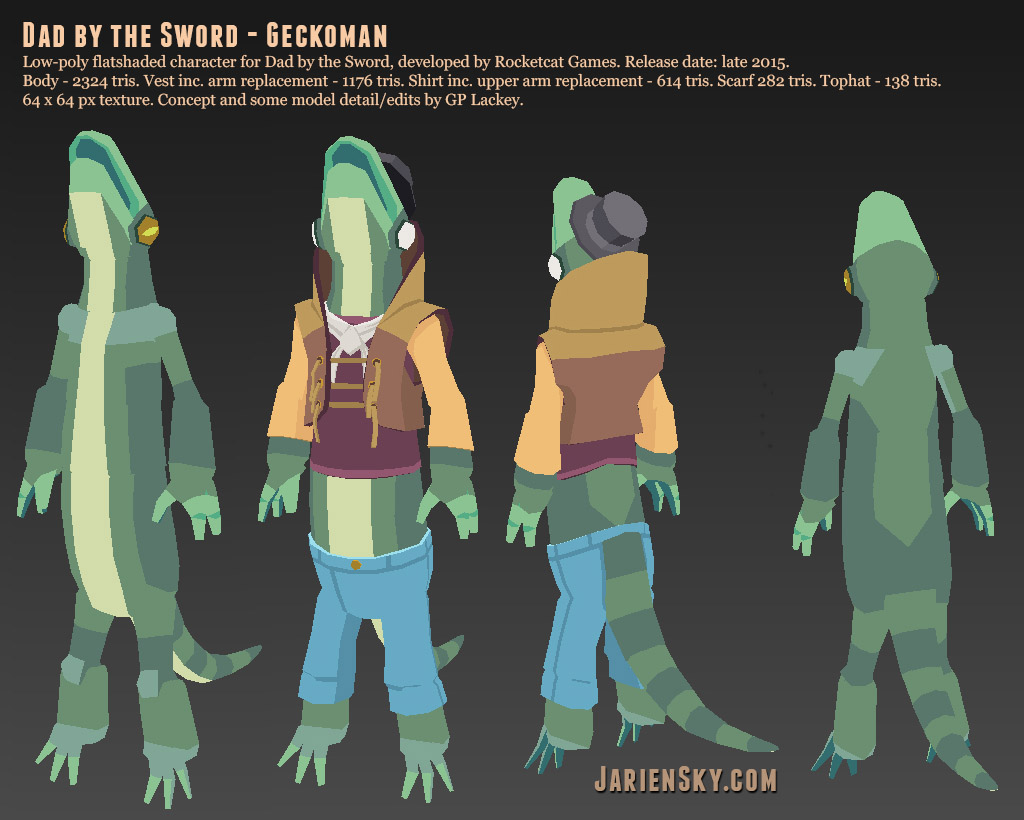
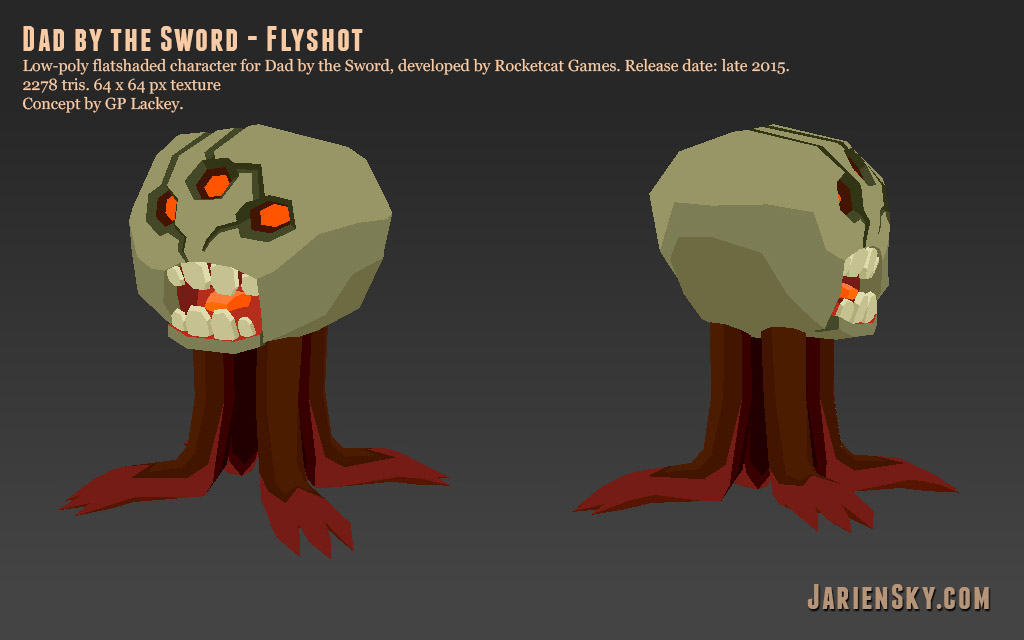
I created some flat-shaded (unlit) very stylized characters for Dad by the Sword by Rocketcat Games. It was a fun project - the concepts were pretty funny and intentionally ludicrous.

Cyber-Anatomy
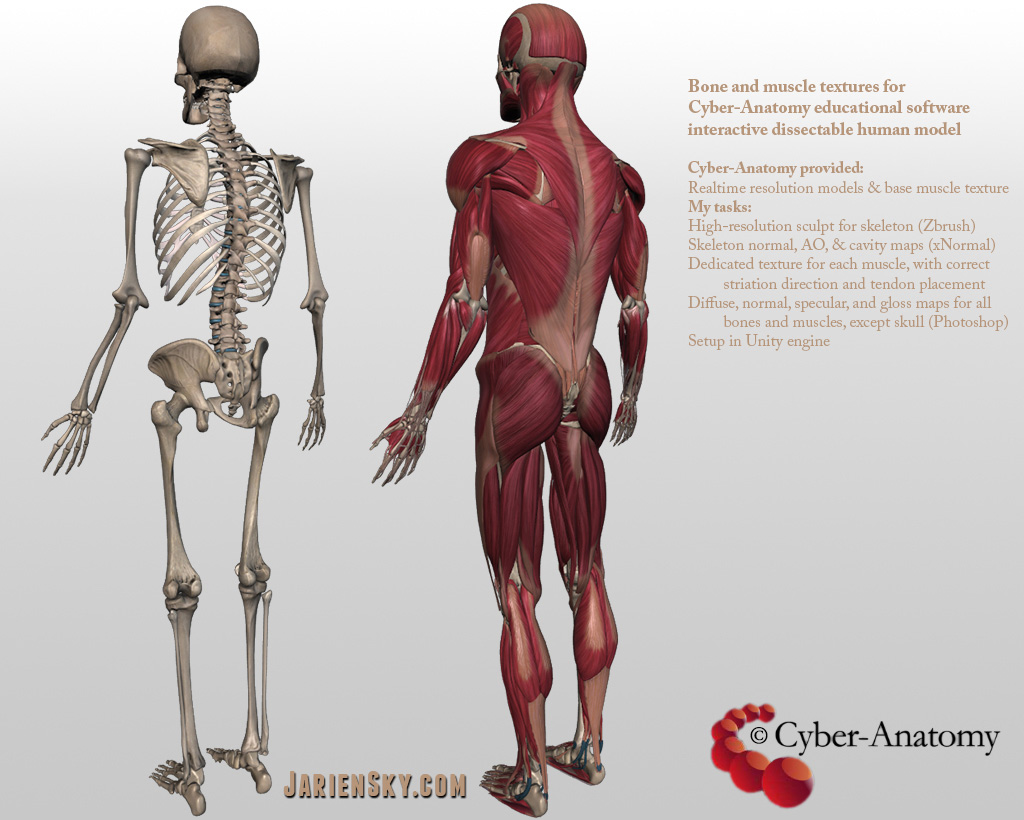
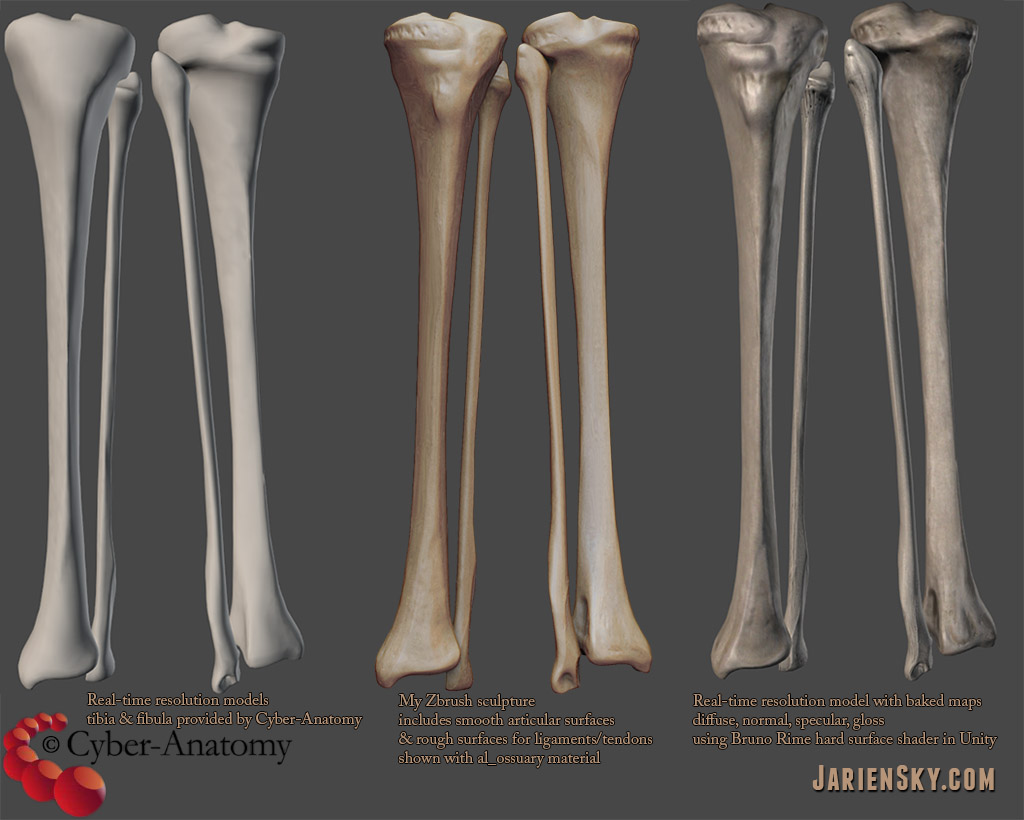
I created many human and animal anatomical models for educational software Cyber-Anatomy for VivEd (formerly called CyberScience3D). Below are some muscle and bone models I created. Most of my work here was sculpting, texturing, and baking maps - the realtime meshes were provided to me.



Stylized Props & Environments
Stone Archway
I made this for the CGMA class Creating Stylized Game Art, taught by Ashleigh Warner. Created in one week from start to finish, including concept. This class was really fun and Ashleigh was very inspiring! The assignment was to create a new environment asset in the style of an existing game. I chose to do an arched entryway in the style of Battle Chasers: Night War, because I love the art to that game! There is no desert level in the game so I conceptualized this as belonging in a new level. 2156 tris. Handpainted diffuse-only. 2048px texure for arch. 1024px texture for ground. Modeled and UVd in 3ds Max. Textured in Photoshop and 3DCoat. Rendered in Sketchfab.


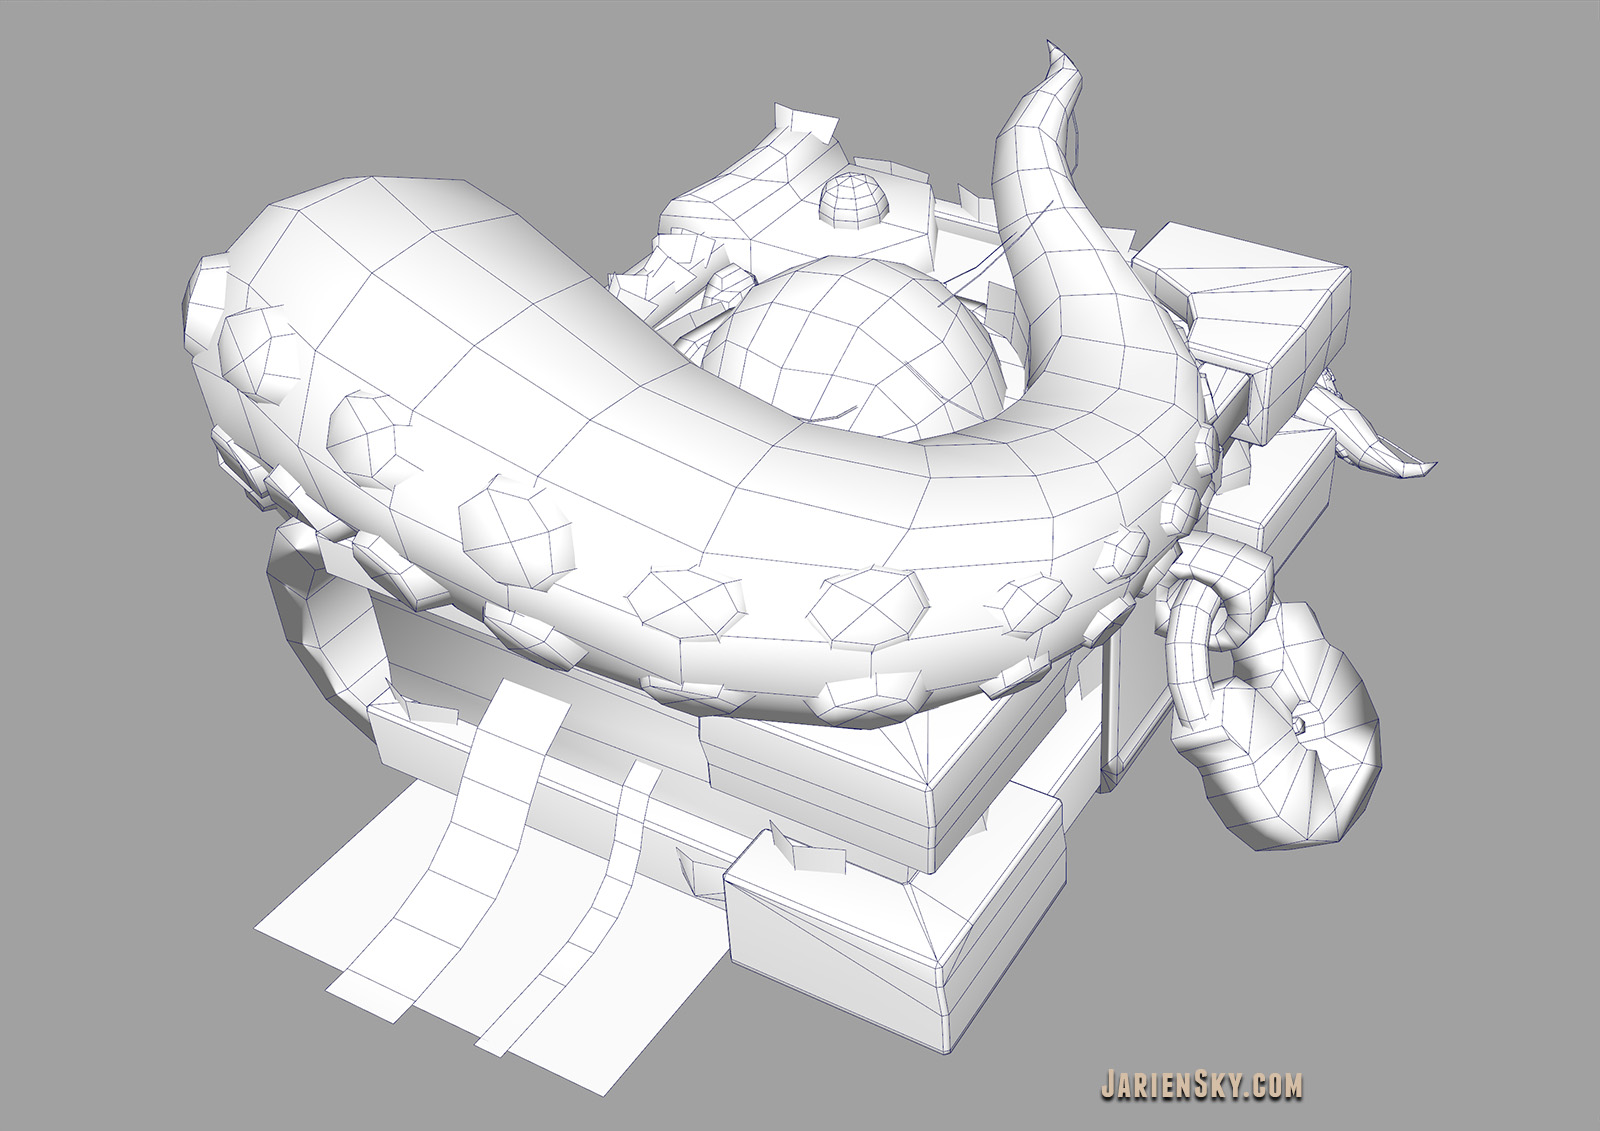
Sea Book
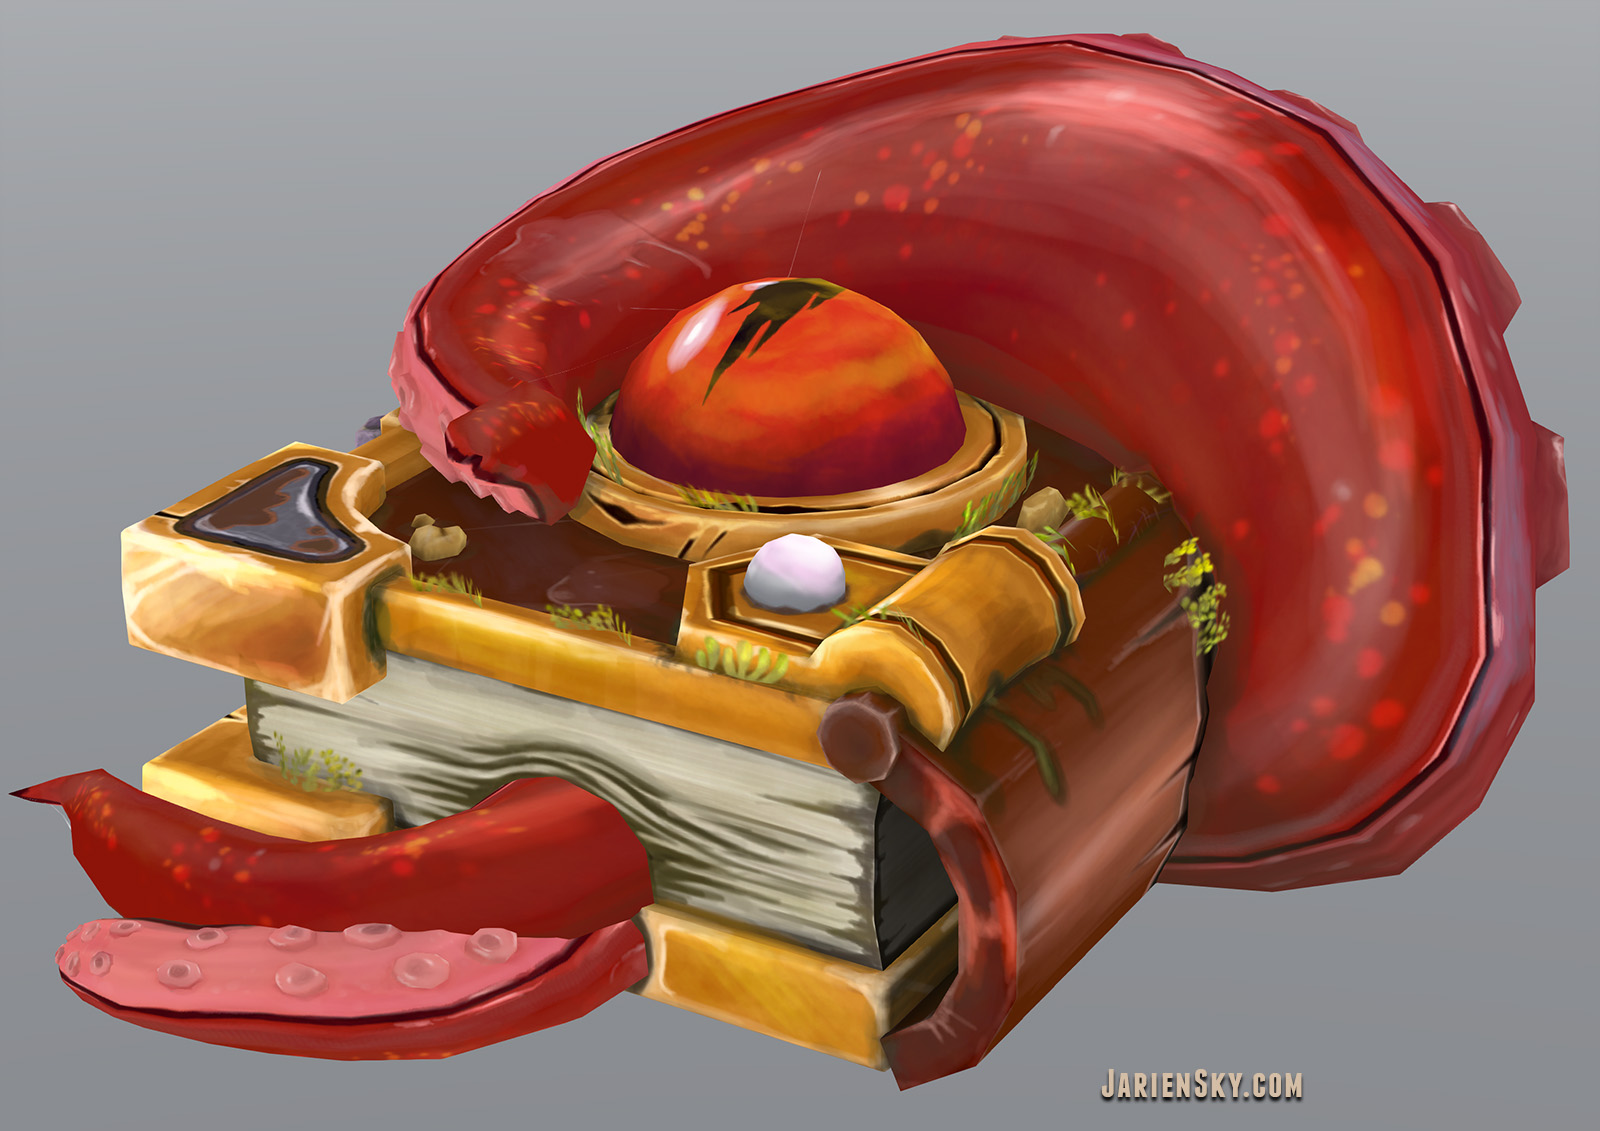
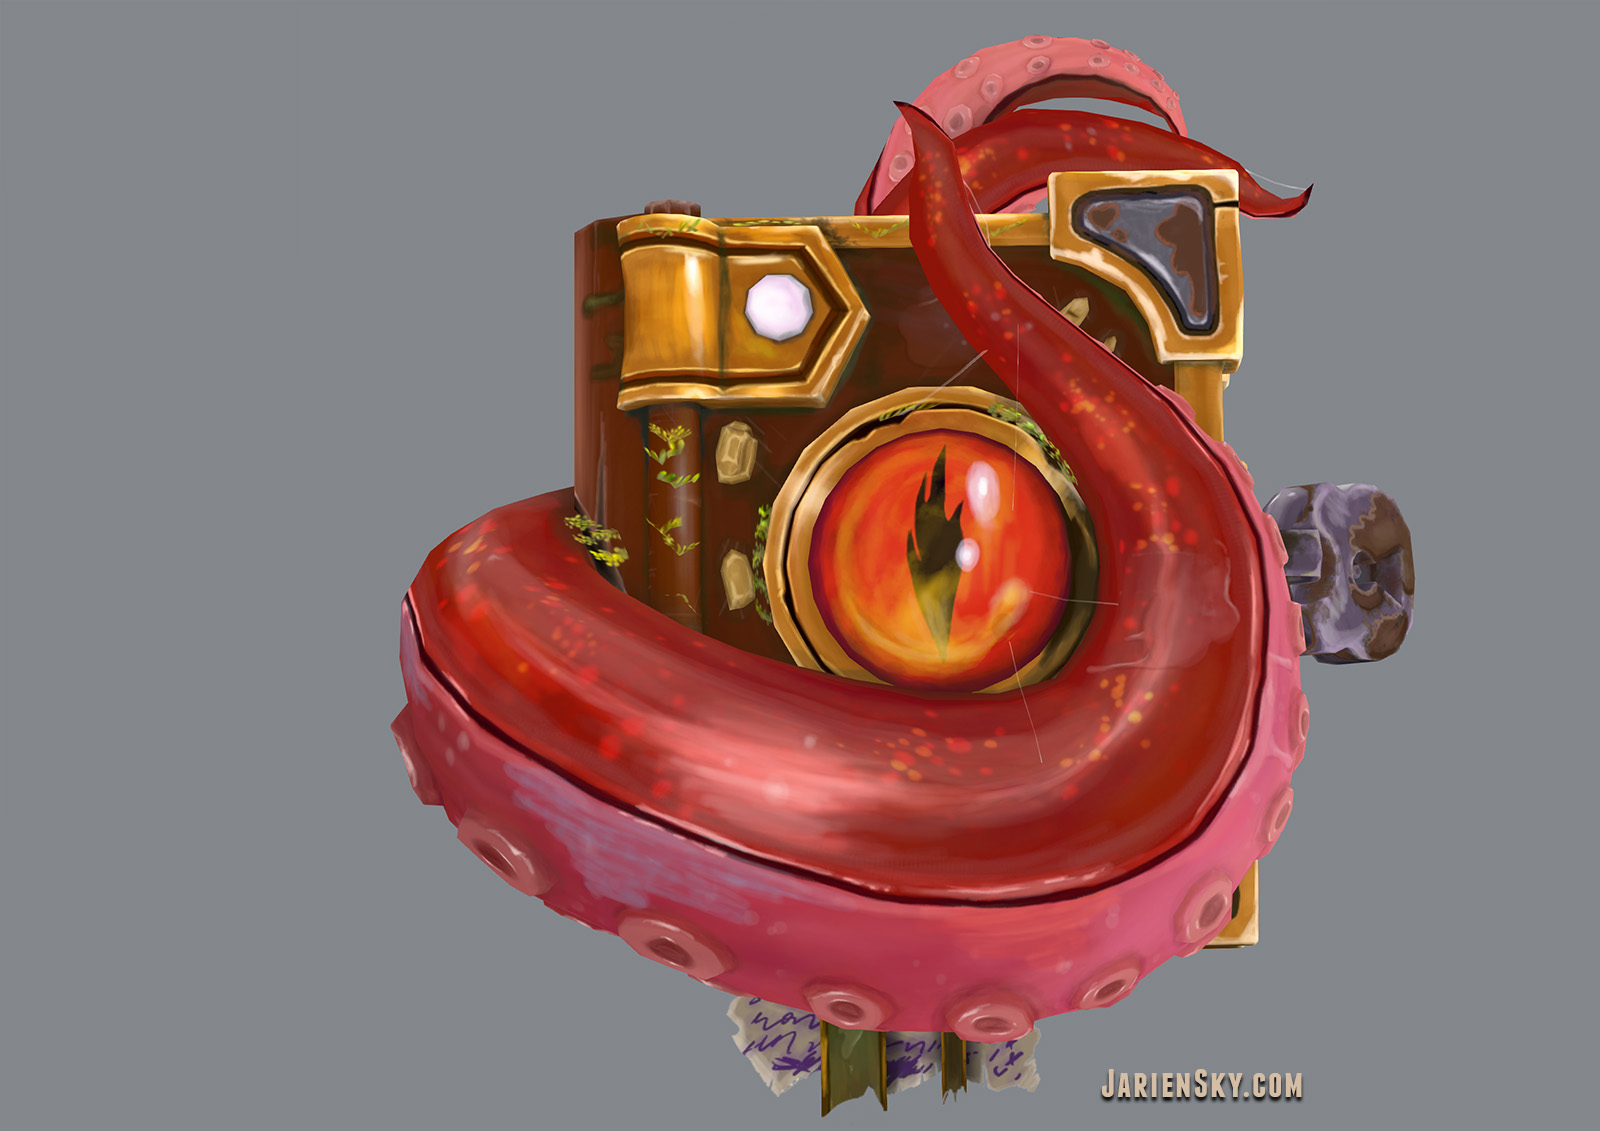
Personal project. Modeled in Maya and 3ds Max. Textured in Substance Painter and Photoshop. One 2048 x 2048 texture. 4328 tris. Diffuse only - all highlights and shadows handpainted.
Original concept by Ilona Minajeva.


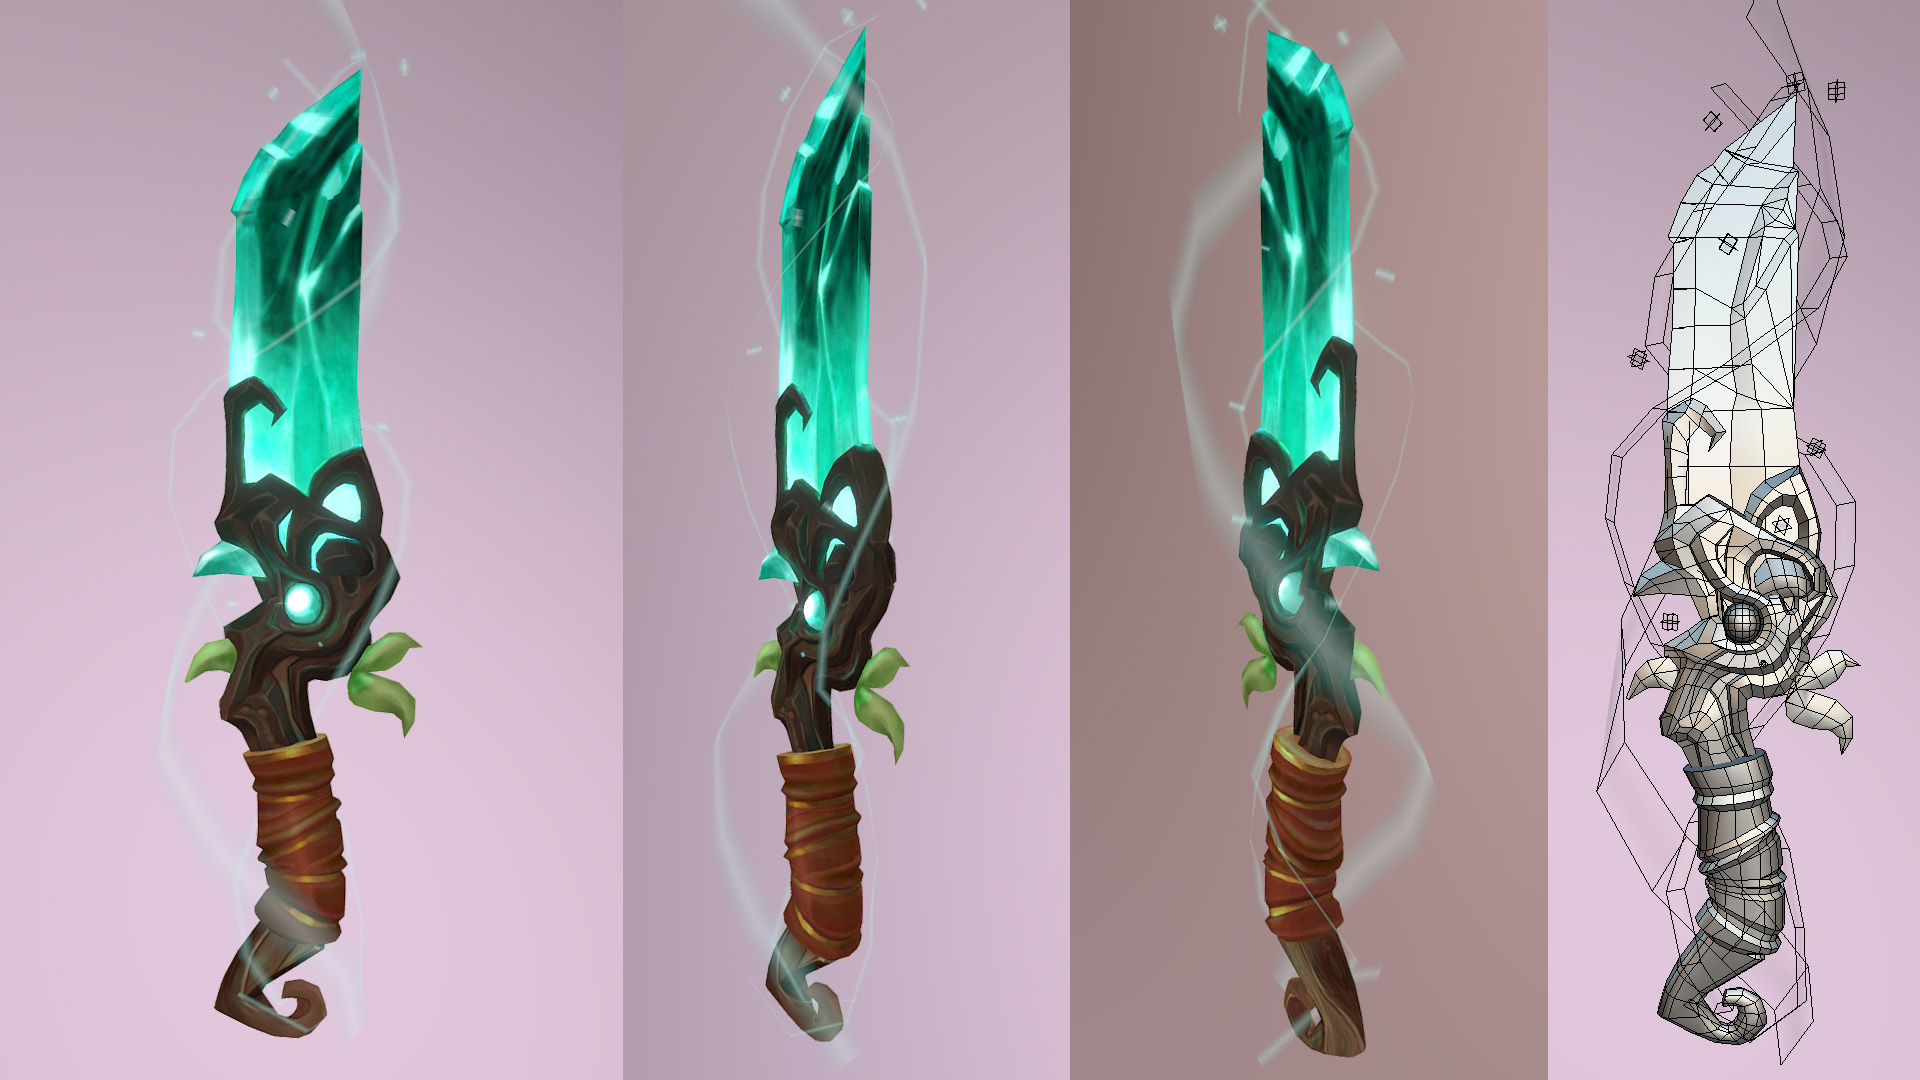
Shard of Abundance
Personal project. Modeled in Maya (and bit of 3ds Max). Textured in 3DCoat with a bit of Photoshop. Diffuse only - all highlights and shadows handpainted. 1024 x 2048 px texture (plus 32 x 4 px FX texture). 3236 tris including double-sided FX tris twice. The concept is by Julio Nicoletti and I got a lot of C&C from Handpainters Guild as I worked on this.

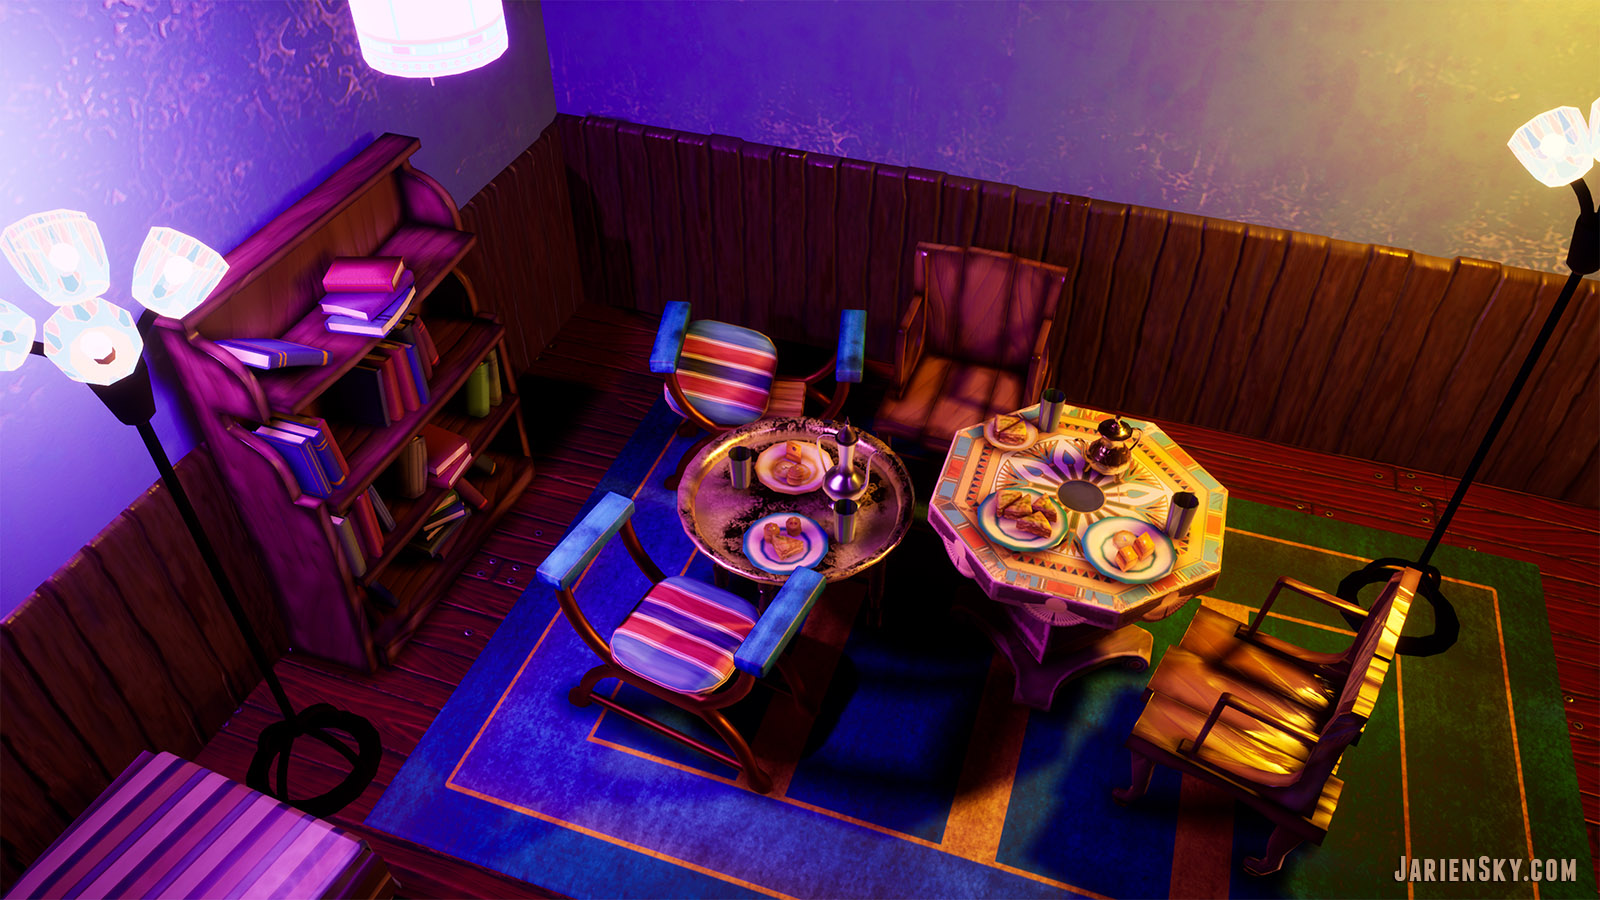
Egyptian cafe diorama
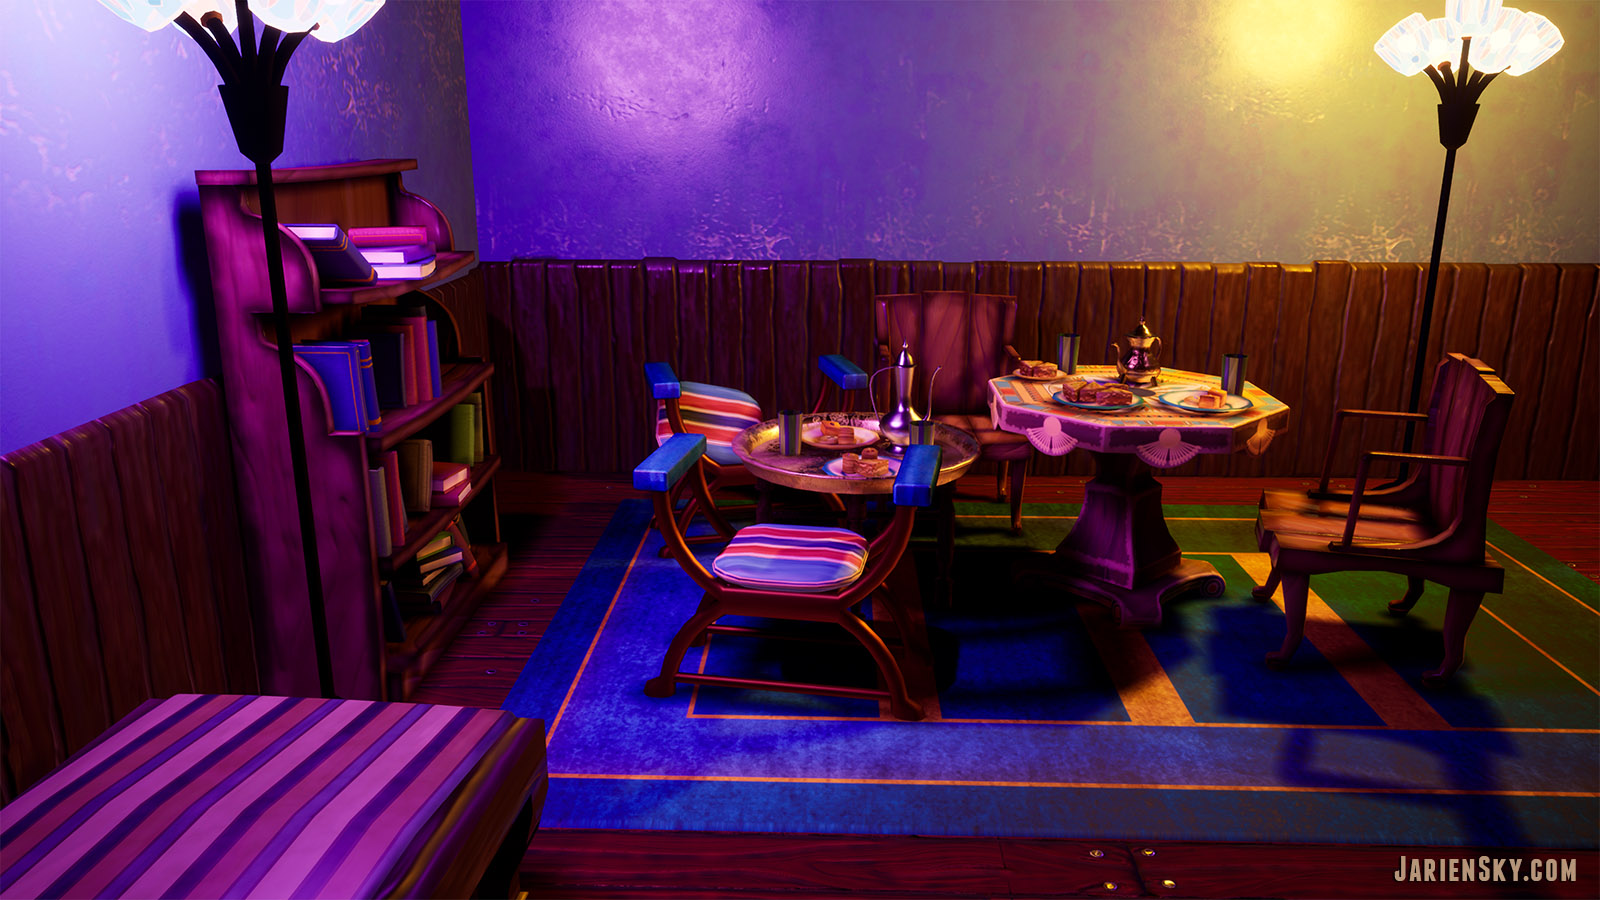
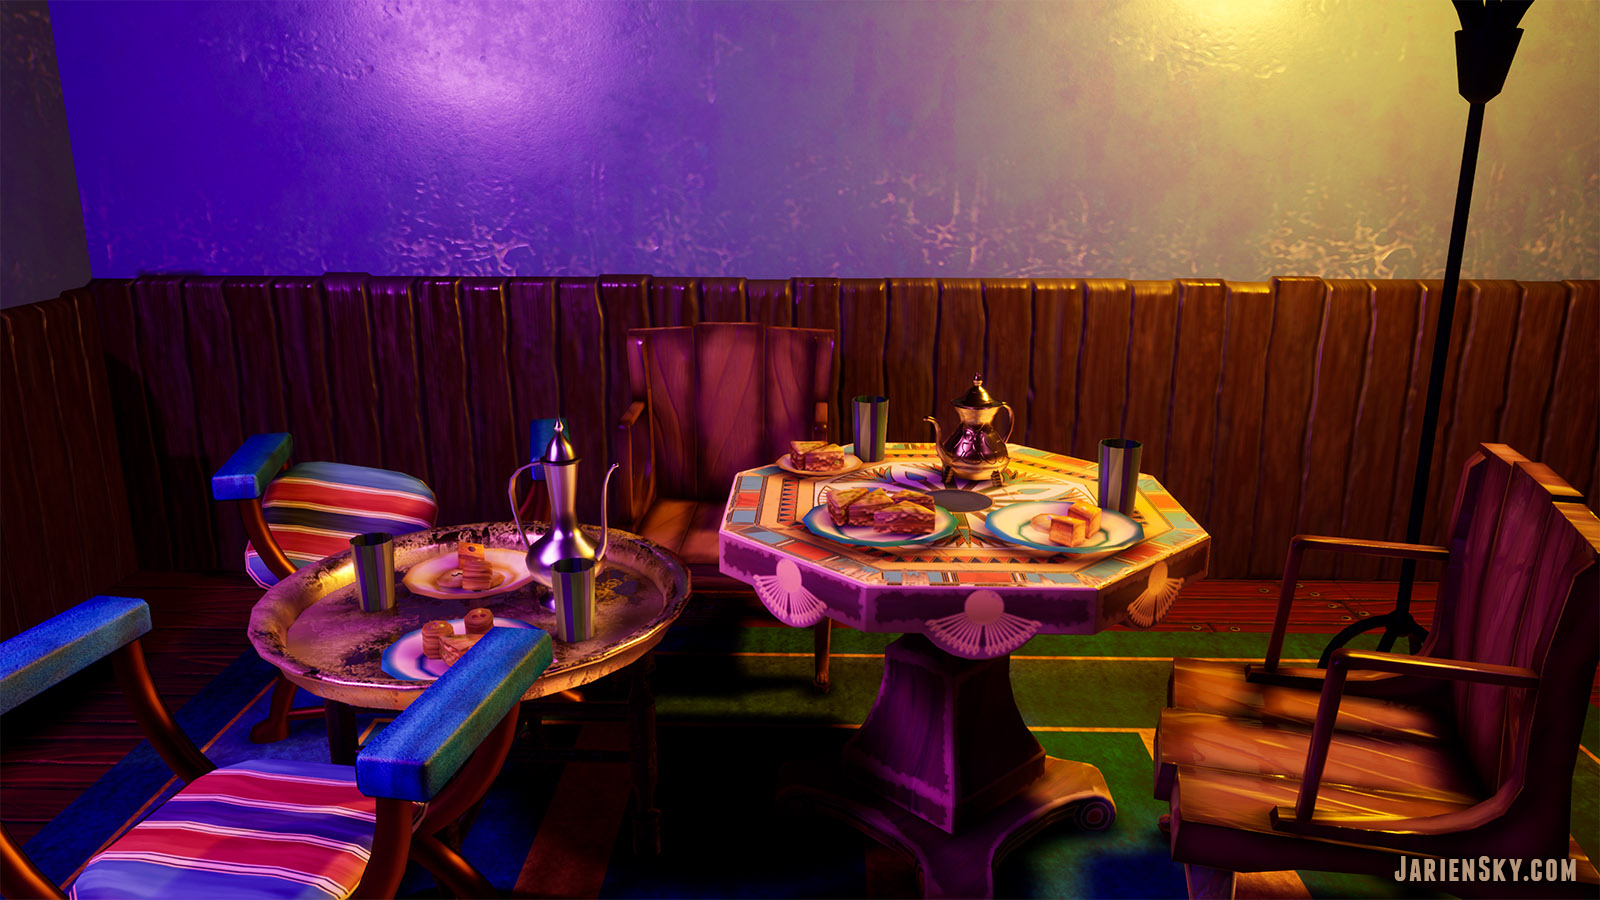
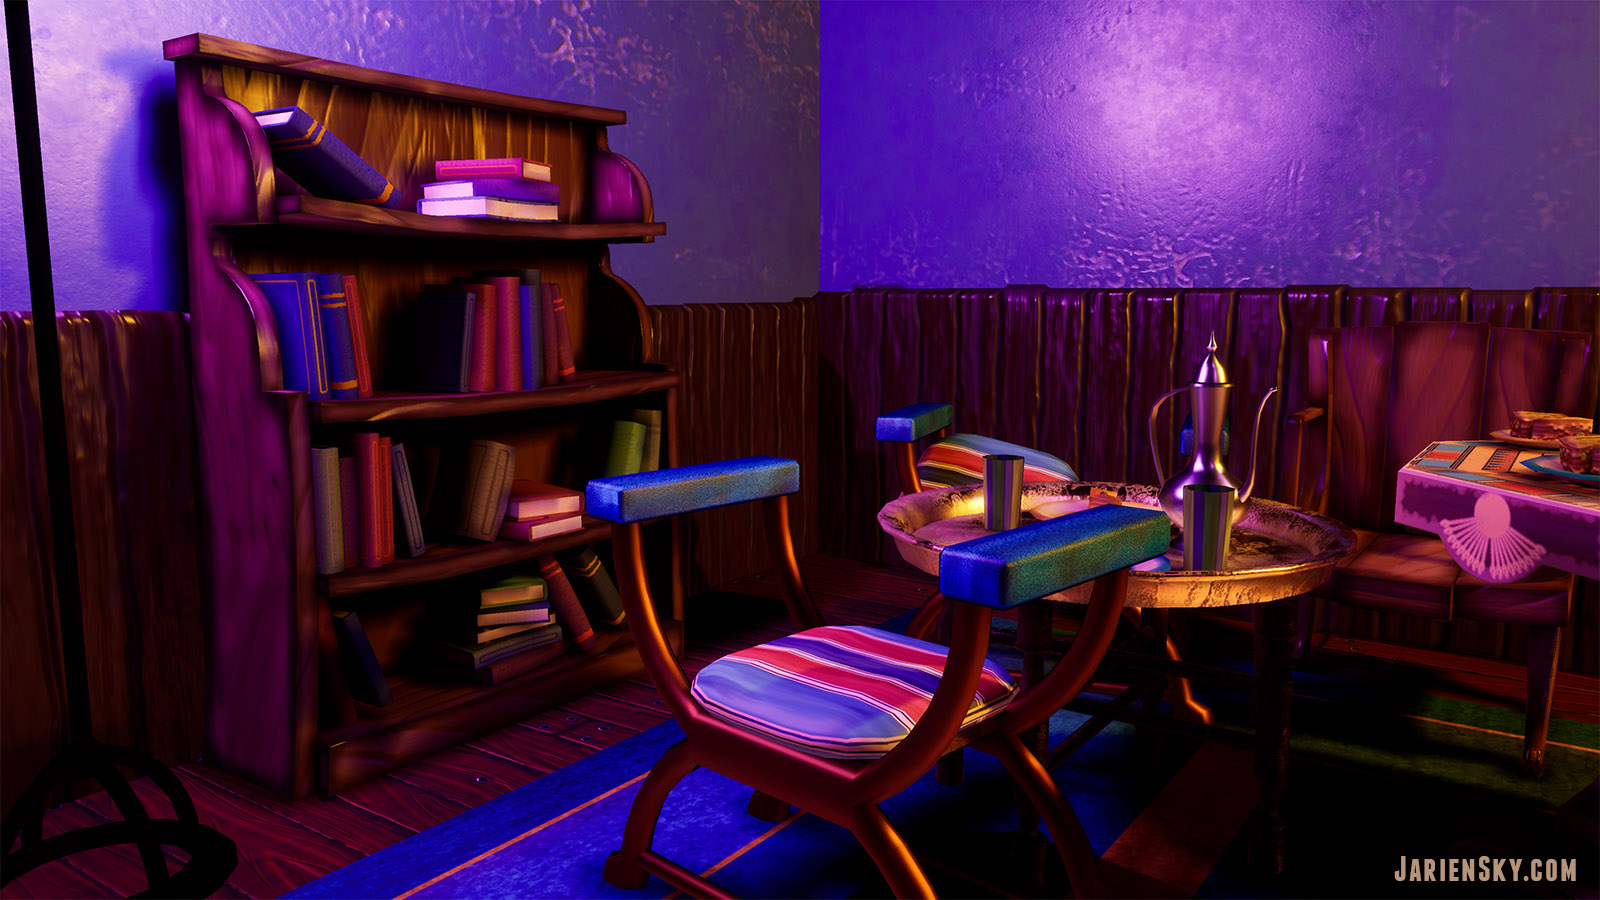
This is a personal project to set mood with lighting and color using stylized PBR, and to learn Unreal. I used almost every 3D package I own somewhere in creating this because it's a revamp of an old project that I'd long wanted to improve. To keep scope small I created a corner rather than the entire cafe. I tried to use visual motifs and furniture designs traditional to Egypt from what I could find online. My technical aim was optimal performance via low poly count and all objects and lights static or stationary. My visual aim was simple shapes with exaggerated value contrast, high saturation, and realistic reflective qualities.
Freaky Creatures
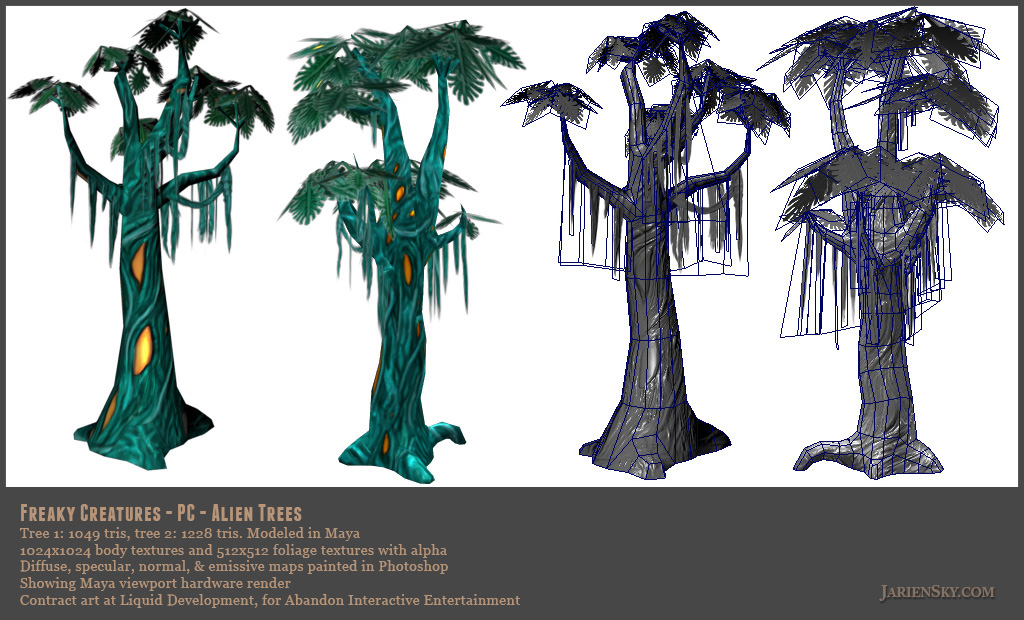
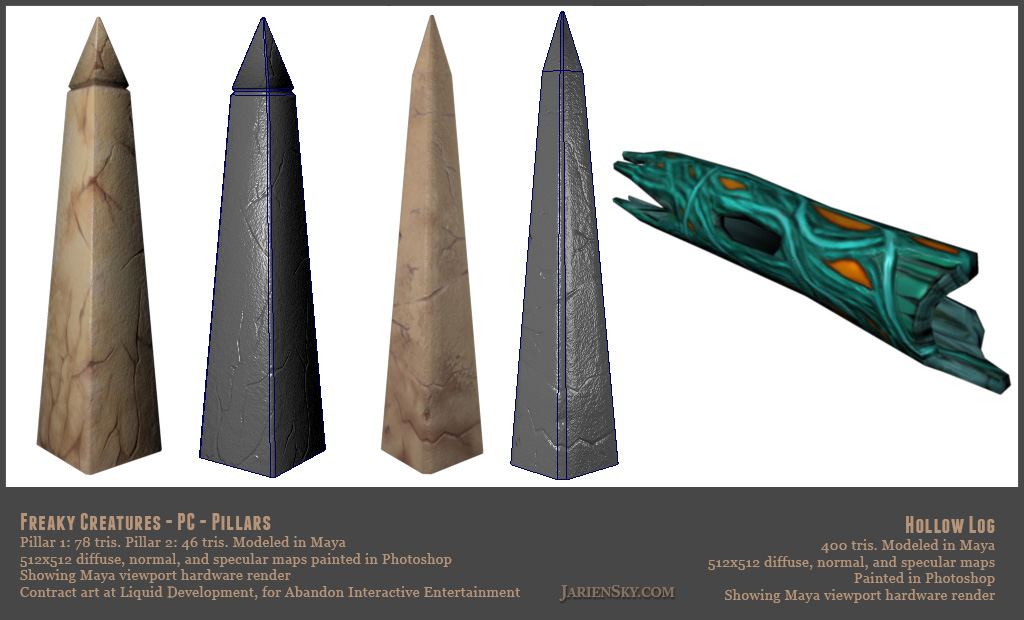
Props for PC game Freaky Creatures by Abandon Interactive. Modeled in Maya and textured in Photoshop.
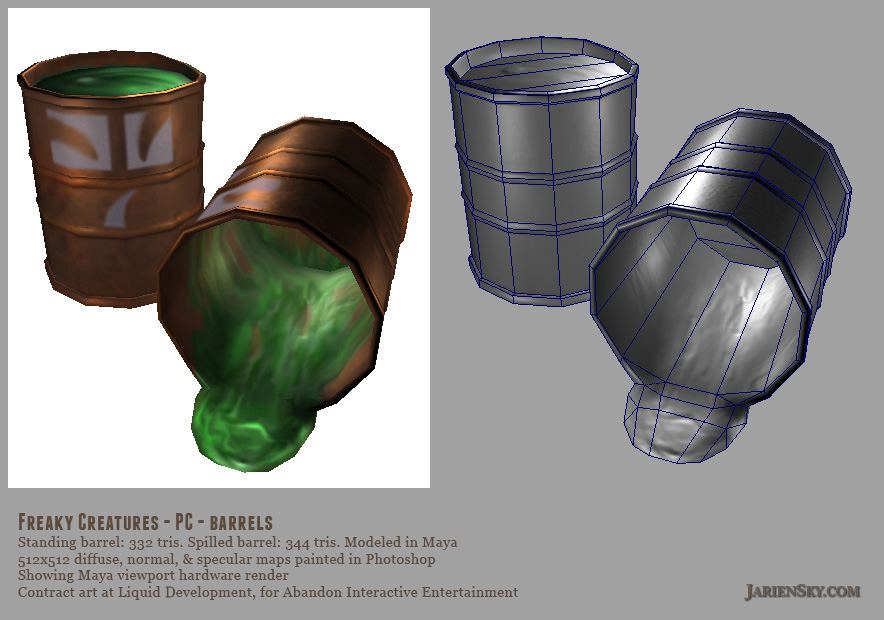
Hard-surface
Rockband
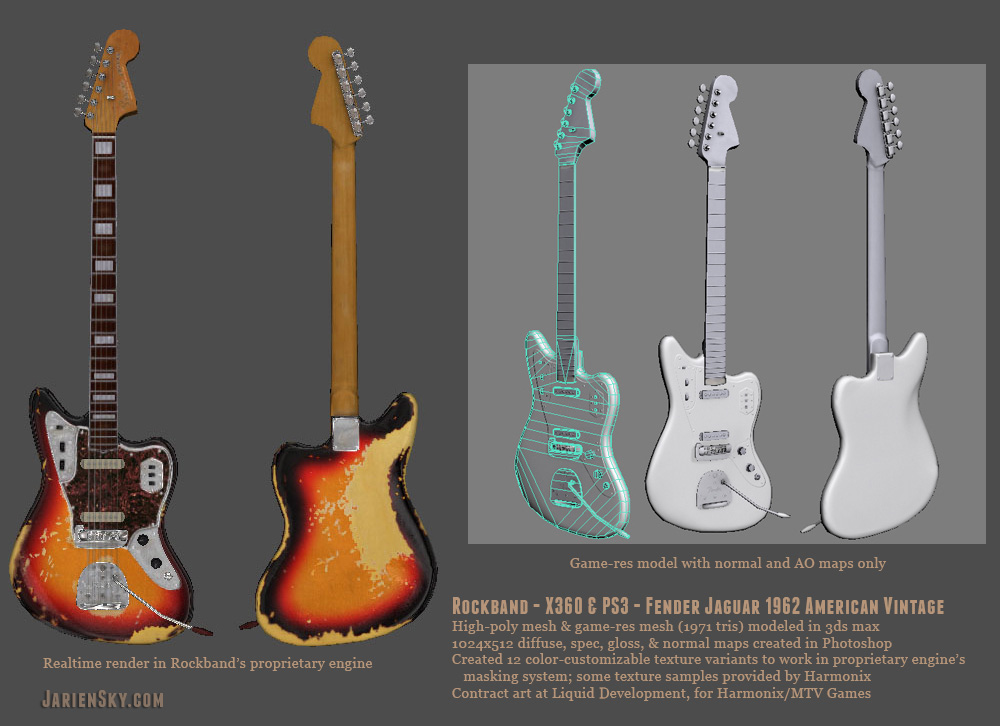
I modeled and textured all the variations of the Fender Jaguar guitar for the first Rockband game. Some of the images are from the proprietary engine and some were recreated in other engines. I did various other tasks on Rockband such as converting the bonus guitars to bonus basses, and misc cleanup on various instruments and amps.



2006 Volkswagen Jetta
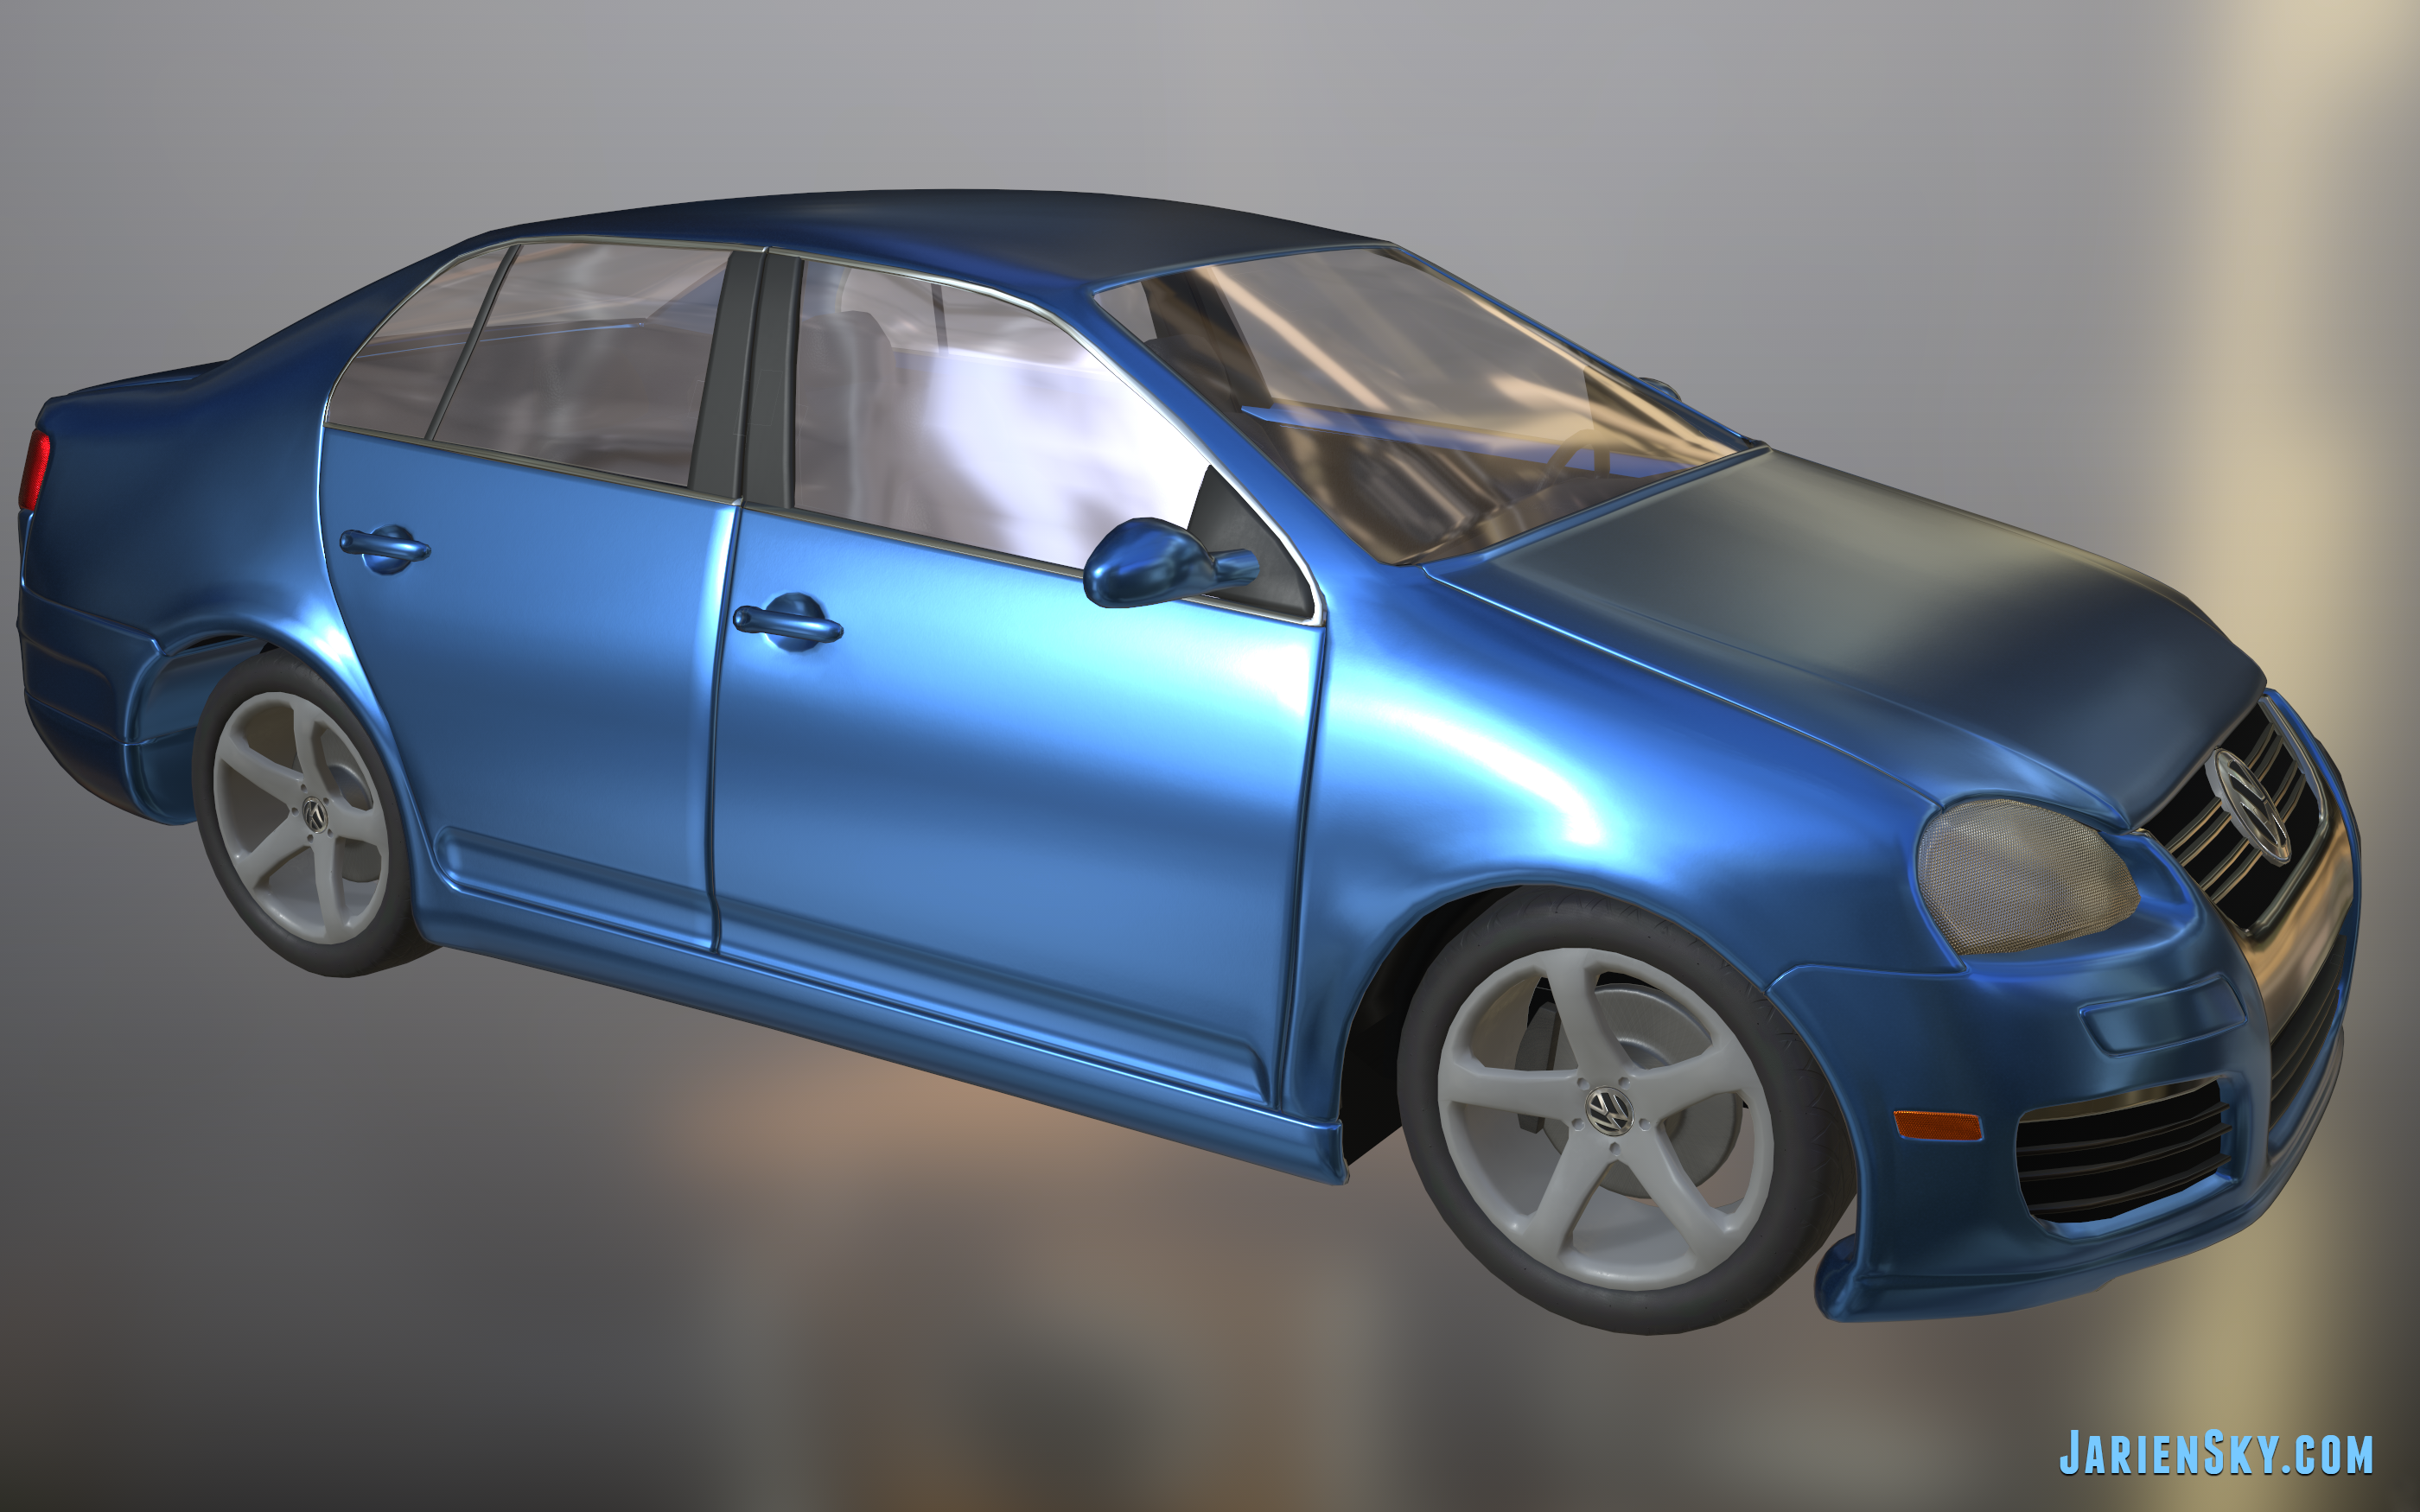
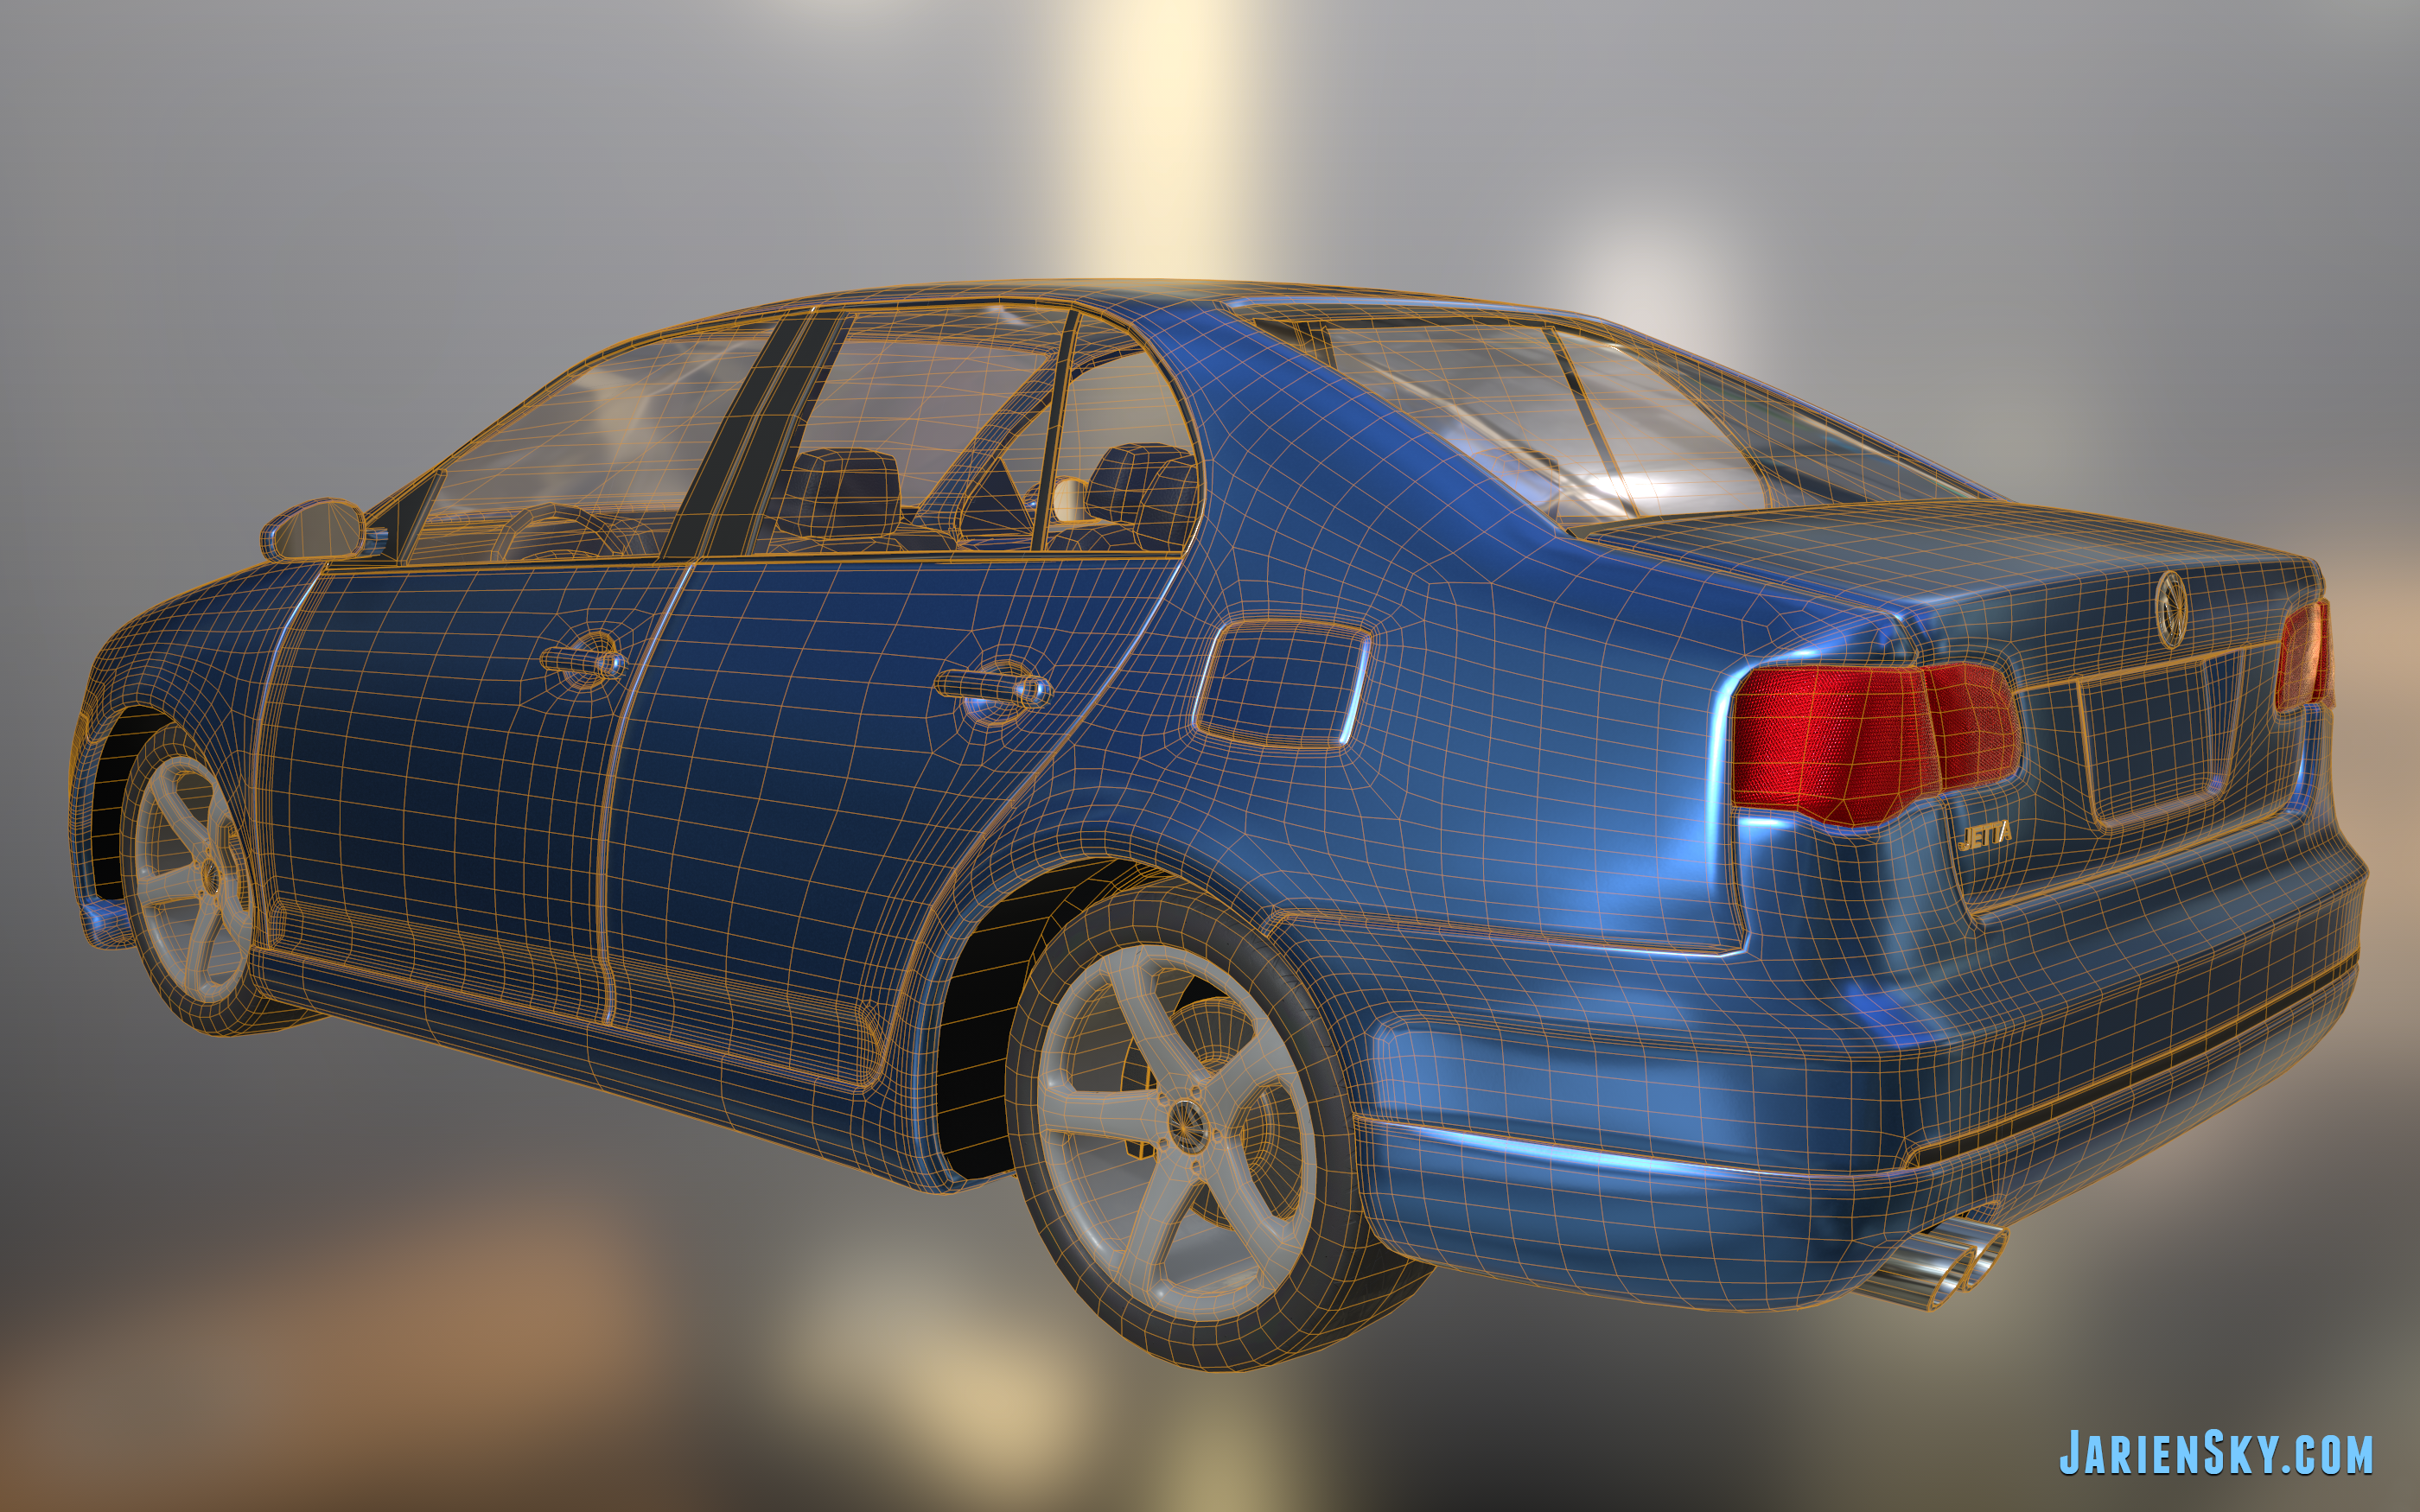
An exercise in realistic modeling. I took some creative liberties, basing some features on later models if they were unclear in my reference photos of the 2006 model. This is a personal project but the target platform would be modern high-end PC game. The model is 75K tris and the textures are 4Kpx. 3ds Max for modeling, Substance Painter and a bit of Photoshop for textures. Renders are from Substance Painter viewport. I got most of the materials from Substance Source and made some little edits as necessary, but there's tons of cool stuff in there that worked pretty well here. This is an overhaul of an old project that was made to a lower spec. I added more detail and better topology but there are small minor details I left out to avoid diminishing returns, and I left the interior pretty barebones. This is a straight-from-the-showroom-floor model with very little wear and tear.



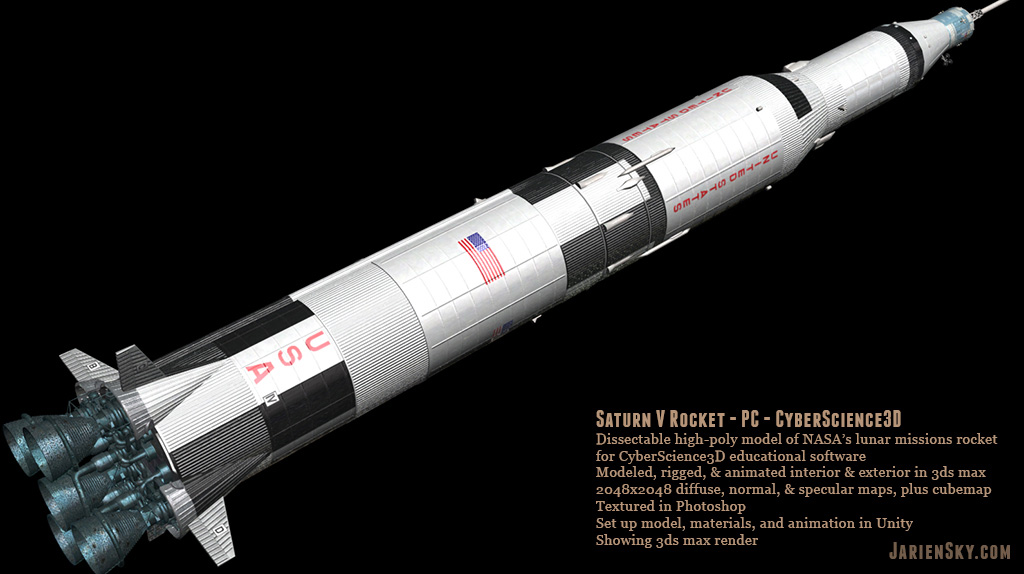
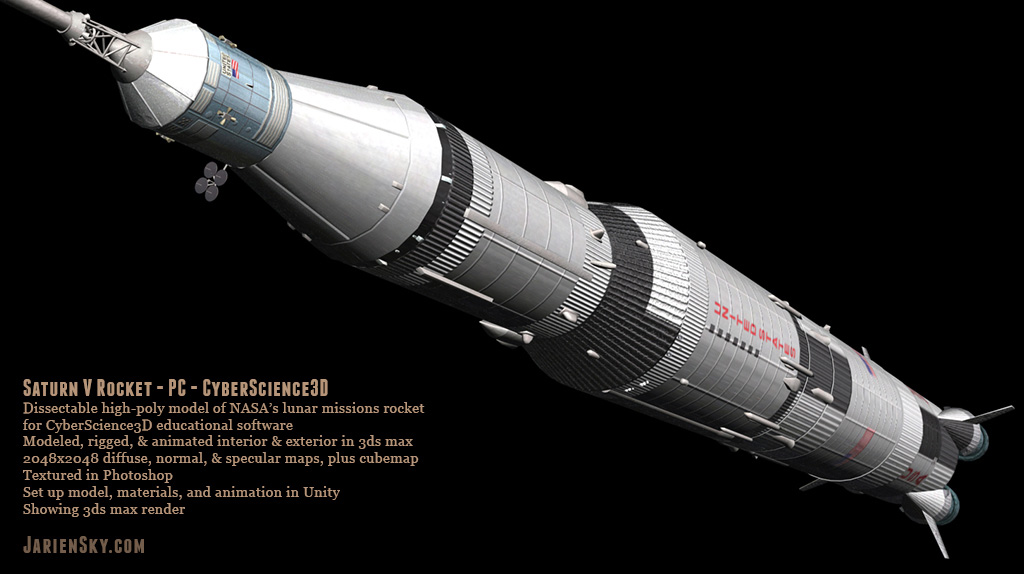
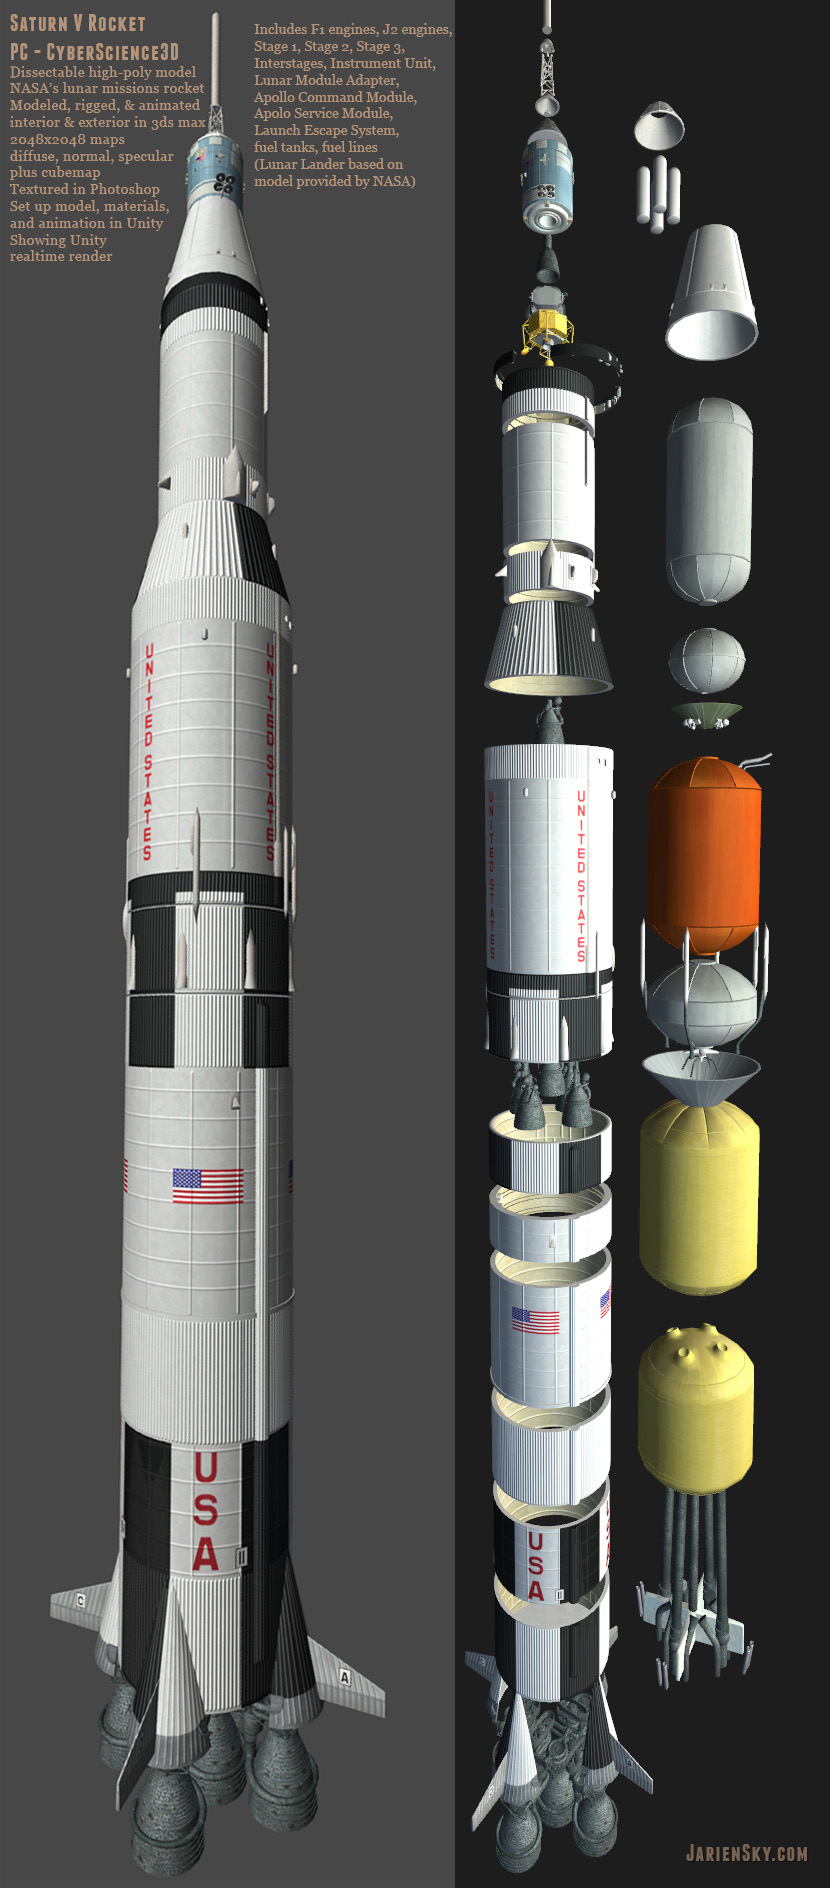
Saturn V rocket
I created a dissectable model of the first rocket to the moon, the Saturn V, for Cyber Science 3D interactive educational software. I looked up technical schematics recreate the different stages of the rocket including interior pieces.

Sledgehammer low-poly prop
Personal challenge to make a complete 3D asset quickly, so I picked something really simple that I could do in a few hours spare time over 1-2 weeks. Realtime model is 944 tris. High poly sculpt in ZBrush. Textured in Substance Painter. One 2048K texture set - albedo, roughness, metallic, normal.

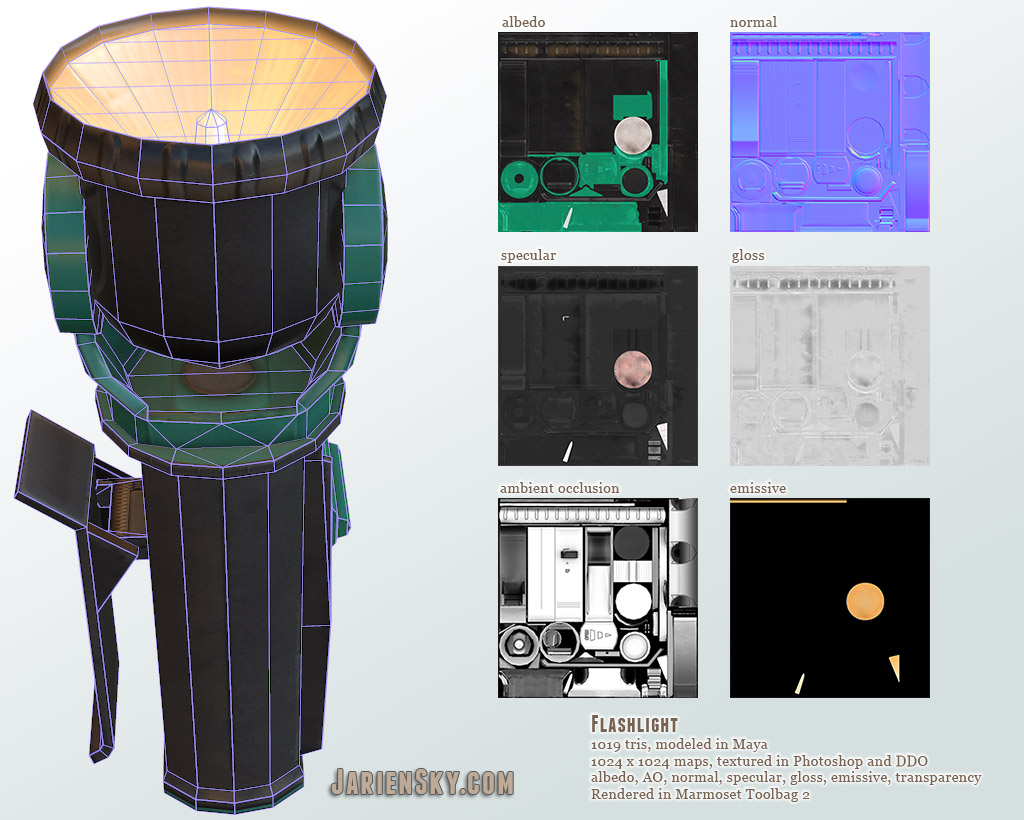
Flashlight low-poly prop
Personal project to make a realistic prop based on an everyday object I could look at while modeling.

Props and environments for VR and AR apps
Wayfair's Patio Playground
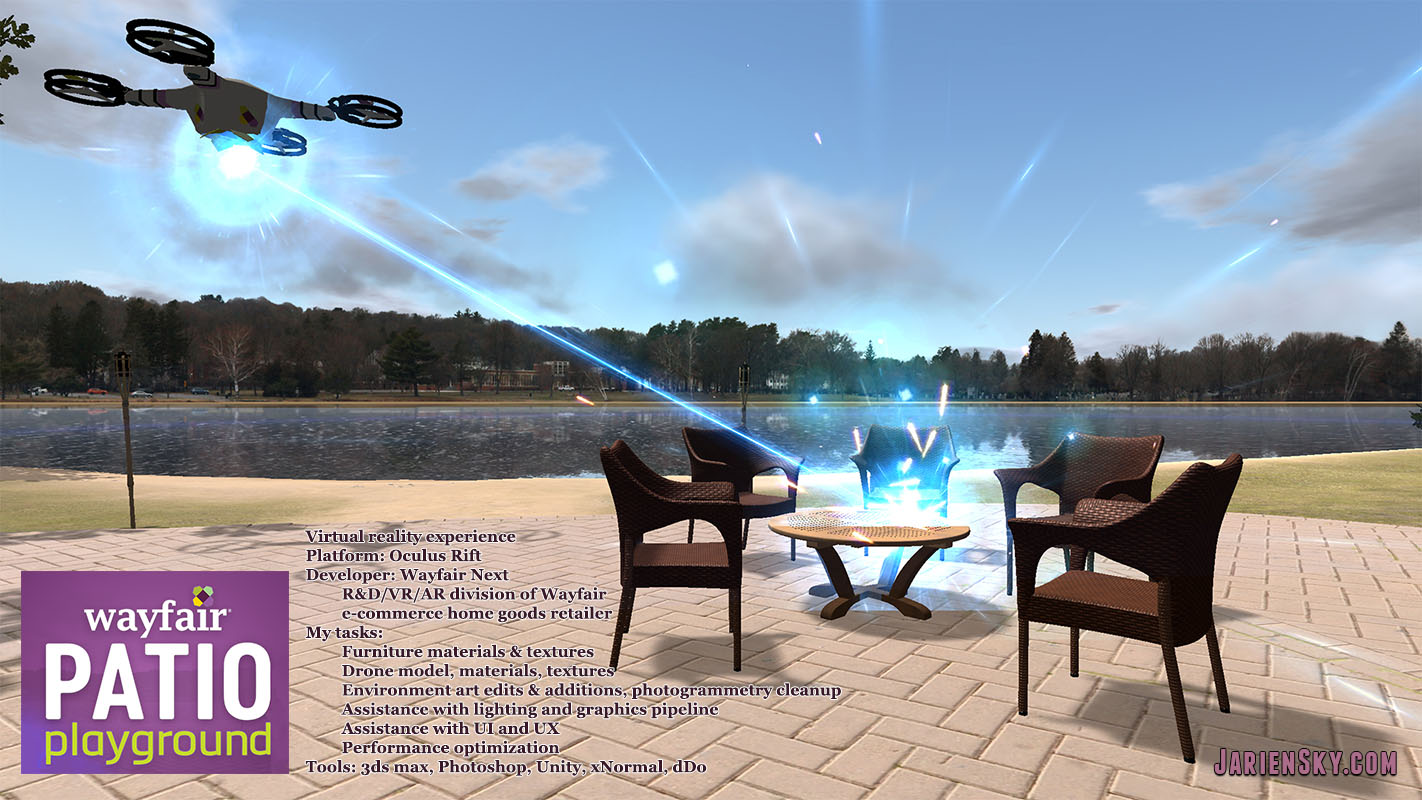
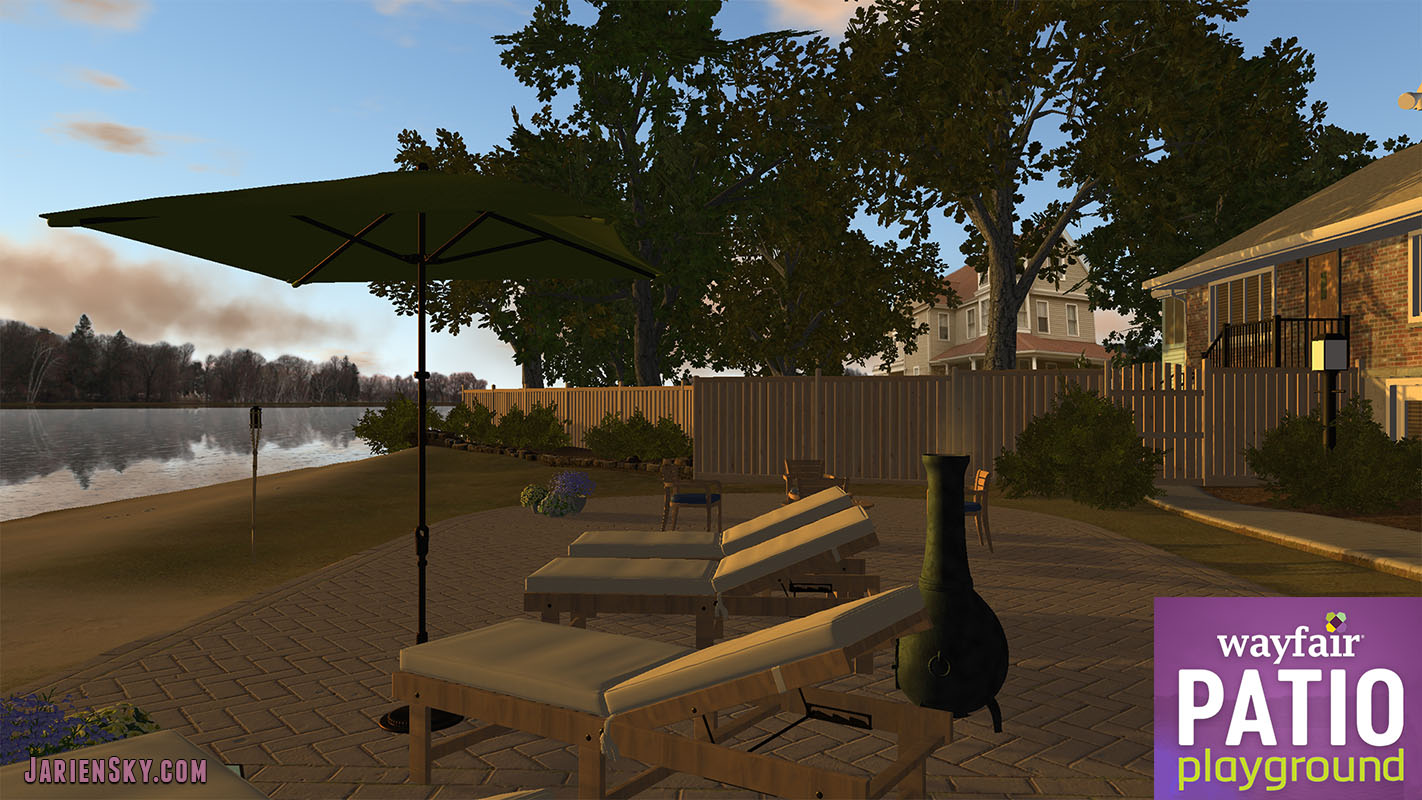
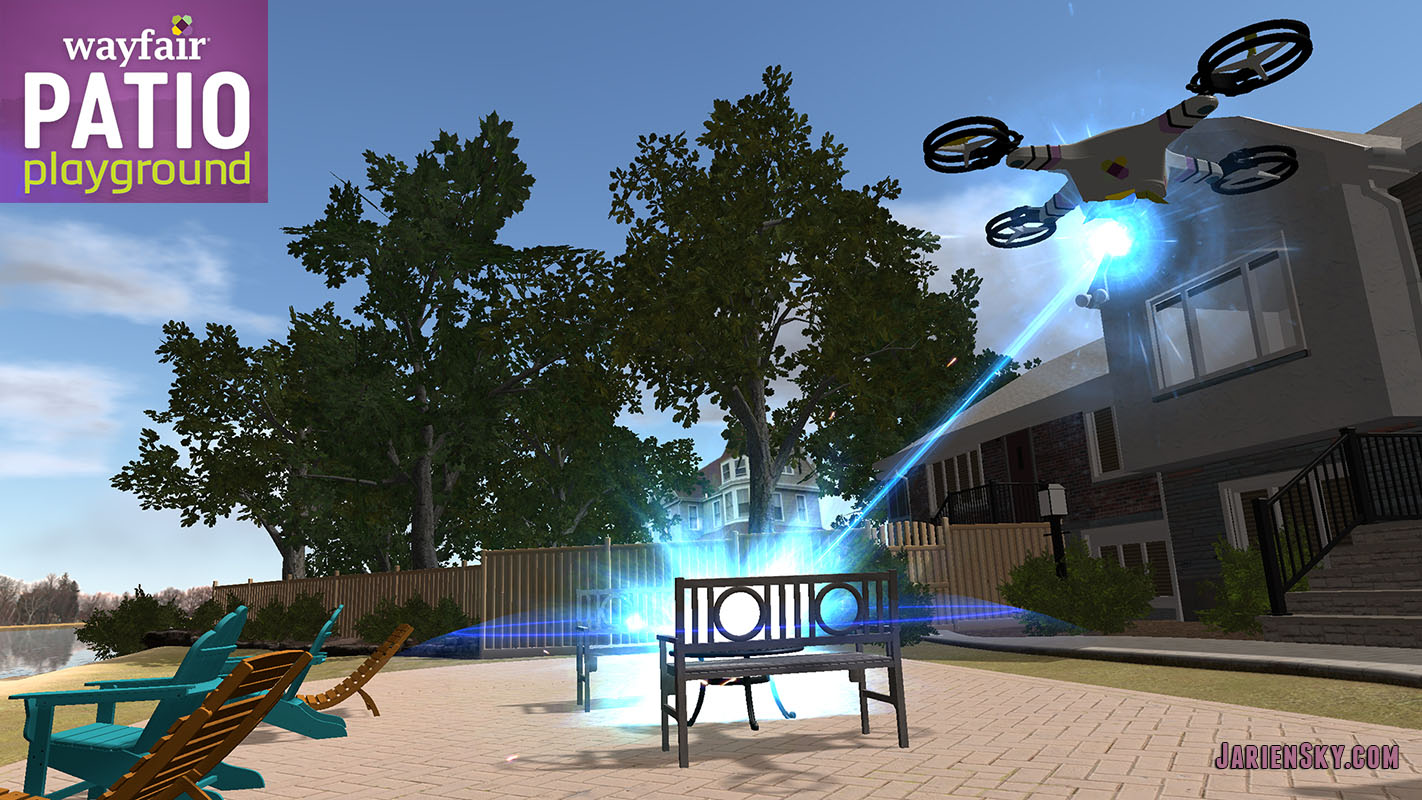
For Patio Playground, e-commerce home goods company Wayfair's VR experience on Oculus Rift, my main tasks were creating models and textures. It was a small team so we all contributed - I also did a lot of work in Unity - in-engine art asset setup, scene setup, lighting, and performance optimization, as well as a bit of UI and UX.
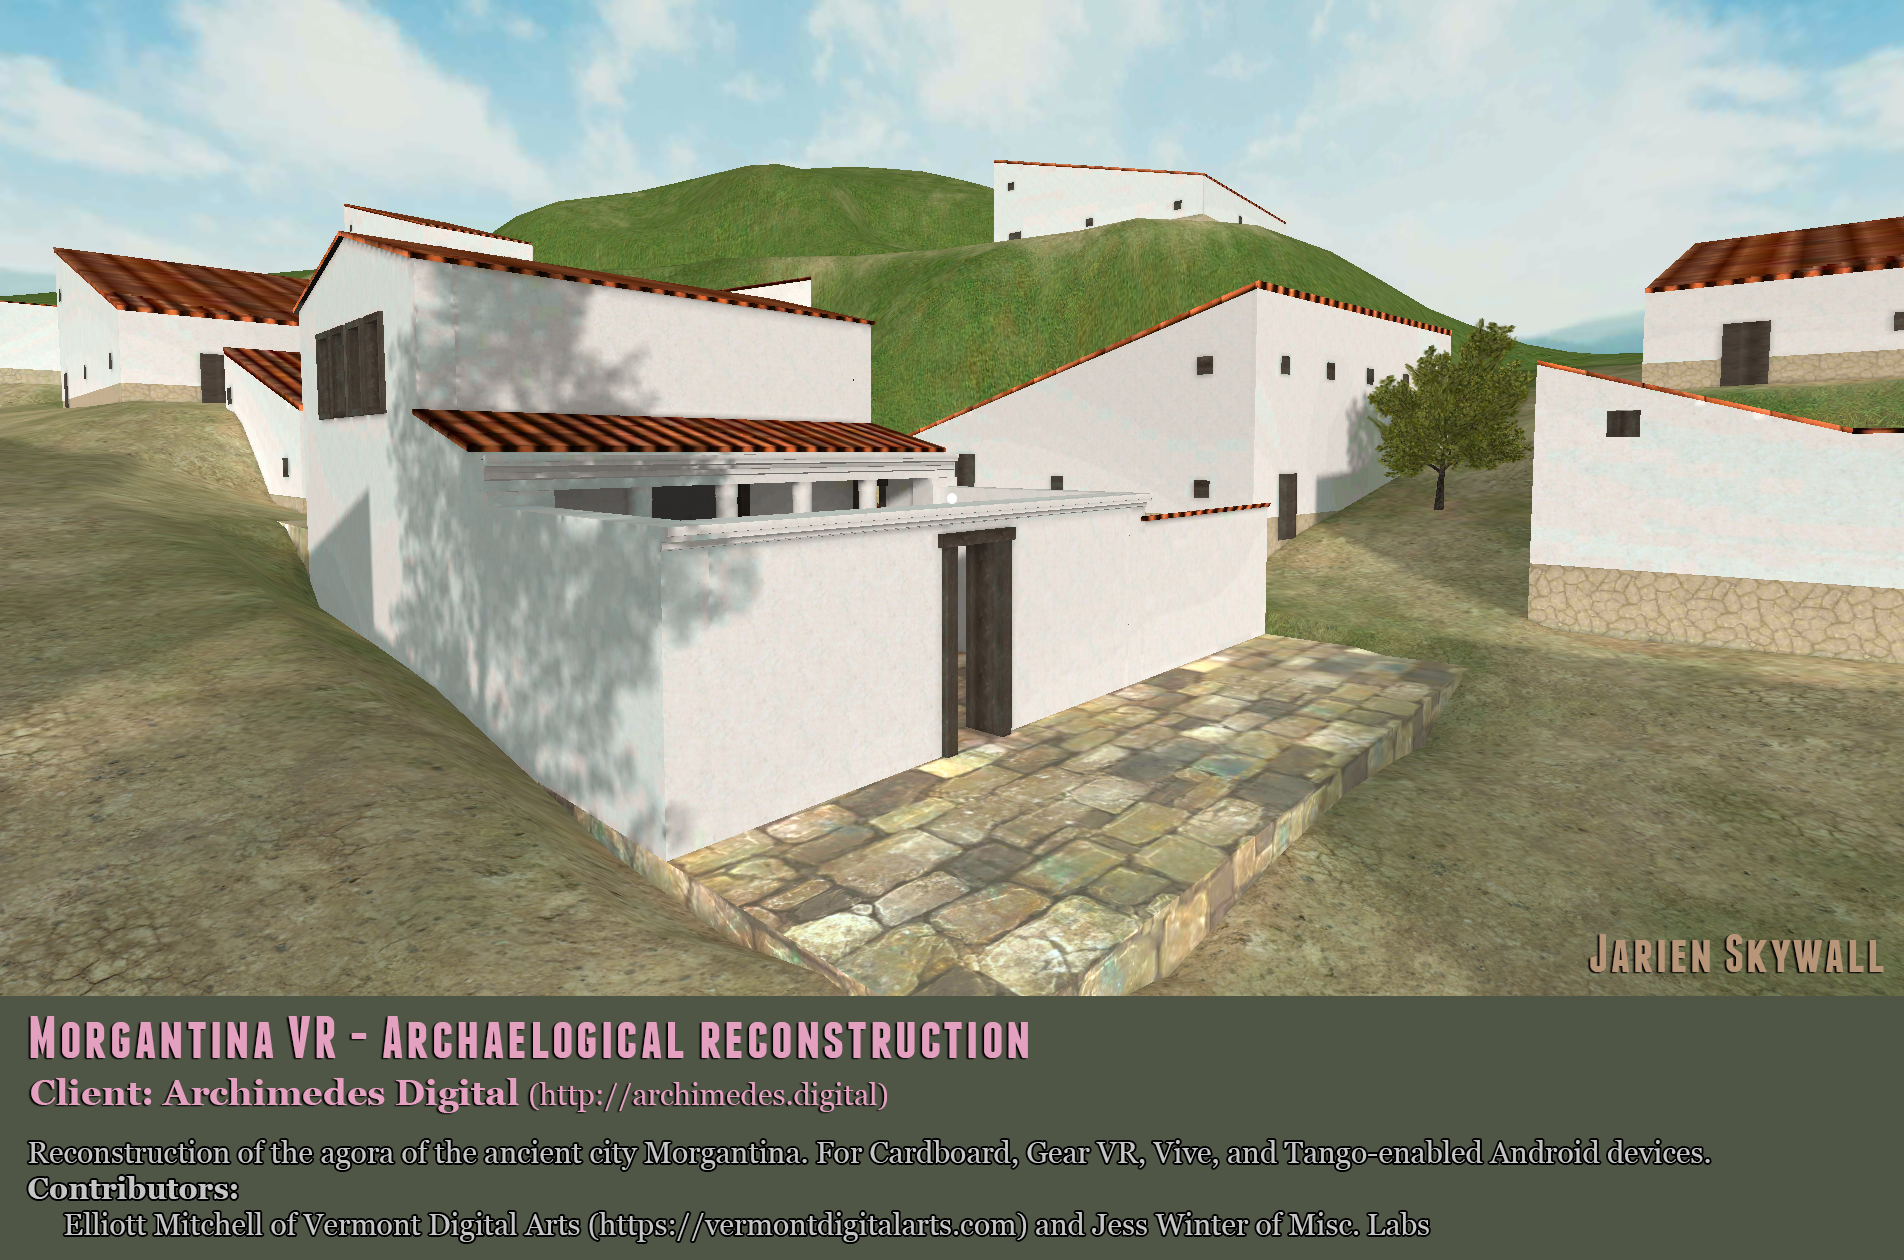
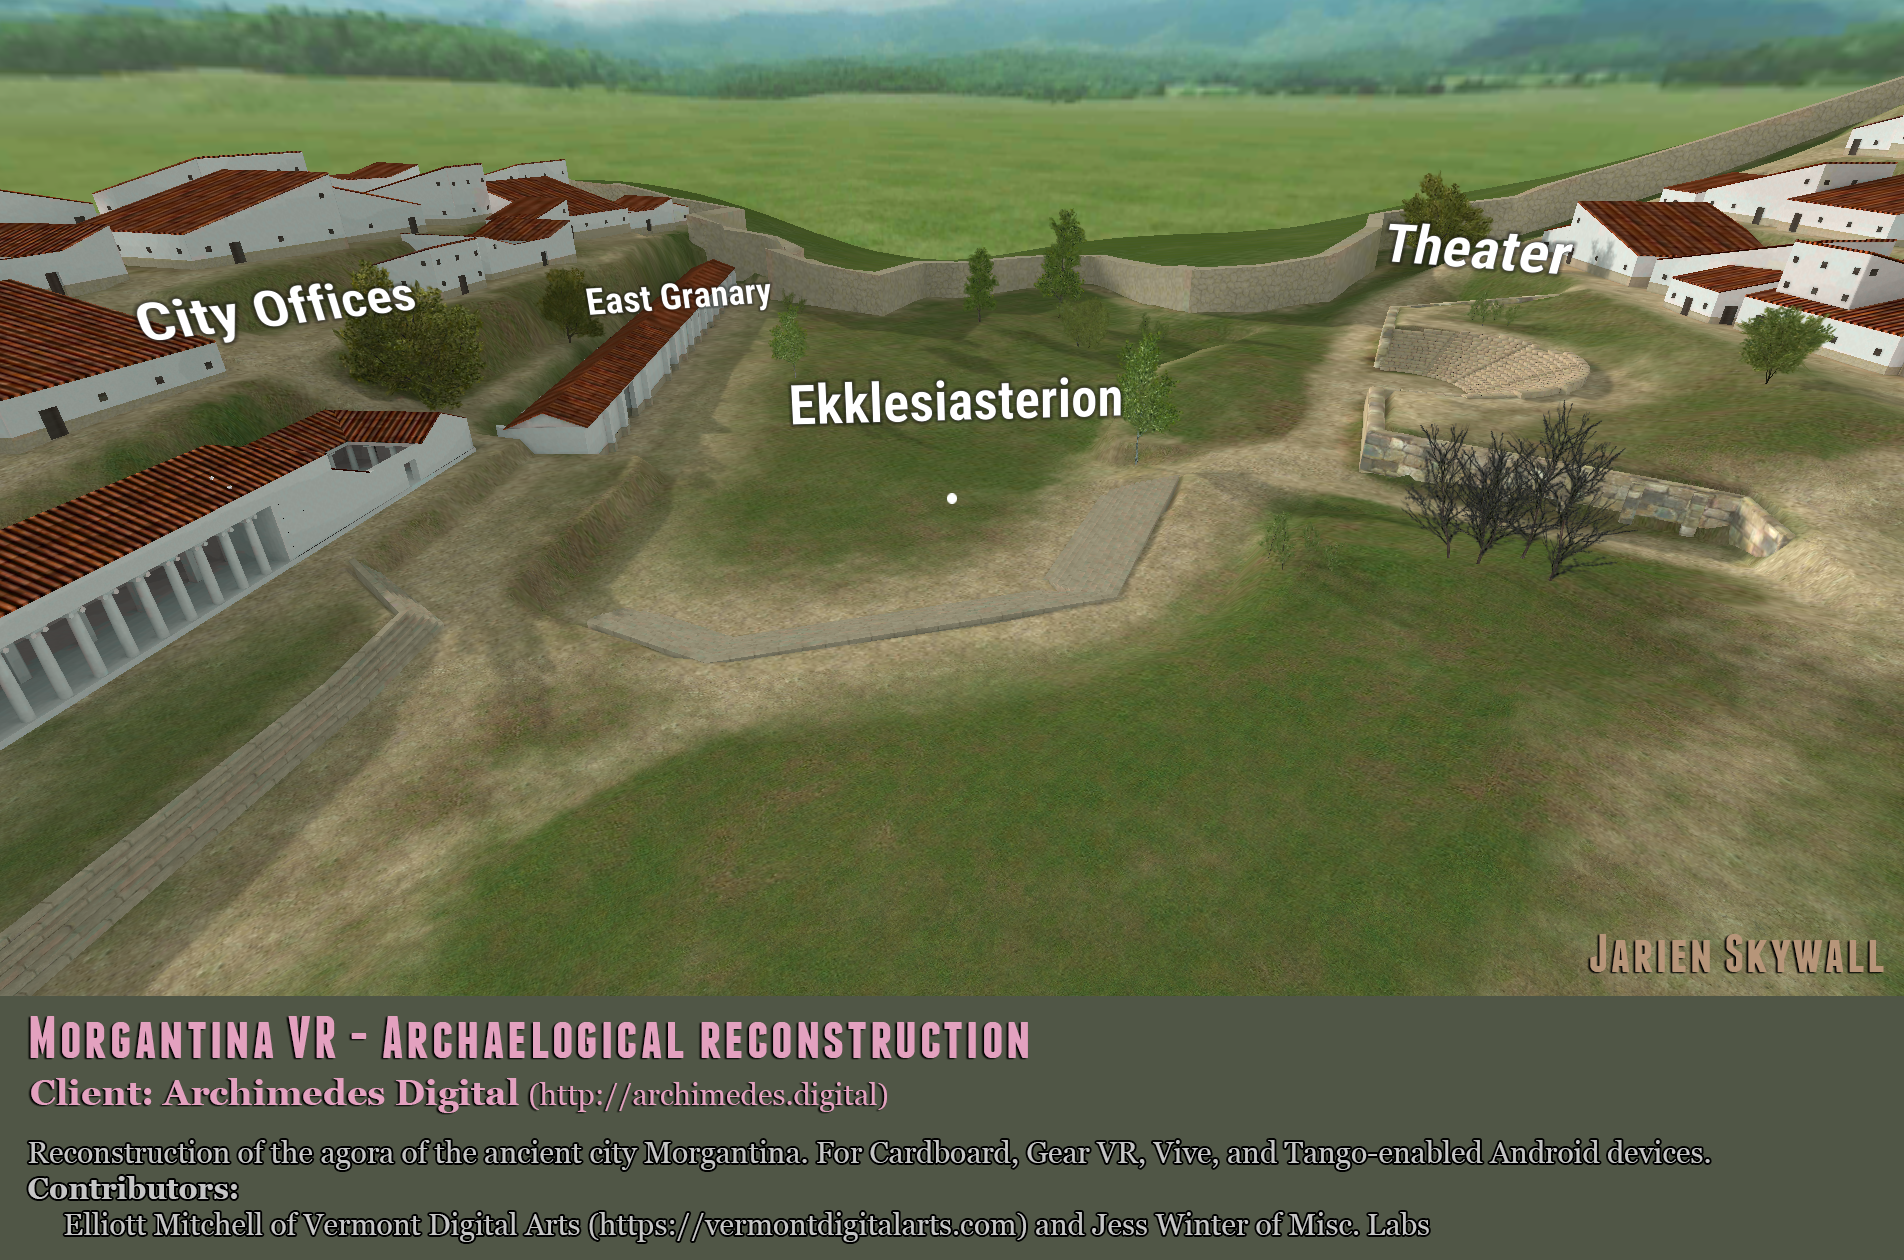
Morgantina VR
I had the privilege of working on a 3D reconstruction of the ancient city of Morgantina that currently exists only in ruins. I accompanied archaeologists and a small software dev team onsite in Aidone, Sicily. The app is for mobile VR and AR, and it was built to detect the correct location of the virtual buildings onsite in Sicily using Google Tango. I worked from existing photos plus additional reference photos I took onsite, as well as terrain photogrammetry and site architects' CAD reconstructions of the floorplan of the Agora of Morgantina.

